Dinner · Part 1 of 3: Ingredients
Korean Cheesy Fire Chicken with Gochujang Glaze
- Prep
- Cook
- Total
- Serves
- 4
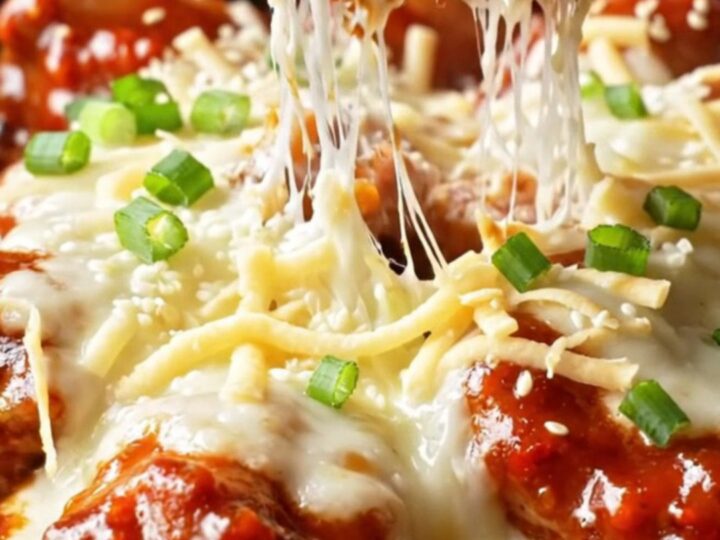
This Korean Cheesy Fire Chicken, also known as Chizzeu Buldak, brings together the fierce, sweet heat of gochujang and gochugaru with a blanket of molten mozzarella that pulls into sky-high strands.
The chicken is stir-fried until the edges char and the glaze turns sticky, then smothered with cheese and torched to bubbly perfection. It is a dramatic, satisfying dinner that delivers both spice and comfort in every bite.
Buldak, or fire chicken, is a beloved Korean dish known for its intense chili glaze and addictive sweet-savory balance. This version adds a generous layer of mozzarella, which mellows the heat and creates a glorious cheese pull.
The recipe uses boneless chicken thighs, which stay juicy and tender while the high-heat sear develops a caramelized crust. With just a handful of pantry-friendly ingredients and one skillet, this dish comes together quickly for a weeknight showstopper.
Ingredients
- 1 1/4 lb boneless, skinless chicken thighs, cut into bite-size pieces
Sauce
- 3 tbsp gochujang (Korean chili paste)
- 2 tbsp gochugaru (Korean chili flakes)
- 2 tbsp soy sauce
- 1 1/2 tbsp honey
- 4 cloves garlic, minced
- 1 tbsp fresh ginger, grated
- 1 tbsp toasted sesame oil
- 2 cups shredded mozzarella cheese
- 2 tbsp sliced scallions (optional, for garnish)
Why this recipe works
The combination of gochujang and gochugaru delivers a deep, complex heat that is both spicy and slightly sweet. Gochujang, a fermented chili paste, adds umami and a thick, glossy texture, while gochugaru contributes a bright, fruity spiciness and a vibrant red color.
Cooking the chicken over high heat caramelizes the sugars in the honey and gochujang, creating a sticky, charred coating that clings to every piece.
The mozzarella layer serves as a cooling counterpoint to the fiery glaze, and its high moisture content melts into a stretchy, elastic web. Melting the cheese covered traps steam, which helps it melt evenly without overcooking the chicken.
Torching the top adds a smoky, blistered finish that mimics the char you would get from a broiler, adding another layer of flavor and visual appeal.
Notes and substitutions
Use boneless, skinless chicken thighs for the best texture; they remain moist and forgiving even with high-heat cooking. If you prefer chicken breast, reduce the cooking time slightly and watch for dryness. Gochujang and gochugaru are available in most Asian markets or online; gochugaru can be substituted with crushed red pepper flakes, though the flavor will differ slightly.
A cast iron skillet is ideal for achieving a good sear and holding heat, but any heavy-bottomed skillet works. Shred your own mozzarella from a block for the best melt; pre-shredded cheese often contains anti-caking agents that can affect the texture. The scallions are optional but add a fresh, sharp contrast to the rich cheese and spicy chicken.
- gochugaru: Use 1 1/2 tbsp crushed red pepper flakes plus 1/2 tsp smoked paprika for a similar heat and color.
- honey: Substitute brown sugar or maple syrup for honey; adjust sweetness to taste.
- chicken thighs: Boneless, skinless chicken breasts work, but reduce cook time by 2 minutes to avoid dryness.
- mozzarella: Use provolone or a low-moisture part-skim mozzarella for a similar melt and stretch.
Equipment
- Cast iron skillet
- Mixing bowl
- Whisk
- Lid or baking sheet
- Kitchen torch
- Tongs
- Cutting board
- Chef's knife
Up next · Part 2 of 3
5 steps · 15 min of cooking · what to look for at each stage
Step-by-step instructions (Part 2)