Dinner · Part 1 of 3: Ingredients
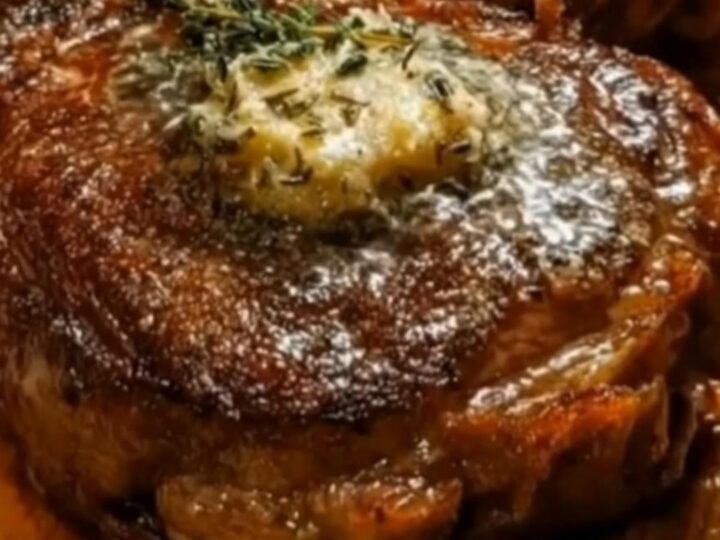
Juicy Garlic Butter Ribeye Steak
- Prep
- Cook
- Total
- Serves
- 2
Master the art of the perfect steakhouse sear with this simple, foolproof method that transforms a basic ribeye into a succulent, butter-basted masterpiece in just minutes. By combining high-heat searing with a final aromatic butter finish, you can achieve a professional-quality result that is juicy, tender, and intensely flavorful.
This technique is designed for home cooks who appreciate the beauty of a well-prepared piece of meat, focusing on simple ingredients and precise execution to elevate the dining experience to new heights of satisfaction.
The secret to an exceptional steak lies in the balance between a crispy, caramelized exterior and a tender, juicy interior. This garlic butter ribeye recipe utilizes a hot cast iron skillet to develop a rich crust, followed by a basting process that infuses the meat with the deep, savory notes of garlic and fresh thyme.
Whether you are preparing a quick weeknight dinner or a special meal, this approach ensures consistent, mouthwatering results that highlight the natural quality of the beef without the need for complex marinades or lengthy preparation times.
Ingredients
Steak
- 2 pieces ribeye steaks, about 1 inch thick
Garlic Butter
- 3 tbsp unsalted butter
- 3 cloves garlic, minced
- 1 tsp fresh thyme leaves
Why this recipe works
The high-heat searing process is essential for the Maillard reaction, which creates the deep brown, flavorful crust that defines a great steak. Using a cast iron skillet provides the intense, steady heat required to achieve this effect quickly before the interior overcooks. By patting the meat dry before it hits the pan, you prevent steaming, ensuring the surface browns perfectly rather than grey out, which is the key to that professional steakhouse texture.
Basting with butter at the end of the cooking process serves two purposes: it adds a layer of richness that complements the beef fat and helps to cook the steak evenly through to the desired temperature. The garlic and thyme infuse the butter with aromatics, which then permeate the surface of the meat. This final step adds a luxurious finish and ensures the steak remains moist while the butter provides a glossy, appetizing appearance that is visually stunning.
Notes and substitutions
When choosing your ribeye, look for steaks with significant marbling, as this internal fat will melt during cooking and contribute to the overall tenderness and flavor. A thickness of at least one inch is recommended to allow for a good sear while keeping the center medium-rare.
If your steaks are thinner, reduce the searing time accordingly to prevent them from becoming overcooked. Always remove the steaks from the refrigerator in advance, as cold meat drops the pan temperature too rapidly.
Cast iron is the preferred equipment for this recipe due to its superior heat retention and durability, though a heavy-bottomed stainless steel pan can also be used. Ensure your ventilation fan is running, as high-heat searing can produce smoke.
If you prefer to experiment, you can add a pinch of red pepper flakes to the butter for a subtle heat, or substitute the thyme with fresh rosemary for a more robust, piney aromatic profile that pairs beautifully with the richness of the beef.
- Ribeye steak: New York strip steak or sirloin steak
- Fresh thyme: Fresh rosemary or dried oregano
Equipment
- Cast iron skillet
- Chef knife
- Tongs
- Cutting board
- Meat thermometer
Up next · Part 2 of 3
3 steps · 12 min of cooking · what to look for at each stage
Step-by-step instructions (Part 2)