Dinner · Part 1 of 3: Ingredients
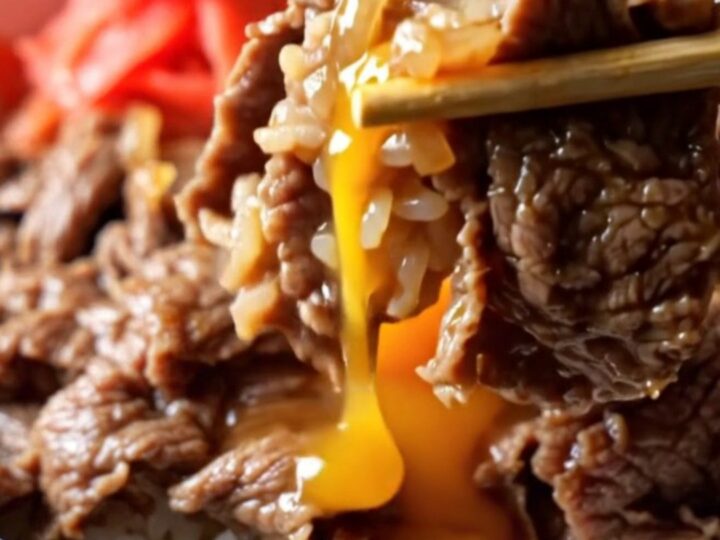
Japanese Beef Gyudon Rice Bowl with Soft-Poached Onsen Egg
- Prep
- Cook
- Total
- Serves
- 2
This Japanese beef gyudon is the ultimate quick weeknight bowl: paper-thin slices of beef and sweet onions simmered in a savory-sweet dashi broth, then piled over steamed rice and crowned with a silky poached egg.
The broth does double duty, flavoring both the meat and the rice, while the egg adds a rich, glossy finish. Ready in under 30 minutes, it delivers big flavor with minimal effort.
Gyudon, literally 'beef bowl,' is a Japanese comfort food classic. Thinly shaved beef is simmered briefly in a seasoned broth, then served over rice. The key is the broth: dashi, soy sauce, mirin, and sake create a delicate balance of sweet and savory that coats every slice of beef.
The soft-poached egg is the crowning touch, adding richness and a silky texture that ties everything together. This version is quick enough for a weeknight but feels special enough for a weekend dinner.
Ingredients
- 12 oz thinly shaved beef ribeye or brisket
- 1 medium onion, sliced
- 3/4 cup dashi broth
- 3 tbsp soy sauce
- 2 tbsp mirin
- 1 tbsp sake
- 1 tbsp sugar
- 2 cups steamed Japanese white rice
- 2 soft-poached onsen eggs or raw egg yolks
- Beni shoga (pickled red ginger), for serving
- Sliced scallions, for serving
Why this recipe works
The method here is all about speed and tenderness. By using thinly shaved beef, the meat cooks in just 3 minutes, staying tender and juicy.
Slicing the beef paper-thin also increases its surface area, so it absorbs the savory broth quickly and evenly. The onions are cooked first until sweet and translucent, adding a mellow flavor base that complements the beef.
Simmering the broth with the beef and onions in a single pan means the flavors meld as they cook. The dashi provides a subtle umami backbone, while soy sauce, mirin, and sake add depth and a gentle sweetness. Ladling the extra broth over the rice ensures every grain is seasoned, making each bite as flavorful as the last.
Notes and substitutions
For the beef, look for pre-shaved ribeye or brisket at an Asian market or ask your butcher to slice it thinly. If you can only find thicker cuts, freeze the beef for 30 minutes to make slicing easier. The key is to have slices that are uniform and thin, so they cook quickly and evenly.
Dashi broth is available in powdered form, which you can mix with water, or you can make it from scratch with kombu and bonito flakes.
Mirin is a sweet rice wine; if you don't have it, combine 2 tablespoons of sake with 1 teaspoon of sugar. For the eggs, onsen eggs are slow-poached at a low temperature, but you can also use pasteurized raw egg yolks for a similar effect.
- dashi broth: Use 3/4 cup water plus 1/2 tsp dashi powder, or substitute with low-sodium chicken broth for a different flavor.
- mirin: Mix 1 tbsp sugar with 2 tbsp dry sherry or white wine, or use 2 tbsp additional sake with a pinch of sugar.
- sake: Replace with dry white wine or omit and add 1 tbsp water to maintain liquid levels.
- soft-poached onsen eggs: Use pasteurized egg yolks straight from the shell, or soft-cook the eggs for 6-7 minutes for a slightly firmer yolk.
Equipment
- Large skillet or shallow pan
- Wooden spoon or chopsticks
- Measuring cups and spoons
- Small bowl for eggs (if poaching)
- Ladle
- Serving bowls
Up next · Part 2 of 3
4 steps · 15 min of cooking · what to look for at each stage
Step-by-step instructions (Part 2)