Desserts · Part 1 of 3: Ingredients
Honeycomb Dark Chocolate Bark Bars for Easy Make-Ahead Treats
- Prep
- Cook
- Total
- Serves
- 12
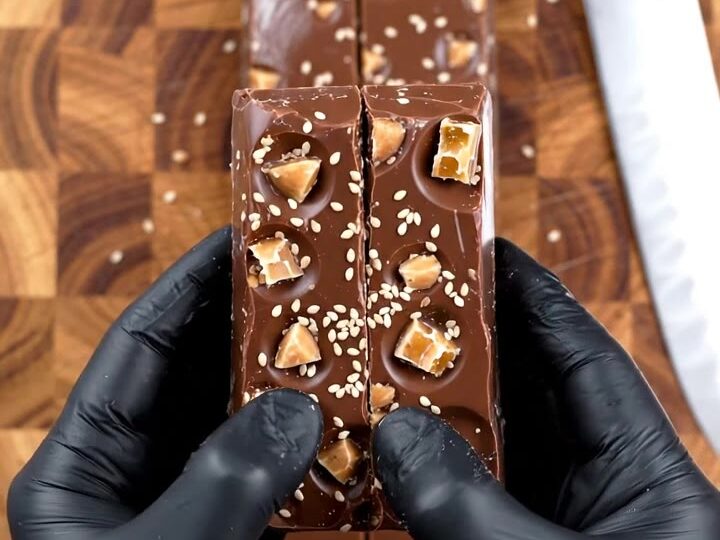
Glossy dark chocolate, golden honeycomb toffee and toasted sesame come together in one slab that needs no oven and no special skills. Grate, melt, press and set, then cut neat bars that look as good as they taste. It is a dependable treat for a gathering or a box to keep for guests.
This honeycomb dark chocolate bark is built from a few simple parts: a block of dark chocolate grated by hand, melted until smooth, and then topped with pieces of honeycomb toffee, sesame bark, almonds, crushed nuts and sesame seeds. The method is quick and forgiving.
The chocolate melts into a glossy base, the toppings press into it while it is still soft, and the slab sets into a firm sheet that cuts into clean rectangles.
Most of the work happens during the setting time, so the active steps take only about twenty minutes. The result has the contrast that makes bark appealing: bittersweet chocolate, crisp caramelised toffee, crunchy nuts and a nutty finish from the sesame.
Ingredients
Chocolate base
- 8 oz dark chocolate, grated on a box grater
Toppings
- 3 oz golden honeycomb toffee, store-bought or made ahead, broken into pieces
- 2 oz sesame bark, store-bought or made ahead, broken into pieces
- 1/3 cup whole almonds, roughly chopped
- 2 tbsp crushed nuts, such as hazelnuts or pistachios
- 1 tbsp sesame seeds, plus more for sprinkling
Why this recipe works
Grating the dark chocolate is the key step because small curls and shavings melt faster and more evenly than a solid block.
Chocolate that melts quickly and gently stays smooth and glossy, which gives the slab a clean surface and a snap when it sets. Heating it slowly, and stirring until it is fully melted, avoids the grainy texture that comes from overheating.
Pressing the toppings into the molten chocolate while it is still soft anchors them in place. As the slab cools, the chocolate grips the toffee, nuts and sesame, so each bar holds its toppings when cut and served. Setting the slab at a cool room temperature lets the chocolate firm slowly, which keeps it glossy and prevents bloom on the surface.
Notes and substitutions
Choose a dark chocolate you enjoy eating on its own, because its flavour carries through the finished bars. A bittersweet bar with a high cocoa content gives a clear contrast against the sweet honeycomb toffee. Look for a block rather than chips, since the video grates the chocolate directly, and a block grates into the fine curls that melt most evenly.
You will need a wooden board for grating and cutting, a stainless steel box grater, a rectangular baking tray lined with parchment paper, a heatproof bowl and a sharp chef's knife.
Black food-safe gloves keep the chocolate and toppings clean while you press them in. The parchment lining lets you lift the set slab out whole, so the bars cut neatly without sticking to the tray.
- Golden honeycomb toffee: Crushed hard toffee or peanut brittle, using the same weight
- Crushed nuts: Chopped pistachios or walnuts, adding the same amount
- Dark chocolate: Dark chocolate labelled vegan or dairy-free, if the bars must avoid milk
Equipment
- Wooden board
- Black food-safe gloves
- Stainless steel box grater
- Rectangular baking tray lined with parchment paper
- Heatproof bowl
- Chef's knife
- Cutting board
Up next · Part 2 of 3
6 steps · 5 min of cooking · what to look for at each stage
Step-by-step instructions (Part 2)