Dinner · Part 3 of 3: Tips & recipe card
Garlic Parmesan Cheeseburger Bombs Tips, FAQ & printable recipe
- Prep
- Cook
- Total
- Serves
- 8
Tips for success
For an even more intense flavor, consider adding a dash of Worcestershire sauce to the ground beef while it browns in the skillet. This adds a savory, umami depth that pairs exceptionally well with the cheddar cheese and the garlic butter topping. Remember to keep the heat at medium-high to ensure a good sear on the meat.
If the garlic butter begins to solidify, gently warm it in the microwave for a few seconds before brushing.
Using a slightly warm butter mixture allows it to penetrate the bread more effectively, resulting in a more flavorful and evenly browned crust. Always ensure the herbs are finely chopped to distribute the flavor consistently across every slider.
Variations
- Spicy Jalapeno Bombs: Add finely diced pickled jalapenos to the ground beef mixture before filling the buns for a spicy kick. The heat from the peppers cuts through the richness of the cheese and butter perfectly.
- Bacon Cheeseburger Bombs: Incorporate crumbled, crispy bacon bits into the beef filling for an added layer of smoky, salty crunch. This variation is a favorite for those who enjoy a more robust, savory flavor profile.
Storage and make-ahead
- Fridge
- Store in an airtight container in the refrigerator for up to 3 days. Ensure they have cooled completely before refrigerating to prevent condensation.
- Freezer
- Wrap individual cooled sliders in plastic wrap and store in a freezer-safe bag for up to 1 month. Thaw in the refrigerator before reheating.
- Reheat
- Place the sliders on a baking sheet and reheat in a preheated oven at 350°F (175°C) for 8 to 10 minutes until warmed through and the crust is crisp.
If you have leftovers, allow them to cool at room temperature for no more than 2 hours. Once cooled, place the cheeseburger bombs in an airtight container and transfer them to the refrigerator immediately to maintain the texture of the buns and prevent them from drying out.
You can prepare the beef filling up to 24 hours in advance and keep it refrigerated in an airtight container.
When you are ready to serve, simply assemble the sliders, brush them with the garlic butter, and proceed with the baking step. This makes them an excellent choice for parties or busy evenings when you need a quick, impressive meal.
Serving ideas
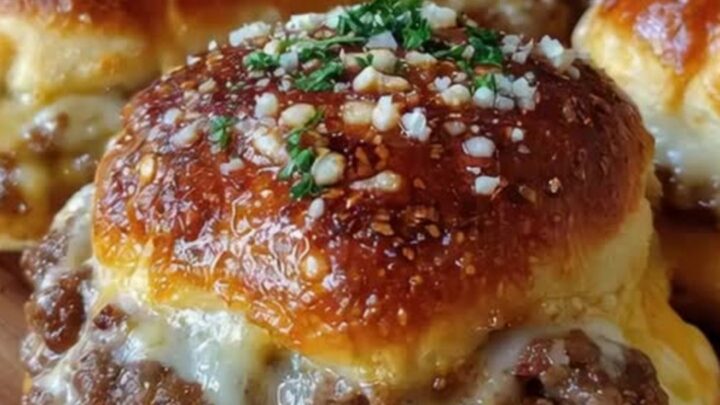
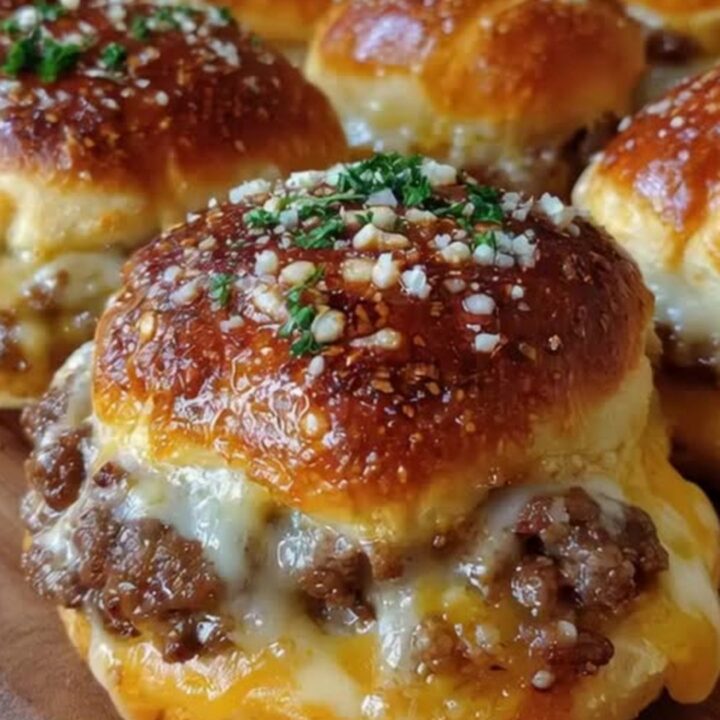
These cheeseburger bombs are best served warm, straight from the oven, when the cheese is at its most molten and the garlic butter is fragrant.
Arrange them on a wooden board or a platter to showcase their golden appearance, and consider serving them alongside a simple side salad or vegetable sticks to balance the richness of the sliders.
Because they are handheld, these sliders are perfect for casual gatherings or game day snacks. Provide napkins for guests, as the melted cheese and juicy beef can be quite messy to eat.
The combination of the crispy, seasoned bun and the savory filling ensures that these will be a popular choice for all your guests, regardless of the occasion.
Frequently asked questions
Can these be made ahead of time?
What type of cheese melts best for this recipe?
Can these be frozen after baking?
Garlic Parmesan Cheeseburger Bombs
Ingredients
- 1 lb ground beef
- 1 tbsp burger seasoning
- 8 slices cheddar cheese
- 8 slider buns
- 4 tbsp melted butter
- 1 tsp garlic powder and herbs
- 2 tbsp grated parmesan cheese
Instructions
- Heat a large skillet over medium-high heat. Add the ground beef and season with the burger seasoning. Cook until browned and fully cooked through to an internal temperature of 160°F (71°C). Drain any excess fat if necessary and set aside to cool slightly.
- Open the slider buns. Place a generous spoonful of the cooked ground beef onto the bottom half of each bun. Fold the slices of cheddar cheese and place them directly over the hot beef to encourage melting. Close the buns with the top halves.
- In a small bowl, whisk together the melted butter, garlic powder, and herbs. Brush the mixture generously over the tops of the assembled sliders. Sprinkle the grated parmesan cheese over the butter-glazed tops. Bake in a preheated oven at 350°F (175°C) for about 10 to 12 minutes, or until the buns are golden brown and the cheese is fully melted and bubbling.
Estimated nutrition per serving
- Calories
- 320
- Protein
- 18 g
- Carbohydrates
- 22 g
- Fat
- 16 g
- Fiber
- 1.5 g
- Sugar
- 3 g
- Sodium
- 550 mg
Next recipe
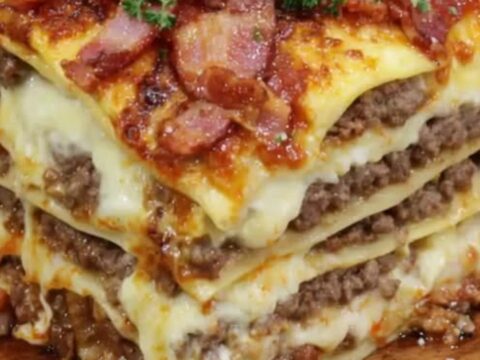
Parmesan Garlic Bacon Cheeseburger Lasagna
See the recipe → →This recipe is based on a short cooking video and is published under the pen name Clara Weller. It was checked before publication, but errors can slip through. Nutrition, when shown, is an estimate. Read more in our editorial policy and on our food safety page.
More recipes to try

Creamy Restaurant-Style Shrimp Scampi Linguine
Total time: 25 min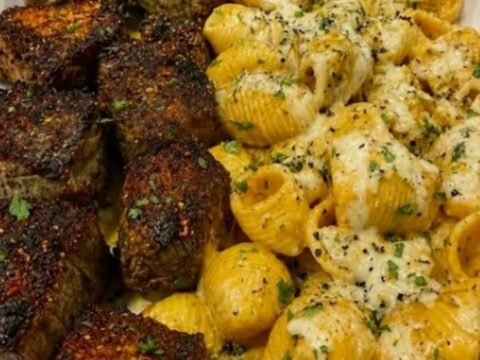
Quick Cheesy Steak and Conchiglie Pasta Platter
Total time: 30 min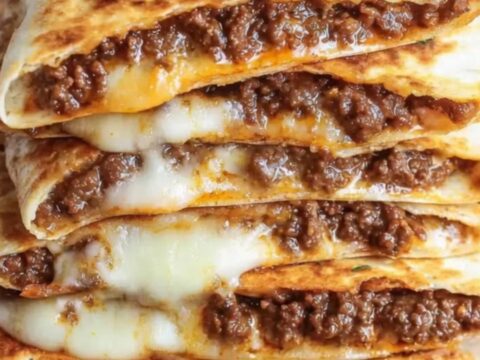
Crispy Ground Beef Quesadillas with Melted Cheese
Total time: 25 min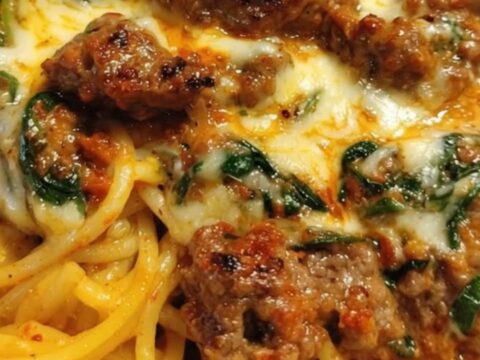
Creamy Cajun Beef and Sausage Spaghetti
Total time: 30 min
Cajun Shrimp and Sausage Stuffed Cabbage Wedges
Total time: 55 min