Dinner · Part 1 of 3: Ingredients
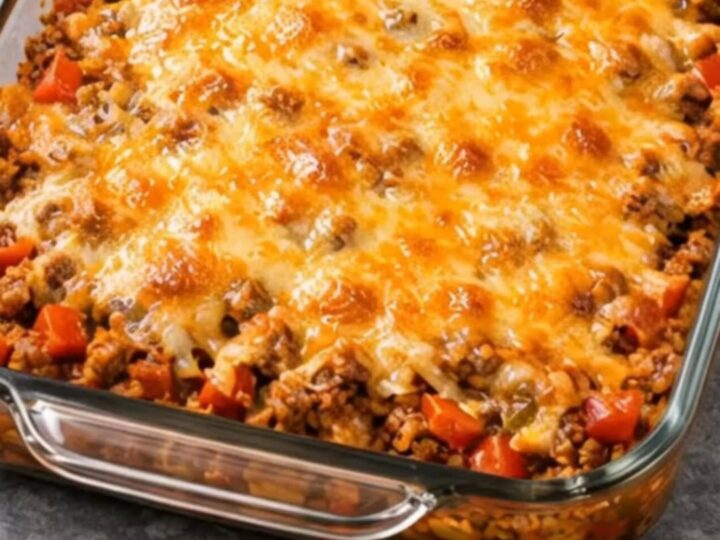
Four-Ingredient Taco Casserole with Bubbly Melted Cheese
- Prep
- Cook
- Total
- Serves
- 4
Craving a cheesy, comforting dinner that comes together with almost zero effort? This four-ingredient taco casserole is the ultimate weeknight savior, delivering bold Mexican-inspired flavors and a spectacular cheese pull in under thirty minutes. It is the perfect warm, bubbly solution for busy nights when you want a satisfying meal without spending hours in the kitchen.
When time is short but expectations are high, a simple baked casserole is always the answer. This recipe strips away the complexity of traditional Mexican bakes, focusing on just four high-impact ingredients that work beautifully together.
By simmering ground beef with taco spices and juicy tomatoes, you create a rich, savory base that holds up perfectly under a thick blanket of molten cheese. It is a straightforward, crowd-pleasing dish that requires minimal prep and delivers maximum comfort, making it a reliable staple for your weekly dinner rotation.
Ingredients
- 1 1/2 lb ground beef
- 1 packet (1 oz) taco seasoning
- 1 can (14.5 oz) diced tomatoes, undrained
- 2 cups shredded Mexican blend cheese
Why this recipe works
The secret to the success of this streamlined casserole lies in the simmering process. Cooking the ground beef directly with the canned tomatoes allows the meat to absorb the tomato juices and the concentrated taco spices, preventing the beef from drying out during the subsequent baking phase.
This step creates a cohesive, incredibly saucy filling that acts as the perfect foundation for the cheese topping, ensuring every single bite is moist, deeply flavorful, and highly seasoned without requiring any complex homemade sauces.
Baking the assembled casserole in a glass dish at a high temperature ensures that the cheese melts evenly and develops those coveted bubbly, golden-brown edges.
The high heat quickly penetrates the shallow layer of beef, heating it thoroughly while rapidly melting the cheese on top before the meat has a chance to dry out or overcook. This precise balance of stove-top simmering and quick oven baking guarantees a perfect texture and a dramatic, steamy cheese pull every time.
Notes and substitutions
Selecting the right ingredients is absolutely key when working with such a minimal list. Opt for a lean ground beef, such as 85/15 or 90/10, to prevent the casserole from becoming overly greasy, or be sure to drain any excess fat thoroughly after browning.
For the cheese, a pre-shredded Mexican blend offers a great convenience shortcut, but grating a block of sharp Cheddar, Colby Jack, or Monterey Jack yourself will yield an even smoother melt and a more dramatic cheese pull.
The canned tomatoes provide essential moisture and flavor to the beef filling. Standard diced tomatoes work wonderfully, but you can easily elevate the dish by choosing fire-roasted diced tomatoes or tomatoes canned with mild green chiles for an extra layer of smoky depth and texture. If you prefer a spicier casserole, look for a hot taco seasoning packet or feel free to add a pinch of cayenne pepper to the beef mixture during the simmering stage.
- ground beef: ground turkey or ground chicken cooked to a safe internal temperature of 165°F (74°C)
- shredded Mexican blend cheese: shredded sharp Cheddar or Monterey Jack cheese
Equipment
- Large skillet
- Spatula
- Rectangular glass baking dish
Up next · Part 2 of 3
3 steps · 15 min of cooking · what to look for at each stage
Step-by-step instructions (Part 2)