Desserts
Flourless Chocolate Cake Fudgy: Indulge in Richness!
Please note: this recipe comes from an earlier version of this site, before our current process, and has not been through our automatic checks. Its first-person passages, which do not describe real events, are hidden whenever they can be detected automatically; some old wording may remain. How we make recipes today
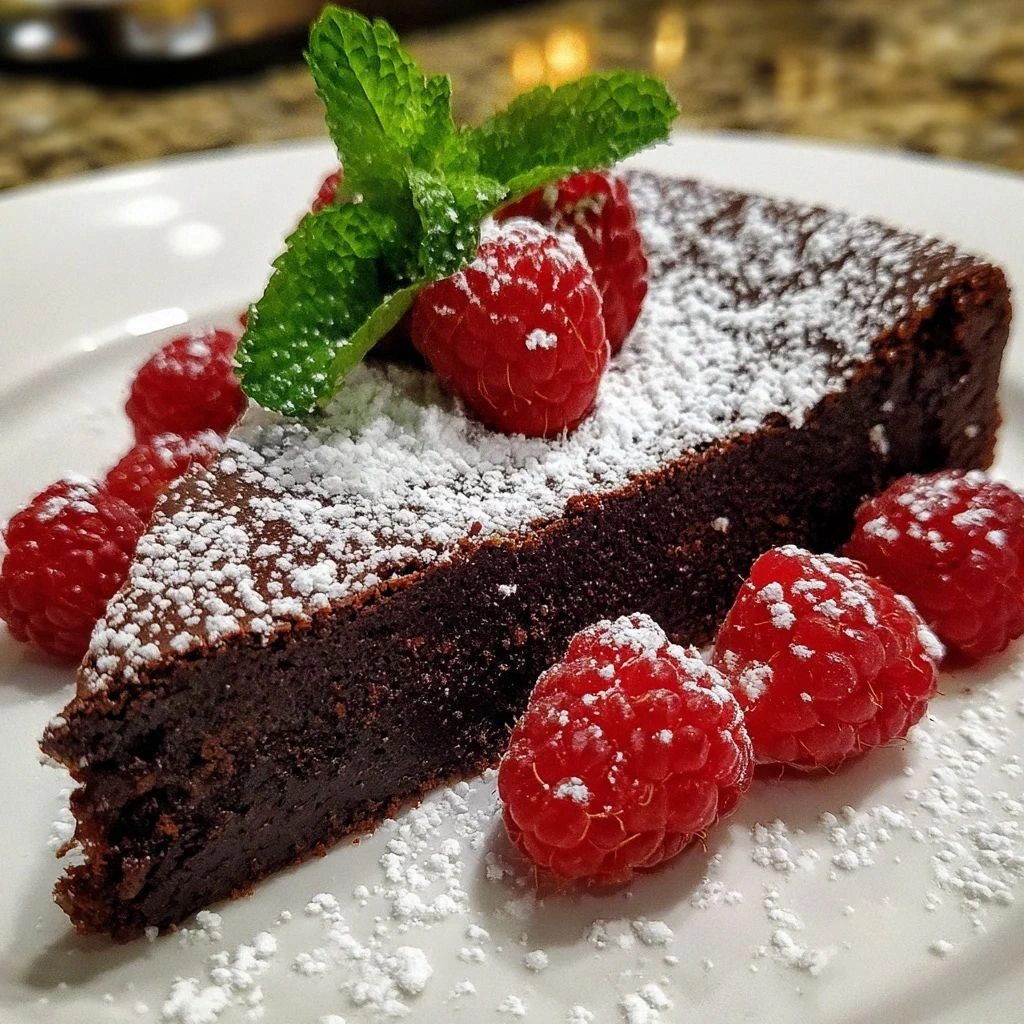
Picture this: your fork breaking through a glossy, paper-thin crust that gives way to a center so lusciously fudgy it practically sighs as you slice it. The aroma wafting up is pure chocolate nirvana — deep, complex, with whispers of espresso and vanilla dancing through the air. The first bite hits your tongue like liquid velvet, coating every taste bud with bittersweet euphoria that’s somehow both sophisticated and comfortingly familiar. This isn’t just dessert; it’s a full-body experience that’ll have you questioning every other chocolate cake you’ve ever met.
What Makes This Version Stand Out
Texture Revolution: Unlike those sad, sunken flourless chocolate cakes that end up more like chocolate-flavored rubber, this version achieves the perfect balance between truffle and cake. The edges develop a delicate chew while the center stays molten and luxurious, creating a textural contrast that’ll make your taste buds do a happy dance.
Make-Ahead Magic: Here’s where this cake really shines — you can bake it up to three days ahead, and somehow it actually gets better with time. The flavors meld and deepen, the texture becomes even more luxurious, and you look like a dessert genius who planned everything perfectly.
Ingredient Integrity: Every component in this cake serves a purpose, and there are no fillers or cheap shortcuts. The result is pure, unadulterated chocolate intensity that’s somehow both indulgent and refined — like wearing a silk dress to a rock concert.
Timing Flexibility: Whether you need a dessert that can sit elegantly on a buffet for hours or something you can whip up for midnight cravings, this cake delivers. It’s equally stunning warm, room temperature, or chilled, giving you total control over your serving timeline.
Inside the Ingredient List
The Texture Architects
Eggs are doing triple duty here — they’re the only leavening, the binding agent, and the secret to that fudgy texture. Use large eggs, not extra-large or medium, because the ratio is calibrated for large eggs. The yolks add richness and help emulsify the chocolate and butter, while the whites, when whipped, create air pockets that survive baking. Here’s the key: separate them while they’re cold, but whip them at room temperature. Cold eggs separate cleanly, but room-temperature whites whip up to maximum volume.
The Final Flourish
Sea salt isn’t just trendy — it’s chemically different from table salt, with larger crystals that provide little bursts of salinity rather than uniform saltiness. These salt pockets create flavor contrasts that make the chocolate taste even more intense. Sprinkle it on just before baking so it doesn’t dissolve completely — you want those little crystals to survive and provide texture. The salt also helps balance the sweetness and brings out the fruity notes in good chocolate.
That tiny bit of butter for greasing the pan is more important than you think. Use cold butter and really work it into every corner of your springform pan — this cake will find any ungreased spot and weld itself there. Then dust with cocoa powder, not flour, because flour would be weird in a flourless cake. The cocoa creates a non-stick surface that also adds an extra layer of chocolate flavor to the edges.
The Method — Step by Step
- Start by preheating your oven to 350°F (175°C), but here’s the crucial part — position your rack in the lower third of the oven. This prevents the top from browning too quickly while ensuring the center cooks through. While that’s heating, grab your 9-inch springform pan and butter it like your life depends on it. Use cold butter and really work it into every crevice, then dust with cocoa powder, tapping out the excess. This cake is like a diva — it needs a perfectly prepared stage.
- Now for the chocolate: chop it into small, even pieces so it melts uniformly. Place it in a heatproof bowl with the butter and set it over a pot of barely simmering water. Here’s where most people mess up — the water shouldn’t touch the bowl, and the heat should be low enough that the chocolate melts slowly. Stir occasionally with a rubber spatula, not a whisk (whisks create air bubbles that can seize the chocolate). When it’s about 80% melted, remove it from the heat and keep stirring — the residual heat will finish the job perfectly.
- While the chocolate cools slightly, separate your eggs. Do this when they’re cold from the fridge because the yolks are firmer and less likely to break. But here’s the trick — let the whites sit in a clean bowl for about 15 minutes to come to room temperature. Make sure your bowl and whisk are completely grease-free — any fat will prevent the whites from whipping properly.
- Time to whip those egg whites, and this is where the magic happens. Start on medium speed until they’re foamy, then add half the sugar gradually while increasing to high speed. You’re looking for soft peaks that just barely hold their shape — over-whipped whites will make the cake dry. The sugar stabilizes the whites and helps create that glossy crust. When you lift the whisk, the peaks should droop over like a sad puppy, not stand up straight like a military salute.
- Now whisk the egg yolks with the remaining sugar until they become pale and thick — about 2 minutes by hand or 30 seconds with a mixer. They should fall in a thick ribbon when you lift the whisk. Stir in the espresso powder and vanilla until dissolved. Here’s where you need to work quickly but gently — if the chocolate is too hot, it’ll cook the yolks; too cold, and it’ll seize up. The chocolate should be warm but not hot to the touch.
- Pour the chocolate mixture into the yolks and whisk until smooth and glossy. It should look like liquid velvet and smell like heaven. If it starts to seize or look grainy, don’t panic — just place the bowl over the warm (not hot) water for a few seconds and whisk until smooth again. The mixture should be fluid enough to pour but thick enough to coat a spoon.
- Now comes the moment of truth — folding in the whites. Add about one-third of the whites to the chocolate mixture and stir vigorously to lighten it. This sacrificial batch makes it easier to fold in the rest without deflating them. Now add the remaining whites and fold with a large rubber spatula, cutting down through the center and bringing the mixture up and over. Rotate the bowl as you go, and stop as soon as you see no more white streaks. A few small lumps are better than over-mixed batter.
- Pour the batter into your prepared pan and smooth the top with an offset spatula. Give the pan a gentle tap on the counter to release any large air bubbles. Now for the secret move — place the pan in a larger roasting pan and pour hot water around it until it comes halfway up the sides. This water bath prevents the edges from overcooking and keeps the center luxuriously fudgy. Slide it into the oven and set your timer for exactly 30 minutes.
- After 30 minutes, check for doneness — the edges should be set and starting to pull away from the sides, while the center should jiggle like a gentle wave when you nudge the pan. If it jiggles like jello, give it 5 more minutes. Remove it from the water bath immediately to stop the cooking. Run a thin knife around the edge to loosen it from the pan — this prevents cracking as it cools.
- Let the cake cool completely in the pan on a wire rack. It will sink slightly as it cools — this is normal and actually what you want. Once cool, release the springform ring but leave it on the base. Dust with cocoa powder or powdered sugar just before serving, or top with fresh berries for a pop of color.
Insider Tricks for Flawless Results
Why Your Nose Knows Best
Don’t underestimate the power of smell in this recipe. When the chocolate is properly melted, it should smell intensely chocolatey with no sharp or bitter notes. If it smells harsh or burnt, it’s overheated and you’ll need to start over — there’s no saving burnt chocolate. As the cake bakes, your kitchen should fill with the aroma of deep, complex chocolate. If you smell something sharp or acrid, the cake is overbaking.
The 5-Minute Rest That Changes Everything
After you remove the cake from the oven, resist every instinct to immediately loosen it from the pan. Let it sit undisturbed for exactly 5 minutes — set a timer if you must. During this crucial window, the cake is finishing its cooking process, and the proteins are setting up. If you rush this step, the cake will collapse into a sad, flat disk that tastes delicious but looks like a chocolate frisbee.
During these 5 minutes, the residual heat continues to cook the center while the edges begin to contract slightly away from the pan. This creates that perfect fudgy center with set edges that you can actually slice. After 5 minutes, run your knife around the edge, then let it cool completely before removing the springform ring. This patience pays off in slices that hold their shape instead of oozing into a puddle on your plate.
Creative Twists and Variations
The Mexican Chocolate Adventure
Add 1/2 teaspoon of ground cinnamon and a pinch of cayenne to the chocolate mixture for a subtle warmth that builds slowly. Replace the espresso powder with 1/4 teaspoon of almond extract, and top with cinnamon-dusted whipped cream. The spice notes complement the chocolate without overwhelming it, creating a complex flavor that keeps people guessing. This version is particularly stunning with a glass of red wine — the heat from the cayenne makes the wine taste fruitier.
The Salted Caramel Dream
Swirl 3 tablespoons of dulce de leche into the batter just before baking, creating ribbons of caramel throughout. Sprinkle the top with flaky sea salt before serving — the contrast between sweet and salty is absolutely addictive. For extra drama, serve with a warm caramel sauce that you pour tableside. The salt enhances both the chocolate and caramel flavors, making each bite taste more intense than the last.
The Orange Chocolate Elegance
Add the zest of one orange to the chocolate mixture, and replace the vanilla with orange liqueur. The citrus oils bind with the chocolate, creating a sophisticated flavor that’s perfect for dinner parties. Garnish with candied orange peel for a stunning presentation that looks like it came from a French patisserie. This version pairs beautifully with espresso or a glass of Grand Marnier.
The Raspberry Ripple Romance
Puree 1/2 cup of fresh raspberries and swirl it through the batter for a tart contrast to the rich chocolate. The acidity from the berries cuts through the richness, creating a more balanced dessert that doesn’t feel heavy. Reserve a few whole raspberries to press into the top before baking — they become little jammy jewels that add both flavor and visual appeal.
The Nutty Professor
Fold 1/2 cup of toasted, chopped hazelnuts into the batter for texture contrast. The nuts should be toasted until fragrant but not dark — you want them to add crunch without competing with the chocolate. Hazelnuts and chocolate are a classic combination, but walnuts or pecans work beautifully too. For extra nuttiness, replace the butter with brown butter — it adds a toasty depth that complements the nuts perfectly.
The White Chocolate Contrast
Instead of dusting with cocoa powder, grate white chocolate over the top just before serving. The white chocolate adds visual contrast and a different type of sweetness that makes the dark chocolate taste even more intense. You could also serve it with white chocolate shavings on the side, letting guests add their own contrast. The key is using good quality white chocolate — not the waxy candy bar kind.
Storing and Bringing It Back to Life
Fridge Storage
This cake actually improves with age — the flavors meld and deepen, becoming more complex and interesting. Wrap it tightly in plastic wrap, then foil, and store it in the fridge for up to 5 days. The texture becomes even more fudgy and truffle-like as it chills. Bring it to room temperature for 30 minutes before serving for the best flavor and texture. If you’re in a hurry, a 10-second zap in the microwave per slice brings it to the perfect temperature.
Freezer Friendly
Wrap individual slices tightly in plastic wrap, then foil, and freeze for up to 3 months. Thaw overnight in the fridge, then let come to room temperature for best results. The texture holds up beautifully to freezing — in fact, some people prefer it slightly chilled. For a quick dessert, you can even eat it partially frozen — it becomes like a chocolate ice cream cake. Pro tip: slice it before freezing so you can grab just what you need.
Best Reheating Method
If you must reheat (though it’s best at room temperature), do it gently. A 10-second burst in the microwave per slice is plenty — you’re warming it, not cooking it. For a whole cake, place it in a 200°F oven for 10-15 minutes, just until the chill is off. Never reheat it hot or you’ll lose that fudgy center and end up with chocolate cake instead of chocolate truffle. The goal is to take the chill off, not warm it through.
Flourless Chocolate Cake Fudgy: Indulge in Richness!
Homemade Recipe
Ingredients
- 12 oz bittersweet chocolate (70% cacao), chopped
- 0.75 cup (1.5 sticks) unsalted butter, cut into pieces
- 6 large eggs, separated
- 0.75 cup granulated sugar
- 0.5 tsp espresso powder
- 1 tsp pure vanilla extract
- 0 Pinch of salt
- 0 Butter for greasing the pan
- 0 Cocoa powder for dusting
- 0 Flaky sea salt for garnish (optional)
Directions
- Preheat oven to 350°F. Position rack in lower third. Butter a 9-inch springform pan and dust with cocoa powder.
- Melt chocolate and butter together in a heatproof bowl set over barely simmering water, stirring until smooth. Let cool slightly.
- Separate eggs while cold, then let whites come to room temperature. Whip egg whites with half the sugar to soft peaks.
- Whisk yolks with remaining sugar until pale. Stir in espresso powder and vanilla.
- Whisk chocolate mixture into yolks until smooth. Fold in one-third of whites to lighten, then gently fold in remaining whites.
- Pour into prepared pan and smooth top. Place in a water bath and bake for 30 minutes, until edges are set but center jiggles.
- Cool completely in pan on wire rack. Remove springform ring and dust with cocoa powder or powdered sugar before serving.
Common Questions
Why did my cake collapse in the middle?
Can I use milk chocolate instead of bittersweet?
How do I know when it’s done baking?
Can I make this ahead for a dinner party?
What if I don’t have espresso powder?
Next recipe
Roasted Ruby Plum Galette with Almond Frangipane
See the recipe → →More recipes to try
Raspberry Lemon Curd Mascarpone Layer Cake
Total time: 1 h 40 min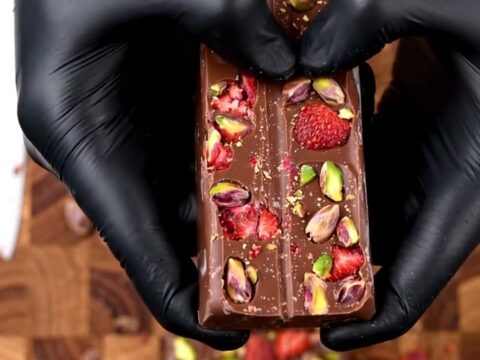
Strawberry Pistachio Ruby Chocolate Bark Recipe
Total time: 50 min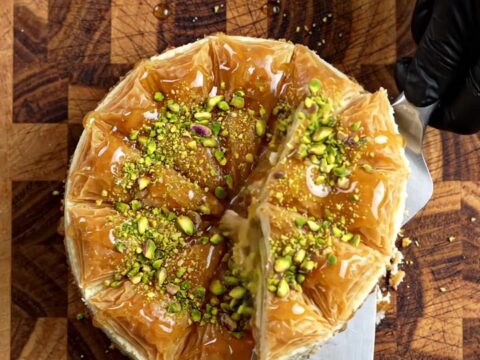
Pistachio Honey Baklava Cheesecake with Chocolate Curls
Total time: 5 h 30 min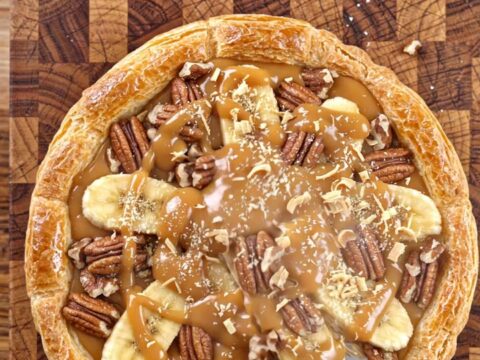
Bananas Foster Tart with Pecan Butterscotch Puff Pastry
Total time: 1 h 5 min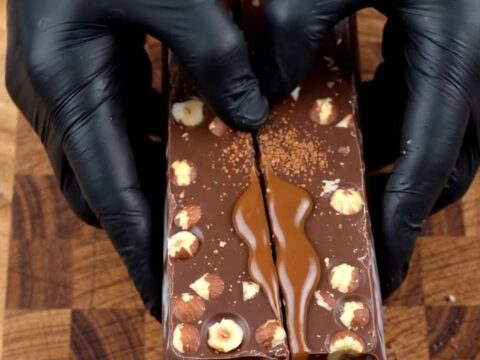
Hazelnut Espresso Crunch Caramel Dark Chocolate Bars
Total time: 1 h 40 min