Desserts · Part 1 of 3: Ingredients
Slow Cooker Candied Yams: Easy Southern Classic
- Prep
- Cook
- Total
- Serves
- 8
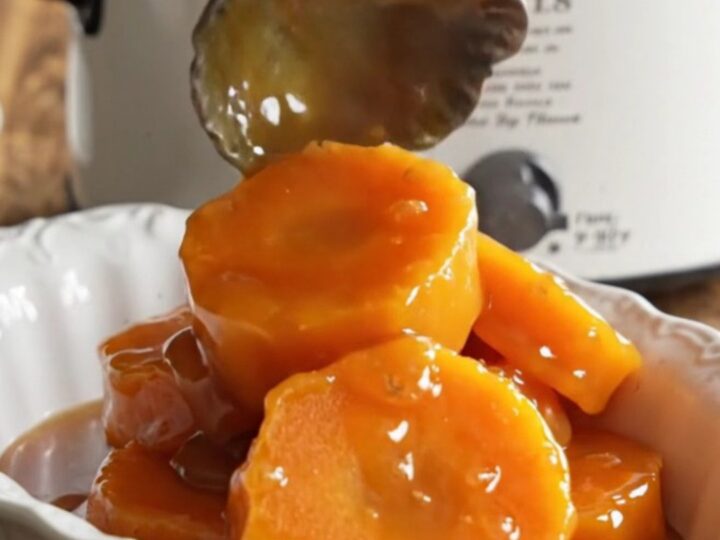
Old-fashioned Southern candied yams made effortlessly in the slow cooker. Tender garnet yam slices are layered with dark brown sugar, butter, cinnamon sticks, nutmeg, and vanilla bean paste, then cooked low and slow until they turn translucent and bathe in a thick, spiced caramel syrup.
This hands-off method delivers all the nostalgic flavor of a holiday side dish without hovering over the stove. Just layer, set the timer, and let the Crockpot work its magic.
Candied yams are a beloved Southern tradition, often reserved for Thanksgiving and Christmas tables. This slow cooker version simplifies the classic by letting the appliance do all the work. Thick slices of garnet yams are tossed with dark brown sugar, butter, and warm spices, then cooked on low for hours until they become fork-tender and soak up a rich, caramel-like syrup.
The result is a side dish that tastes like it simmered on the stove all day, but with minimal effort. Perfect for busy holiday cooks or anyone craving a comforting, sweet potato dish any night of the week.
Ingredients
- 4 lb garnet yams, peeled and sliced 1/2-inch thick
- 1 cup dark brown sugar, packed
- 1 stick unsalted butter, cubed
- 2 cinnamon sticks
- 1/2 tsp ground nutmeg
- 1 tbsp vanilla bean paste
Why this recipe works
Cooking yams in a slow cooker on low heat allows the natural sugars to slowly caramelize and meld with the brown sugar and butter, creating a deep, complex syrup that would be difficult to achieve on a stovetop without constant stirring.
The gentle, even heat ensures the yams cook through without scorching or breaking apart, resulting in tender, translucent slices that hold their shape.
The dump-and-go method means no precooking, no boiling, and no stirring. Layering the ingredients in the Crockpot allows the spices to infuse evenly as the butter melts and the sugar dissolves. The slow cooker traps steam, which helps the yams cook in their own juices, concentrating flavor and producing a thick, glossy glaze that clings beautifully to each piece.
Notes and substitutions
Garnet yams are the traditional choice for their deep orange color and sweet, moist flesh. They are often labeled as sweet potatoes in U.S. supermarkets; look for firm, unblemished roots. If using standard sweet potatoes, the cooking time may be slightly shorter, so check for doneness at the 4-hour mark.
Dark brown sugar contains more molasses than light brown sugar, giving the syrup a richer, more robust flavor. The cinnamon sticks infuse gently without overwhelming, while nutmeg adds warmth.
Vanilla bean paste provides a concentrated vanilla flavor with visible specks; if using extract, add it near the end to preserve its aroma. Unsalted butter lets you control the saltiness, but salted butter works in a pinch.
- garnet yams: sweet potatoes (orange-fleshed) work well; adjust cooking time if slices are thinner or thicker.
- dark brown sugar: light brown sugar can be used, but the syrup will be slightly less molasses-rich.
- vanilla bean paste: 1 tablespoon pure vanilla extract can replace the paste; add it in the last 30 minutes for best flavor.
- unsalted butter: salted butter can be used; reduce or omit added salt elsewhere in the recipe.
Equipment
- 6-quart slow cooker
- Vegetable peeler
- Sharp knife
- Cutting board
- Measuring cups and spoons
- Serving spoon
Up next · Part 2 of 3
5 steps · 4 h 30 min of cooking · what to look for at each stage
Step-by-step instructions (Part 2)