Dinner · Part 2 of 3: Instructions
Easy Slow Cooker 3-Packet Pot Roast Step-by-step instructions
- Prep
- Cook
- Total
- Serves
- 6
Before you start
Before starting, ensure that your slow cooker insert is clean and placed on a stable, heat-resistant surface. Remove the beef chuck roast from the refrigerator about 20 minutes before you begin to take the chill off, which can help with more even cooking. Prepare your measuring cup and have your seasoning packets ready to be opened.
Double-check that your slow cooker is plugged in and that you have a clear space to work. Being organized with your ingredients and tools before you start the assembly will make the entire process quick and stress-free, allowing you to get the meal started in just a few moments.
Ingredients at a glance (4)
- 3 lb beef chuck roast
- 1 packet ranch seasoning mix
- 1 packet brown gravy mix
- 1 cup beef broth
Instructions
Assembly Phase
- Prepare the roastPlace the raw beef chuck roast into the bottom of the slow cooker insert. Ensure the meat is positioned centrally to allow for even cooking throughout the process.Tip Pat the beef dry with paper towels before placing it in the cooker for better seasoning adherence.
At the end of this phase, the beef is nestled in the slow cooker, topped with the dry seasoning packets and the beef broth. Everything is ready for the long, slow transition. Check that the beef is placed securely at the bottom and that the broth has been poured evenly to start the flavor development process before you secure the lid tightly for the cooking duration.
Seasoning Integration
- Season and add liquidSprinkle the entire packet of ranch seasoning and the packet of brown gravy mix evenly over the top of the beef. Pour the beef broth over the seasonings to help distribute the flavors.Tip Do not stir the mixture; the liquid will naturally combine with the seasonings as the roast cooks and releases its own juices.
During this phase, the dry seasonings begin to dissolve into the beef broth as the heat rises. As the aromatics from the ranch and gravy mixes start to bloom, they infuse the meat with flavor.
You should notice the liquid beginning to darken and thicken slightly as the seasonings incorporate, creating a savory base that will eventually transform into the rich, glossy gravy that coats the finished roast.
Final Slow Cooking
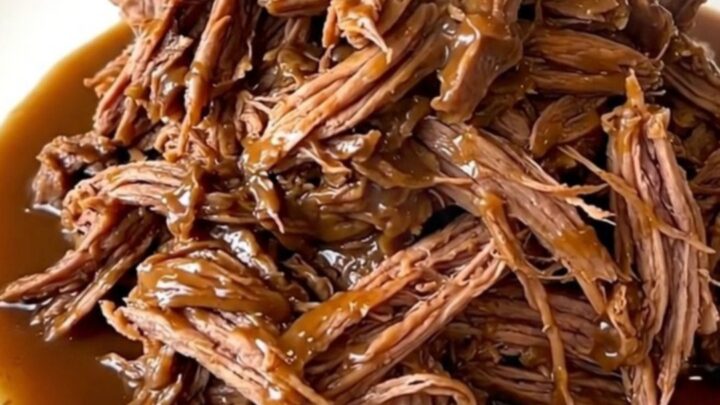
- Slow cook and serveCover the slow cooker and cook on low for 8 hours. Once the time is up, ensure the beef has reached at least 145°F (63°C) internally. Remove the roast to a cutting board, let it rest at least 3 minutes, then shred the meat using two forks and serve with the gravy.Look for The beef should be extremely tender and pull apart easily with a fork.Safe temperature 145°F (63°C) internal temperature (steaks, chops and roasts)Tip If the gravy is too thin, you can whisk in a little cornstarch slurry at the end and heat for an additional 15 minutes.
The final phase is where the magic happens. The roast reaches its peak tenderness, and the liquids reduce into a thick, flavorful gravy. The kitchen should smell savory and deeply aromatic. Before serving, verify the internal temperature of the meat and check that it pulls apart effortlessly with a fork. Once it reaches this stage, it is ready to be shredded, rested, and served hot to your guests.
Common mistakes
One common mistake is opening the slow cooker lid too frequently during the cooking process. Each time the lid is lifted, heat escapes and the cooking time is extended, which can lead to uneven results. Keep the lid closed until the final hour of cooking. Another mistake is using a cut of meat that is too lean.
Chuck roast is ideal because of its fat content; using a leaner cut like a round roast might result in a drier final texture. Finally, ensure the beef is not overcrowded in the cooker, as proper air and heat circulation are necessary for consistent cooking.
How to tell it’s done
To determine if the pot roast is done, use a digital meat thermometer inserted into the thickest part of the meat. The roast should reach an internal temperature of at least 145°F (63°C). Beyond the temperature, the texture is the best indicator of doneness.
When poked with a fork, the meat should offer no resistance and should easily pull apart into shreds. If the meat still feels tough or firm, continue cooking for another 30 to 60 minutes, as some cuts of beef may require more time to break down fully.
- Steaks, chops and roasts: 145°F (63°C) in the thickest part, then a 3-minute rest
Up next · Part 3 of 3
2 variations · storage & make-ahead · 3 answers · printable card
Tips, FAQ & printable recipe (Part 3)← Back to the ingredients (Part 1)