Desserts · Part 1 of 3: Ingredients
Easy Pumpkin Pie Crescent Bars for Fall
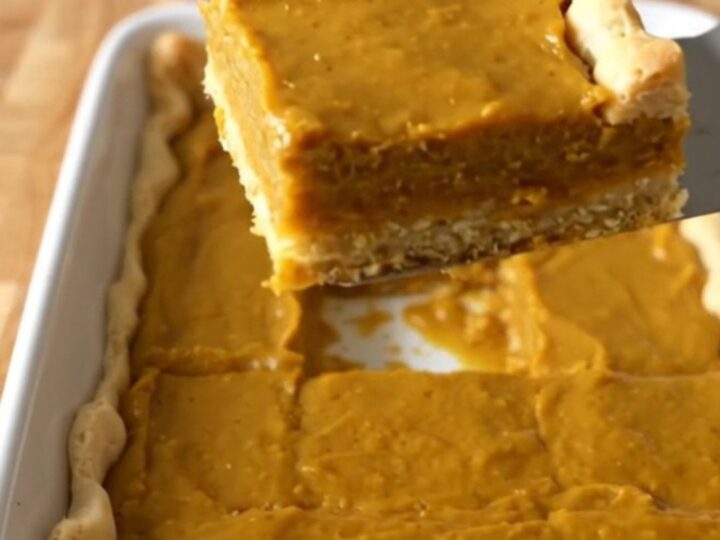
- Prep
- Cook
- Total
- Serves
- 12
Discover the effortless way to make delicious pumpkin pie bars using simple pantry staples. These crescent dough bars deliver the classic flavors of autumn in a convenient, handheld format that is perfect for any season. Whether you are a novice in the kitchen or a seasoned home cook looking for a quick fix, this recipe provides a foolproof method to achieve professional results every time you bake.
These pumpkin pie crescent bars are a delightful dessert that combines a buttery, flaky crust with a rich, spiced pumpkin filling. Designed for simplicity, this recipe uses store-bought crescent dough to save time in the kitchen without sacrificing quality. Whether you are hosting a casual gathering, preparing for a festive holiday, or simply craving a seasonal treat, these bars offer a consistent and satisfying result every time.
The process is straightforward, requiring minimal equipment and just a few minutes of active preparation time, allowing the oven to do most of the hard work for you. It is the perfect solution for those busy days when you need a crowd-pleasing dessert on the table quickly.
Ingredients
- 2 cans refrigerated crescent dough
- 30 oz canned pumpkin pie filling
- 2 tbsp cinnamon sugar
Why this recipe works
The method of using store-bought crescent dough ensures a perfectly flaky, buttery foundation every time. By pressing the dough directly into a baking dish, you eliminate the need for rolling or complex pastry techniques, making this an ideal recipe for beginner cooks or those seeking a quick dessert solution.
This approach guarantees that the crust remains light and airy while providing a sturdy base for the dense, flavorful pumpkin filling, ensuring that each square holds its shape perfectly when sliced and served to your guests.
Pouring the pumpkin filling over the raw dough allows the crust to bake perfectly underneath. As the dish heats, the dough rises and crisps while the pumpkin filling sets into a smooth, custard-like texture, creating a balanced contrast between the tender, spiced pumpkin and the golden, buttery pastry layers.
This layering technique prevents the bottom from becoming soggy, as the moisture from the filling is absorbed just enough to keep the crust tender while the edges develop a beautiful, golden crunch that defines a truly excellent bar dessert.
Notes and substitutions
Crescent dough is the foundation of this recipe. Ensure the dough is fresh and cold when you start to get the best rise. If you cannot find crescent dough sheets, regular crescent roll dough works well; just pinch the seams together thoroughly to create a single, solid base in your baking dish.
Always handle the dough gently to maintain its delicate layers, which are essential for that signature flaky texture that makes these bars so incredibly enjoyable to eat.
A 9x13 inch ceramic or glass baking dish is recommended for even heat distribution. If you prefer a slightly different flavor profile, you can adjust the spice level by adding a pinch of ground ginger or cloves to the cinnamon sugar topping before baking the bars in your oven. You might also consider using a high-quality pumpkin pie filling to ensure the best flavor, as the quality of the filling directly impacts the final taste of your dessert.
- cinnamon sugar: A mixture of 1 tablespoon granulated sugar and 1 teaspoon ground cinnamon.
Equipment
- 9x13 inch baking dish
- clear glass pitcher
- small ramekin
- spatula
- oven
Up next · Part 2 of 3
3 steps · 25 min of cooking · what to look for at each stage
Step-by-step instructions (Part 2)