Desserts · Part 1 of 3: Ingredients
Easy No-Bake Oreo Icebox Cake
- Prep
- Cook
- Total
- Serves
- 8
Master the art of the icebox cake with this simple, reliable recipe that transforms humble cookies into a sophisticated dessert. By utilizing the power of time and temperature, you create a layered masterpiece that requires absolutely no heat, making it the ideal solution for busy kitchens or warm days.
This method relies on the moisture transition between the crisp cookies and the rich, airy whipped cream to build a texture that is both light and satisfyingly dense.
The icebox cake is a quintessential American dessert that highlights how basic ingredients can become something extraordinary through minimal effort. By stacking layers of chocolate sandwich cookies and homemade whipped cream, you create a structure that softens and binds together into a cohesive, sliceable treat.
This version focuses on the classic combination of cocoa and vanilla cream, providing a balance of flavors that appeals to everyone. It is a foolproof way to prepare a crowd-pleasing dessert that feels special, looks impressive, and requires only a few minutes of active preparation time before the refrigerator does all the heavy lifting.
Ingredients
Ingredients
- 24 count chocolate sandwich cookies
- 3 cups heavy whipping cream, chilled
Why this recipe works
The method works because the dry cookies act as a sponge, gradually absorbing the moisture from the whipped cream. As the cake sits in the refrigerator, the cookies transition from crunchy to soft and cake-like, while the cream permeates every layer to create a unified flavor profile. This process ensures that every bite is perfectly balanced, with no dry or overly soggy spots, provided the layers are constructed with consistent amounts of cream.
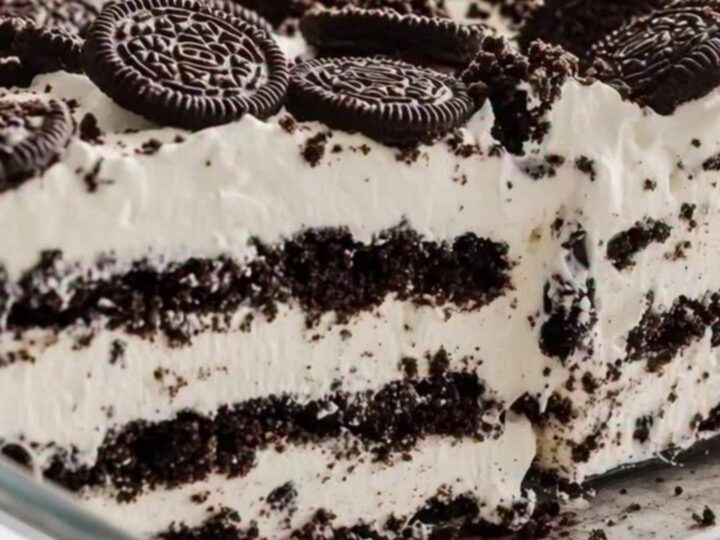
Structurally, the chilled whipped cream acts as a stabilizer. By using stiffly whipped cream, you create a sturdy base that prevents the cake from collapsing during assembly. The cold temperature of the refrigerator is essential to maintain the integrity of the dairy, allowing the fats to firm up and hold the layers in place.
This results in a clean, vertical slice that reveals the beautiful contrast between the dark chocolate cookies and the white cream, making the final presentation as appealing as the taste.
Notes and substitutions
For the best results, use high-quality heavy whipping cream that is thoroughly chilled. If the cream is too warm, it will not whip correctly, leading to a runny consistency that will not support the weight of the cookie layers. Using chilled equipment and keeping the cream in the coldest part of the refrigerator until the last second is essential for achieving the best volume and stability for the final dessert structure.
The choice of equipment is straightforward, but an offset spatula is highly recommended for creating professional-looking, even layers. This tool allows for precise spreading without disturbing the cookies underneath.
If a 9-inch square dish is unavailable, any similar-sized rectangular glass dish can be used, though the number of layers may vary. Always ensure the dish is completely dry before beginning the assembly to prevent any unwanted moisture buildup that could affect the final texture of the cookie base.
- heavy whipping cream: a high-quality pre-made whipped topping can be used if preferred
- chocolate sandwich cookies: any variety of chocolate cream-filled cookie works well
Equipment
- large mixing bowl
- electric hand mixer
- 9-inch square glass baking dish
- offset spatula