Breakfast · Part 1 of 3: Ingredients
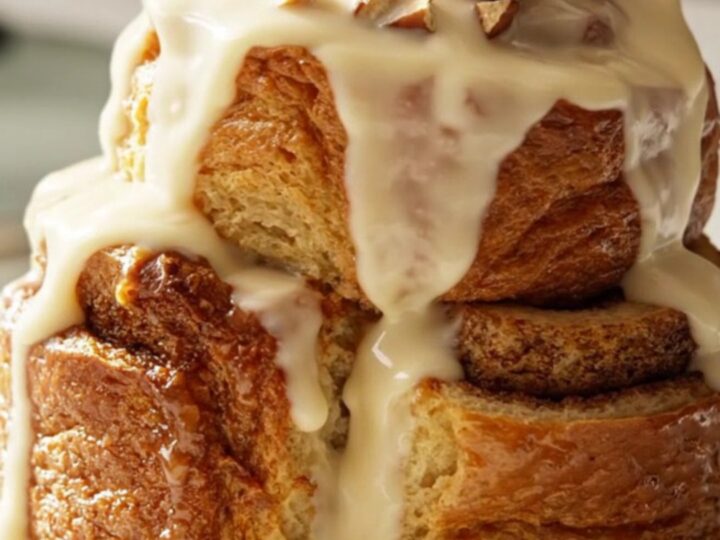
Easy Crockpot Cinnamon Roll French Toast Casserole
- Prep
- Cook
- Total
- Serves
- 8
Imagine waking up on a Sunday morning to the irresistible aroma of freshly baked cinnamon rolls wafting through your home. This Crockpot cinnamon roll French toast casserole is the ultimate comfort food, blending the convenience of a slow cooker with the decadent, caramelized flavors of a classic breakfast bake.
It is the perfect recipe for hosting brunch or simply treating yourself to a leisurely morning without spending hours in the kitchen standing over a hot stove.
This recipe takes refrigerated jumbo cinnamon rolls and elevates them into a rich, custard-soaked breakfast masterpiece. By quartering the rolls and allowing them to soak in a spiced egg and cream mixture, you create a texture that is fluffy on the inside and perfectly golden and caramelized on the edges.
The slow cooker does all the heavy lifting, gently cooking the ingredients so that the custard sets and the cinnamon flavors permeate every single bite. It is a foolproof method for achieving bakery-quality results with minimal effort, making it a reliable staple for any weekend breakfast menu.
Ingredients
Base
- 2 cans refrigerated jumbo cinnamon rolls, quartered
Custard
- 6 large eggs, whisked
- 1 cup heavy cream
- 1/4 cup maple syrup
- 1 tsp ground cinnamon
- 1 tsp vanilla extract
Topping
- 1/2 cup toasted pecans, for serving
Why this recipe works
The slow cooker method provides a gentle, consistent heat that allows the custard to penetrate the cinnamon roll pieces thoroughly without burning the delicate dough. By cooking on low, you ensure the center remains tender and fluffy while the edges develop that sought-after caramelized sugar crust that defines a great French toast casserole.
This preparation is remarkably efficient, requiring only a few minutes of active work to assemble. The dump-and-go approach minimizes cleanup and allows you to focus on other morning tasks while the casserole cooks.
The combination of heavy cream and eggs creates a velvety, rich custard that perfectly balances the sweetness of the cinnamon rolls and the maple syrup infusion.
Notes and substitutions
When selecting cinnamon rolls, choose the jumbo variety for the best texture and structure. Smaller rolls may cook too quickly or lose their shape during the three-hour slow-cook period. If using a different size, monitor the cooking time closely as smaller pieces will likely require less time to set properly in the slow cooker.
The choice of slow cooker matters. This recipe is designed for a standard 6-quart oval or round slow cooker. If you are using a significantly smaller or larger vessel, the cooking time may vary due to the depth of the casserole.
Always ensure your ceramic insert is well-greased, as the sugars in the cinnamon rolls and maple syrup can become quite sticky during the long cooking process.
- Heavy cream: Use half-and-half or whole milk for a lighter custard base, though the final texture will be slightly less rich.
- Toasted pecans: Swap with chopped toasted walnuts or sliced almonds for a different crunch profile.
Equipment
- 6-quart slow cooker
- Whisk
- Mixing bowl
- Silicone spatula
- Kitchen knife
Up next · Part 2 of 3
3 steps · 3 h of cooking · what to look for at each stage
Step-by-step instructions (Part 2)