Dinner · Part 1 of 3: Ingredients
Easy Artisan Sourdough Bread with Crackling Crust
- Prep
- Cook
- Total
- Serves
- 1
There’s nothing quite like the sound of a knife cutting into a freshly baked artisan sourdough loaf—the crust crackles, the crumb steams, and the aroma fills the kitchen. This recipe delivers that experience at home with just four ingredients and a Dutch oven.
The method is forgiving: a simple mix, a few stretch-and-folds, and an overnight rest in the fridge do all the work. The result is a blistered, dark golden boule with an open, honeycomb crumb and a crust that shatters when you bite into it.
Artisan sourdough bread might seem intimidating, but this recipe breaks it down into simple, doable steps. Start with an active sourdough starter, mix it with water, flour, and salt, then let time do the heavy lifting. A few stretch-and-folds build strength without kneading, and an overnight proof in the refrigerator develops deep flavor and makes the dough easy to handle.
Baking in a preheated Dutch oven traps steam, creating the glossy, crackling crust that defines artisan bread. Whether you’re new to sourdough or a seasoned baker, this method is straightforward and reliable. The payoff is a bakery-quality loaf with a crisp crust and a tender, airy crumb—perfect for slathering with butter.
Ingredients
- 100 g active sourdough starter
- 350 g warm water
- 500 g bread flour
- 10 g sea salt
for serving
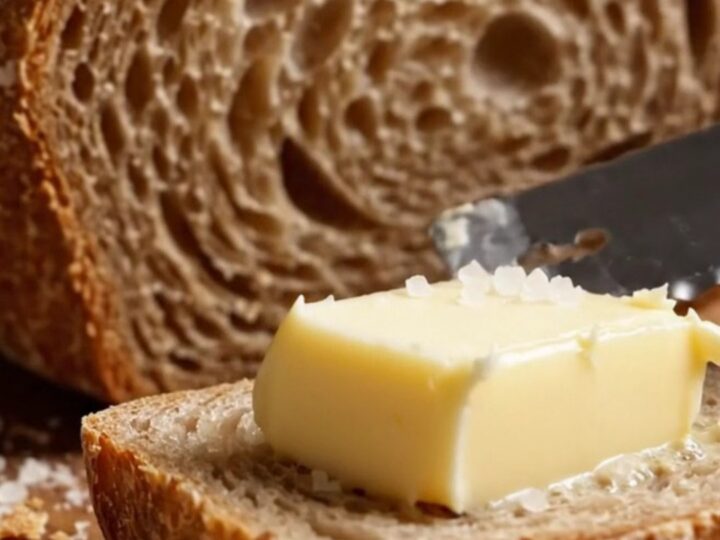
- salted butter, for serving
Why this recipe works
The combination of a high-hydration dough and a long, cold fermentation is what creates the open, airy crumb and complex flavor. The stretch-and-fold technique gently develops gluten without kneading, giving the dough strength and structure.
The cold proof slows fermentation, allowing the dough to develop a tangy depth while also making it firmer and easier to score. This method is forgiving because it doesn’t require precise timing—anywhere from 8 to 12 hours in the fridge works, and the dough will still bake beautifully.
Baking in a preheated Dutch oven is the secret to a crackling crust. The covered pot traps steam released from the dough, keeping the surface moist and allowing the bread to expand fully in the first 20 minutes. Then, removing the lid lets the crust dry out and brown, creating that blistered, shattering exterior.
The high heat of a 450°F oven also gives the loaf a dramatic oven spring, producing a tall, round boule with a beautiful ear where the score opens up. This method is simple, reliable, and yields professional results every time.
Notes and substitutions
An active sourdough starter is essential for this recipe. It should be bubbly and have doubled in volume within a few hours of feeding. If the starter is sluggish, the bread won’t rise as well, so make sure it’s at its peak before mixing. Bread flour gives the best structure and chew, but all-purpose flour can be substituted with a slightly less open crumb. Use warm water—not hot—to keep the yeast happy. The sea salt can be fine or coarse; just measure by weight for accuracy.
A Dutch oven with a tight-fitting lid is the key piece of equipment. Cast iron works best because it retains heat well, but any oven-safe pot with a lid will do. A banneton basket is ideal for proofing, but a bowl lined with a floured kitchen towel works just as well. If you don’t have a lame, a sharp razor blade or a paring knife can be used to score the dough. The parchment paper makes transferring the dough into the hot pot safe and easy, so don’t skip it.
- bread flour: All-purpose flour works, but the crumb will be slightly less chewy and open.
- active sourdough starter: If the starter is very young, add 1/4 teaspoon instant yeast to the dough to ensure a reliable rise.
- sea salt: Fine table salt can be used, but reduce the amount to 8 g because it is denser.
Equipment
- Large mixing bowl
- Dutch oven with lid
- Banneton basket or proofing bowl
- Razor blade or lame
- Parchment paper
- Plastic wrap or kitchen towel
Up next · Part 2 of 3
10 steps · 40 min of cooking · what to look for at each stage
Step-by-step instructions (Part 2)