Desserts · Part 3 of 3: Tips & recipe card
Dreamy No-Bake Coconut Cream Icebox Cake Tips, FAQ & printable recipe
- Prep
- Cook
- Total
- Serves
- 8
Tips for success
To achieve perfectly clean slices, dip your serving knife into a glass of hot water and wipe it dry between each cut.
This slight warmth helps the blade glide through the chilled cream and softened wafers without dragging, ensuring that the beautiful layers remain intact on the serving plate. This professional technique is particularly useful if you are presenting the cake to guests.
If you want to add more flavor, consider adding a teaspoon of pure vanilla extract or a pinch of sea salt to the coconut cream before whipping. These additions can enhance the natural sweetness of the coconut and provide a more complex flavor profile.
Always taste the cream after whipping to ensure it meets your sweetness preferences, adding a small amount of confectioners' sugar if a sweeter result is desired.
Variations
- Chocolate Coconut: Substitute the plain graham wafers with chocolate graham wafers to create a rich, contrast-heavy version of the dessert. The deep cocoa notes pair perfectly with the coconut cream.
- Tropical Fruit: Add a thin layer of finely diced mango or pineapple between the cream and the wafers for a burst of fresh tropical flavor that cuts through the creaminess.
Storage and make-ahead
- Fridge
- Keep refrigerated in an airtight container for up to 2 days.
Store the icebox cake covered tightly with plastic wrap or in an airtight container in the refrigerator. The cake is best consumed within 48 hours of assembly, as the wafers will continue to soften over time. Beyond this period, the texture may become too soft or lose its distinct layered structure, although the flavor will remain delicious.
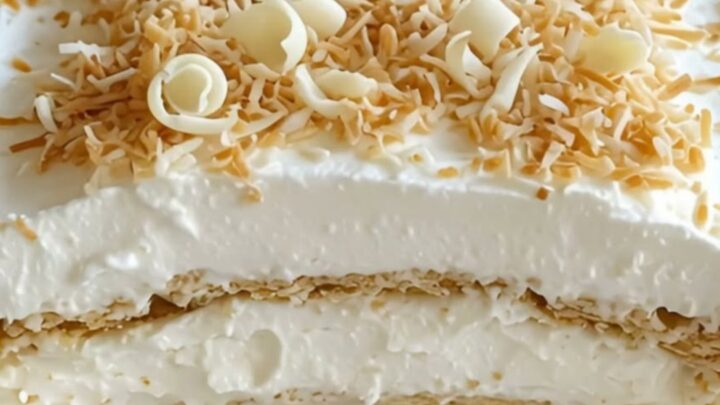
This recipe is an ideal make-ahead dessert. You can assemble the cake up to 24 hours before serving, which actually allows the flavors to meld more thoroughly and the textures to reach the perfect balance. Keep it chilled until the moment you are ready to garnish and serve to ensure the coconut flakes and white chocolate curls retain their optimal crunch.
Serving ideas
Serve the cake chilled directly from the refrigerator for the best texture. Use a wide spatula or a cake server to lift each square carefully from the dish, ensuring that you capture all the layers from top to bottom.
It is a rich, satisfying dessert that pairs wonderfully with a cup of hot black coffee or a light, unsweetened tea, which helps balance the sweetness of the coconut cream.
For an extra touch, you can serve individual portions with a side of fresh berries, such as raspberries or strawberries. The tartness of the fruit provides a bright, acidic contrast to the creamy, tropical profile of the cake.
Place the slices on chilled dessert plates to help maintain the structure of the cream while you are serving, especially if you are eating outdoors or in a warm environment.
Frequently asked questions
Can this be made with dairy whipping cream?
Why did the wafers stay hard?
Is it possible to use canned coconut milk?
Dreamy No-Bake Coconut Cream Icebox Cake
Ingredients
- 2 cups coconut cream, chilled
- 1 box crisp graham wafers
- 1/2 cup toasted coconut flakes
- 1/4 cup white chocolate curls
Instructions
- Whip the chilled coconut cream in a large mixing bowl using an electric hand mixer until it becomes light, airy, and fluffy. Ensure the peaks are firm enough to hold their shape during the layering process.
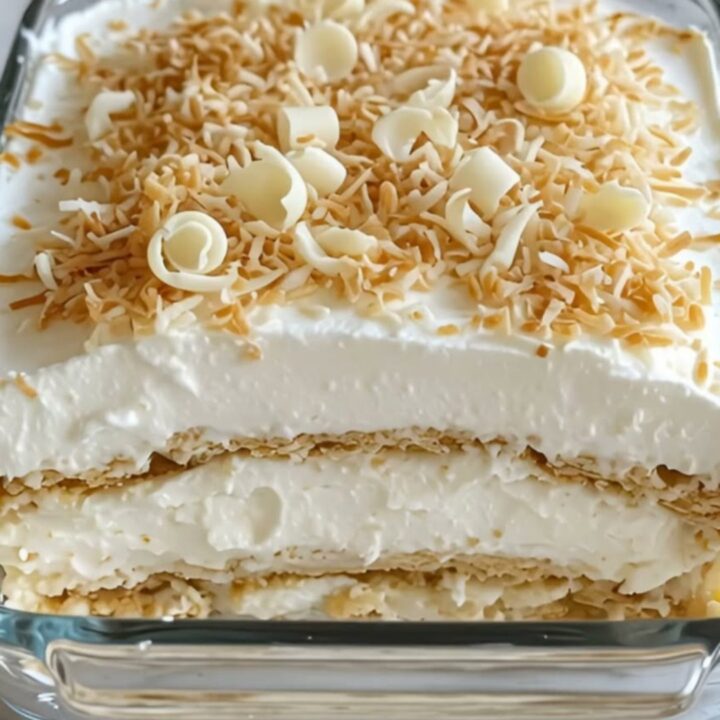
- Spread a thin layer of the whipped coconut cream into the bottom of an 8-inch glass dish. Arrange a layer of crisp graham wafers over the cream. Continue alternating layers of cream and wafers until the dish is filled, finishing with a generous layer of coconut cream on top.
- Sprinkle the toasted coconut flakes and white chocolate curls evenly over the top of the cake. Place the dish in the refrigerator for at least 4 hours, or until the wafers have softened into a cake-like texture.
Estimated nutrition per serving
- Calories
- 380
- Protein
- 3.5 g
- Carbohydrates
- 32 g
- Fat
- 28 g
Next recipe

Ultimate Cookie Dough Brownie Cake
See the recipe → →This recipe is based on a short cooking video and is published under the pen name Clara Weller. It was checked before publication, but errors can slip through. Nutrition, when shown, is an estimate. Read more in our editorial policy and on our food safety page.
More recipes to try
Bakery-Style Strawberry Cream Cake
Total time: 45 min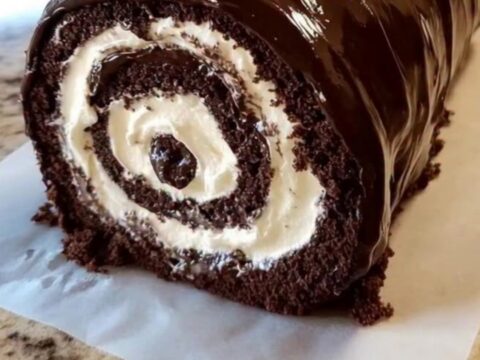
Decadent Chocolate Swiss Roll with Whipped Cream
Total time: 1 h 5 min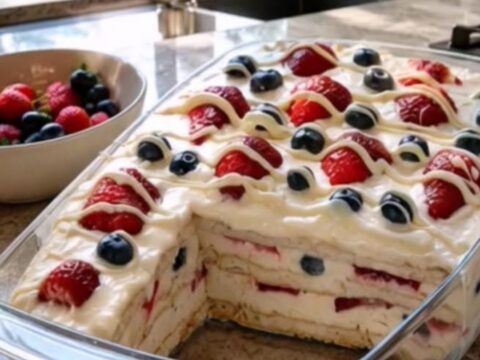
Easy Summer Berry Icebox Cake for Refreshing Dessert
Total time: 4 h 20 min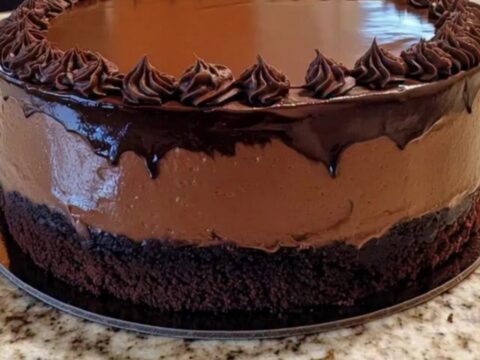
Rich Decadent Chocolate Mousse Cake
Total time: 3 h 15 min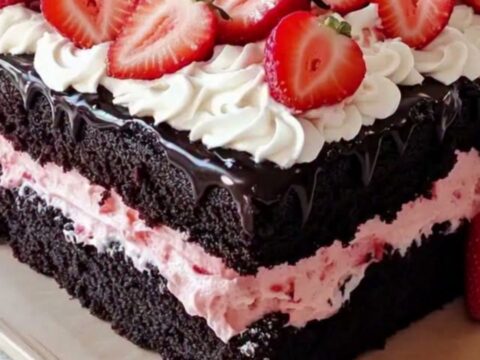
Decadent Chocolate Strawberry Cream Cake
Total time: 50 min