Desserts · Part 1 of 3: Ingredients
Molten Peanut Butter Lava Cake
- Prep
- Cook
- Total
- Serves
- 4
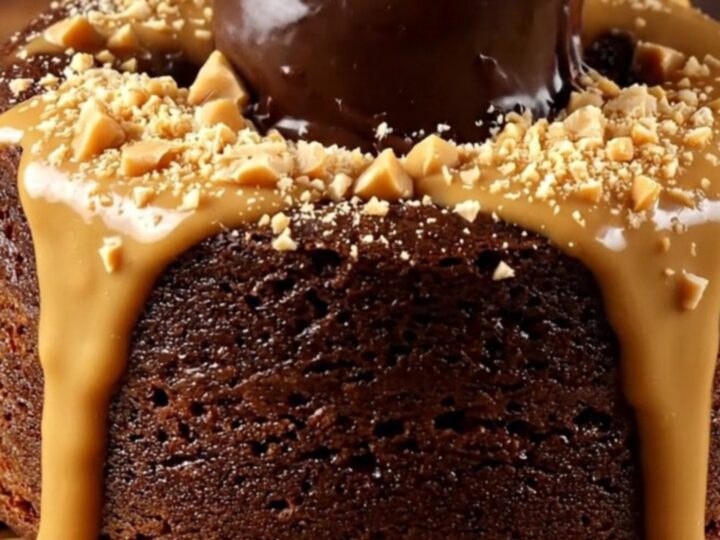
Imagine cutting into a warm, dark chocolate cake and watching a glossy stream of molten peanut butter flow out. This lava cake delivers that dramatic moment in just 13 minutes of baking.
With a crisp outer shell and a gooey, nutty center, it's the ultimate quick dessert for chocolate and peanut butter lovers. No fancy techniques—just a frozen peanut butter sphere hidden inside a rich batter. Perfect for a weeknight indulgence or a dinner party showstopper.
This molten peanut butter lava cake is a twist on the classic chocolate lava cake. Instead of a liquid chocolate center, a frozen sphere of peanut butter and confectioners' sugar melts into a silky, pourable filling.
The batter is simple to whisk together, and the freezing step ensures the center stays molten while the edges bake to a tender crumb. Ready in under 30 minutes, this dessert is both impressive and approachable for any home baker.
Ingredients
- 1/2 cup creamy peanut butter
- 1/4 cup confectioners' sugar
- 4 oz dark chocolate (60-70% cacao), chopped
- 1/2 cup unsalted butter, plus more for ramekins
- 2 large eggs
- 2 large egg yolks
- 1/4 cup granulated sugar
- 1 tsp vanilla extract
- 1/4 cup all-purpose flour
- 1/4 tsp salt
Topping
- 2 tbsp crushed roasted peanuts
- 2 tbsp melted peanut butter
Why this recipe works
The key to a successful lava cake is the frozen center. By freezing a mixture of peanut butter and confectioners' sugar, the filling stays solid during the initial bake, then melts slowly as the cake finishes, creating a thick, molten core. This technique guarantees a dramatic flow every time, without the risk of the filling leaking out prematurely.
The batter itself is a classic chocolate lava cake base: rich, dark, and slightly dense. Using both whole eggs and yolks adds structure and richness, while a high oven temperature (425°F) sets the outside quickly, leaving the center soft and gooey.
The contrast between the firm cake and the liquid peanut butter heart is what makes this dessert unforgettable.
Notes and substitutions
Use a good-quality dark chocolate (60-70% cacao) for the deepest flavor. If you prefer a milder chocolate, semi-sweet chips work well. For a truly smooth filling, use a commercial creamy peanut butter like those found in jars; natural peanut butter that separates may not freeze as firmly and can make the spheres too soft.
The ramekins must be well buttered to ensure the cakes release cleanly. If you don't have ramekins, a muffin tin can work, but reduce the baking time by a couple of minutes.
For a gluten-free version, substitute the all-purpose flour with a 1:1 gluten-free blend. The recipe can also be made dairy-free by using a plant-based butter and dairy-free chocolate, but remember to check the chocolate for milk content.
- dark chocolate: semi-sweet chocolate chips (use dairy-free if needed)
- creamy peanut butter: almond butter or sunflower seed butter
- unsalted butter: salted butter (reduce added salt to a pinch)
- all-purpose flour: gluten-free all-purpose flour blend
Equipment
- 4 (6-oz) ramekins
- Mixing bowls
- Whisk
- Rubber spatula
- Baking sheet
- Freezer-safe tray
Up next · Part 2 of 3
10 steps · 13 min of cooking · what to look for at each stage
Step-by-step instructions (Part 2)