Desserts · Part 3 of 3: Tips & recipe card
Crunchy Hazelnut Praline Chocolate Bars Tips, FAQ & printable recipe
- Prep
- Cook
- Total
- Serves
- 8
Tips for success
For the best texture, use a chocolate bar that already contains wafers or praline, as this adds extra crunch without extra work. When grating the Swiss chocolate, use a coarse grater to create fluffy shavings that melt quickly.
If the melted chocolate is too thick, stir in a teaspoon of coconut oil or vegetable oil to thin it out and achieve a glossy finish.
To get clean, professional-looking bars, chill the slab thoroughly before slicing. Use a sharp chef’s knife and wipe the blade with a damp cloth between cuts to prevent sticking.
For a decorative touch, sprinkle a few crushed wafers on top before the chocolate sets. Store the bars in the refrigerator to keep them firm, but let them sit at room temperature for a few minutes before serving for the best flavor.
Variations
- Dark Chocolate Version: Swap the milk chocolate for dark chocolate (70% cacao) in both the grated and melted forms. Use a dark chocolate hazelnut spread for a less sweet, more intense flavor that still has the crunchy wafer texture.
- Nut-Free Option: Replace the hazelnut praline with a sunflower seed butter or cookie butter, and use wafer cookies that are nut-free. Omit the hazelnut chocolate bars and use plain milk chocolate with extra crushed wafers to maintain the crunch.
- Salted Caramel Swirl: After pouring the melted chocolate, drizzle a few tablespoons of salted caramel sauce over the top and use a toothpick to create swirls. Sprinkle with flaky sea salt before chilling for a sweet-salty contrast.
- White Chocolate Raspberry: Use white chocolate for both the grated and melted layers. Stir a handful of freeze-dried raspberries into the praline-wafer mixture for a tart, fruity crunch. The white chocolate pairs beautifully with the raspberry and hazelnut flavors.
Storage and make-ahead
- Fridge
- Store in an airtight container in the refrigerator for up to 2 weeks. Keep bars separated with parchment paper to avoid sticking.
- Freezer
- Wrap individually in plastic wrap and place in a freezer-safe bag. Freeze for up to 3 months. Thaw in the refrigerator.
- Reheat
- No reheating needed. Let bars sit at room temperature for 5-10 minutes before serving for best texture.
Store the chocolate bars in an airtight container in the refrigerator for up to 2 weeks. Keep them separated by parchment paper to prevent sticking. For longer storage, wrap each bar individually in plastic wrap and place in a freezer-safe bag. The bars can be frozen for up to 3 months. Thaw in the refrigerator before serving.
These bars are ideal for making ahead. Prepare the slab, chill, and slice into bars. Store in the refrigerator or freezer until ready to serve. They can be made up to 2 weeks in advance if kept refrigerated, or up to 3 months if frozen. Bring to room temperature for a few minutes before serving to soften slightly.
Serving ideas
Serve the chocolate bars as a quick dessert or snack. They pair beautifully with a cup of coffee or tea, and the crunchy texture is a delight on its own.
For a more indulgent presentation, arrange the bars on a platter and dust with cocoa powder or powdered sugar. They also make excellent homemade gifts—wrap them in parchment and tie with twine.
For a fun twist, use the bars as a topping for ice cream or chop them up and sprinkle over yogurt or oatmeal. The combination of creamy chocolate and crunchy praline is versatile and always satisfying.
If serving at a party, cut the bars into smaller squares for bite-sized treats. The bars are sturdy enough to travel, making them perfect for picnics or lunchboxes.
Frequently asked questions
Can this recipe be made without a box grater?
What can be used instead of hazelnut jonduya wafer crunch chocolate bars?
How long do the bars need to chill before slicing?
Can the melted chocolate be made from scratch?
Why do the bars crack when slicing?
Crunchy Hazelnut Praline Chocolate Bars
Ingredients
- 4 hazelnut jonduya wafer crunch milk chocolate bars
- 200 g creamy Swiss milk chocolate
- 1/2 cup creamy hazelnut jonduya praline
- 1/2 cup crushed crispy wafers
- 1 cup glossy melted chocolate
Instructions
- Place the hazelnut jonduya wafer crunch milk chocolate bars on a cutting board. Using a sharp stainless steel chef's knife, slice each bar into smaller pieces. Grate the creamy Swiss milk chocolate on a box grater into a bowl to create a pile of fluffy chocolate shavings.
- In a bowl, combine the creamy hazelnut jonduya praline with the crushed crispy wafers. Stir until the wafers are evenly coated with the praline, creating a thick, spreadable mixture.
- Line a metal tray with parchment paper. Spread the praline-wafer mixture evenly across the tray, pressing it into a flat, even layer. Ensure the layer is uniform so the bars have a consistent thickness.
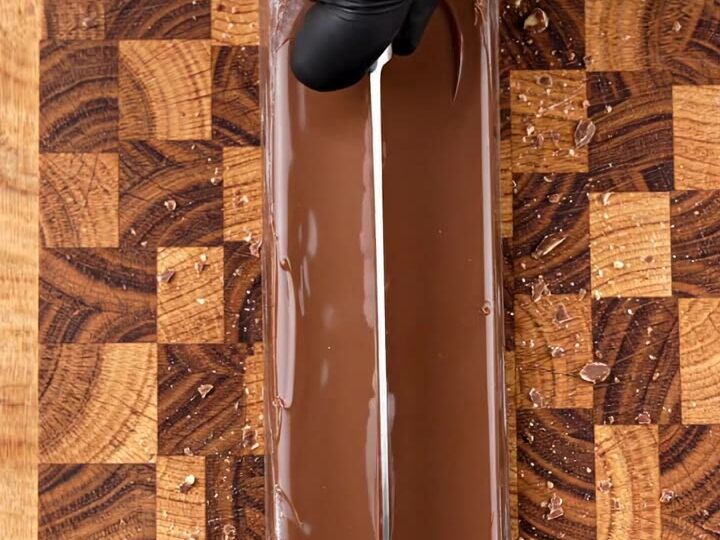
- Pour the glossy melted chocolate over the praline-wafer layer. Use a spatula to spread the chocolate evenly, covering the entire surface and reaching the edges. Smooth the top to create a glossy finish.
- Place the tray in the refrigerator and chill for at least 30 minutes, or until the chocolate is fully set and firm. Once set, remove the slab from the tray and place it on a cutting board. Use a sharp chef's knife to slice the slab into thick bars.
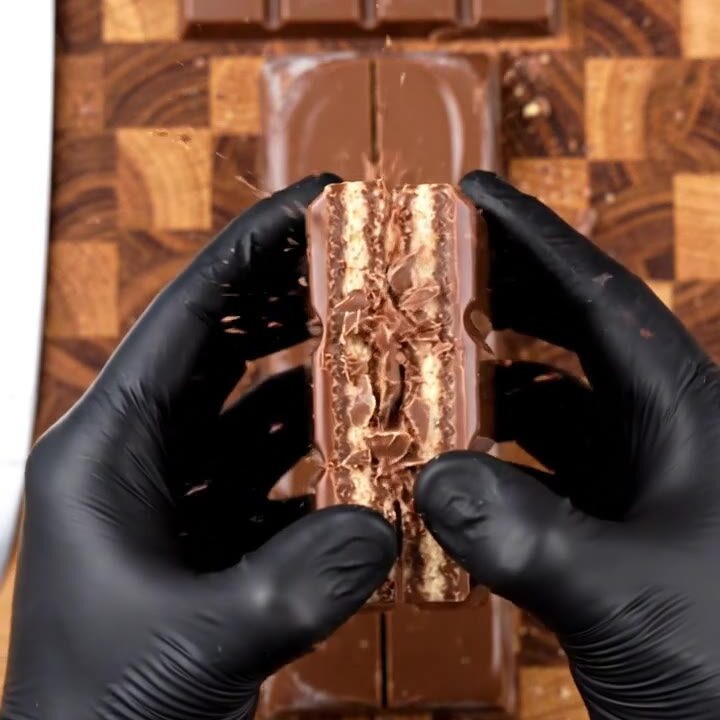
- Lift one thick bar and snap it cleanly in half to reveal the crunchy layered interior. Serve the bars as a quick dessert or snack.
Estimated nutrition per serving
- Calories
- 350
- Protein
- 4 g
- Carbohydrates
- 35 g
- Fat
- 22 g
Next recipe

Pistachio Rosewater Raspberry Mascarpone Cake
See the recipe → →This recipe is based on a short cooking video and is published under the pen name Clara Weller. It was checked before publication, but errors can slip through. Nutrition, when shown, is an estimate. Read more in our editorial policy and on our food safety page.
More recipes to try
Salted Pistachio Honeycomb Dark Chocolate Crunch Bark
Total time: 1 h 25 min
Easy Crockpot Peach Cobbler Dump Cake
Total time: 3 h 10 min
Molten Hazelnut Chocolate Shortbread Cookies
Total time: 35 min
Crispy Walnut Kadayıf Custard Dessert
Total time: 1 h 5 min
Toasted Flour Cinnamon Apple Cookies
Total time: 50 min