Desserts · Part 1 of 3: Ingredients
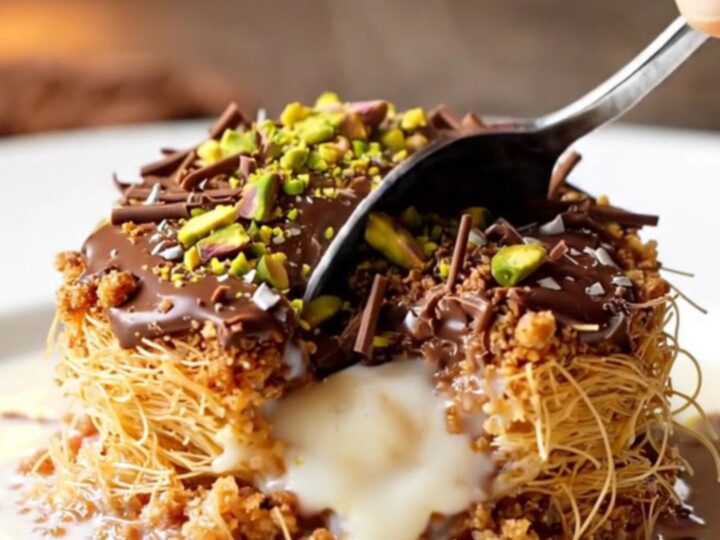
Crunchy Cold Chocolate Kadayıf with Pistachios
- Prep
- Cook
- Total
- Serves
- 8
This cold chocolate kadayıf is a Turkish dessert that turns shredded phyllo pastry into crisp, buttery nests, then soaks them with a cold white chocolate milk syrup.
The contrast of hot, crunchy pastry and icy, creamy syrup is pure magic, finished with dark chocolate shavings and bright pistachios. It's a showstopper for any gathering, and surprisingly simple to make at home.
Kadayıf, also known as shredded phyllo, is a staple in Middle Eastern sweets. Here, it's baked until golden and crisp, then drenched with a chilled white chocolate milk syrup that seeps into every strand.
After a rest in the fridge, the pastry turns delightfully chewy with a crunchy crust. The result is a dessert that's at once rich, refreshing, and utterly addictive. This recipe captures the viral sensation of cold chocolate kadayıf, bringing the café experience to your kitchen.
Ingredients
- 400 g raw kadayıf (shredded phyllo)
- 200 g unsalted butter, melted
- 1/2 cup shelled pistachios, roughly chopped
White Chocolate Milk Syrup
- 200 g white chocolate, chopped
- 1 1/2 cups whole milk
- 1/2 cup granulated sugar
- 1 tsp vanilla extract
Topping
- 60 g dark chocolate, for shaving
- 1/4 cup shelled pistachios, finely chopped
Why this recipe works
The magic of this dessert lies in the contrast between the hot, crisp kadayıf and the cold, milky syrup. When the cold syrup hits the hot pastry, it creates a gentle sizzle that allows the syrup to be absorbed gradually, keeping the strands tender without turning soggy.
This technique, borrowed from classic Turkish desserts, ensures every bite has a satisfying crunch followed by a creamy, sweet finish.
Using white chocolate in the syrup adds a rich, vanilla-like sweetness that complements the nutty pistachios and the dark chocolate garnish.
The butter in the pastry provides a golden, savory note that balances the sweetness. The result is a dessert that is both indulgent and balanced, with textures that range from shatteringly crisp to silky smooth.
Notes and substitutions
Kadayıf (shredded phyllo) is available in Middle Eastern grocery stores or online. If you can't find it, you can substitute with finely shredded phyllo dough or even angel hair pasta, though the texture will differ slightly. The key is to coat the strands thoroughly with butter so they crisp up evenly in the oven.
Use a good-quality white chocolate for the syrup, as it will melt smoothly and provide a clean flavor. For the topping, a dark chocolate with at least 60% cocoa adds a pleasant bitterness that cuts through the sweetness. Pistachios are traditional, but you can use other nuts like almonds or hazelnuts if you prefer.
- raw kadayıf: shredded phyllo dough (thawed if frozen) or angel hair pasta (cooked until al dente, then dried) as a substitute.
- whole milk: use 2% or oat milk for a slightly lighter syrup; the consistency will be similar.
- white chocolate: use a high-quality white chocolate bar or white chocolate chips; avoid white chocolate melting wafers if possible.
- shelled pistachios: use unsalted pistachios or substitute with chopped almonds or hazelnuts for a different nutty crunch.
Equipment
- Mixing bowl
- 8 small Turkish coffee cups or ramekins
- Baking dish (9x13-inch)
- Saucepan
- Whisk
- Box grater
- Serving plates
Up next · Part 2 of 3
6 steps · 30 min of cooking · what to look for at each stage
Step-by-step instructions (Part 2)