Dinner · Part 2 of 3: Instructions
Crockpot Country Gravy Chicken Breasts for an Easy Dinner Step-by-step instructions
- Prep
- Cook
- Total
- Serves
- 4
Before you start
Before beginning, ensure that your slow cooker is placed on a stable, heat-resistant surface. Have all ingredients measured and ready, including the diced onions and the pre-made country gravy.
If the chicken is cold from the refrigerator, let it sit for about 15 minutes before starting to ensure it does not drastically lower the temperature of the cooker.
Ingredients at a glance (5)
- 4 pieces boneless skinless chicken breasts
- 1 cup diced onion
- 1/2 tsp black pepper
- 1/2 tsp garlic powder
- 2 cups country gravy
Instructions
Preparation and assembly
- Assemble the slow cookerPlace the boneless skinless chicken breasts into the base of the slow cooker in an even, single layer. Ensure the chicken is not overly crowded to allow for consistent heat distribution during the cooking process.Look for The chicken lies flat on the bottom of the cooker.Tip Pat the chicken dry with paper towels before placing it in the cooker to remove excess surface moisture.
The chicken is arranged in a flat, even layer within the slow cooker. The aroma of the raw onions and garlic is present, and the gravy is ready to be poured over the top.
Seasoning and saucing
- Add aromatics and sauceScatter the diced onion evenly over the top of the raw chicken. Sprinkle the black pepper and garlic powder over the onions and chicken, then pour the country gravy mixture carefully over the entire assembly, ensuring all pieces are well-coated.Look for The gravy coats the chicken and onions completely.Tip Use a whisk to ensure the gravy is smooth before pouring it into the slow cooker.
The onions and spices have been layered over the chicken, and the gravy has been added. The ingredients should look uniform, with the gravy surrounding the chicken breasts entirely and completely.
Slow cooking to tenderness
- Slow cook and serveCover the slow cooker and cook on low for 4 hours. Once the time is up, verify that the internal temperature of the chicken has reached 165°F (74°C). Remove the chicken, let it rest for 5 minutes, and serve smothered in the thickened, flavorful sauce.Look for The chicken is soft, tender, and fully cooked through.Safe temperature 165°F (74°C) internal temperature (poultry)Tip Check the temperature at the thickest part of the breast to ensure it is fully cooked.
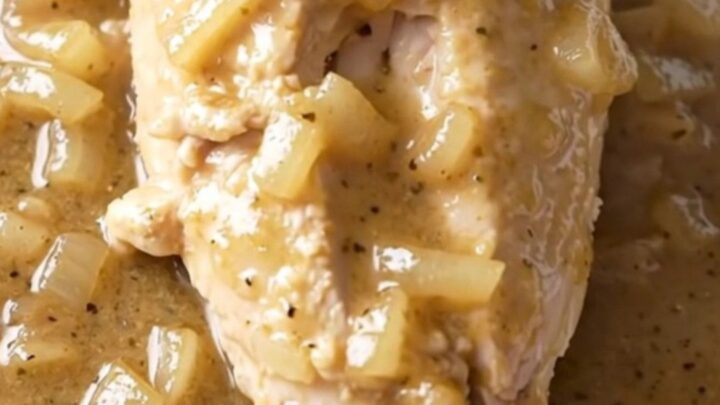
The chicken is fully cooked, soft, and smothered in a thick, fragrant gravy. The internal temperature is verified at 165°F (74°C), and the sauce has reached a creamy, consistent texture.
Common mistakes
A common mistake is overcrowding the slow cooker, which can prevent even heat distribution and lead to unevenly cooked chicken.
Another error is lifting the lid too frequently; every time the lid is removed, heat escapes and the cooking time is extended.
Always ensure the gravy covers the chicken pieces adequately to prevent the surface of the meat from drying out.
How to tell it’s done
The chicken is done when it is fork-tender and pulls apart easily. Most importantly, use a meat thermometer to check that the internal temperature has reached 165°F (74°C).
This ensures the meat is safe to eat while remaining moist and succulent after the required resting period of five minutes.
- Poultry: 165°F (74°C) in the thickest part
Up next · Part 3 of 3
2 variations · storage & make-ahead · 3 answers · printable card
Tips, FAQ & printable recipe (Part 3)← Back to the ingredients (Part 1)