Dinner · Part 1 of 3: Ingredients
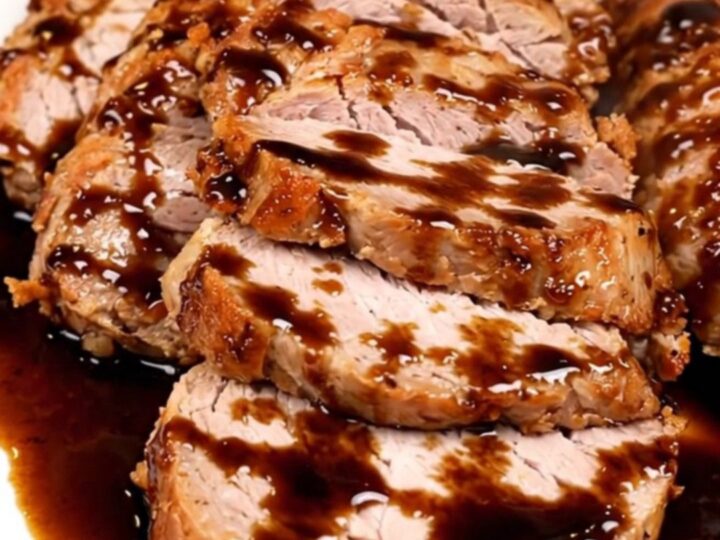
Crockpot Balsamic Rosemary Pork Tenderloin
- Prep
- Cook
- Total
- Serves
- 4
Master the art of hands-off cooking with this simple balsamic rosemary pork tenderloin. This dish highlights how minimal effort can yield deep, complex flavors, making it a perfect candidate for busy weeknights when you want a high-quality meal without spending hours standing at the stove.
By utilizing the slow cooker, you transform a modest cut of meat into a centerpiece that feels special enough for guests yet remains simple enough for any Tuesday evening dinner at home.
The beauty of this recipe lies in its simplicity. By combining lean pork tenderloin with the sharp, acidic notes of balsamic vinegar and the earthiness of dried rosemary, the slow cooker works to break down the fibers while infusing the meat with a rich, glossy finish.
This method ensures that the pork stays moist and flavorful, creating a sophisticated main course that looks impressive on any dinner table while requiring only a few minutes of active preparation time. It is a reliable, straightforward approach to cooking that rewards patience with a tender, aromatic result that is consistently satisfying.
Ingredients
- 1 lb pork tenderloin, trimmed
- 1 cup sliced red onion
- 1 tsp dried rosemary
- 1/2 cup balsamic vinegar
Why this recipe works
The slow cooking process is ideal for pork tenderloin because it gently cooks the meat, preventing it from becoming tough or chewy. The balsamic vinegar acts as both a flavoring agent and a tenderizer, as its natural acidity helps to soften the connective tissues in the meat over the extended cooking period. This allows the flavors to penetrate deeply, ensuring that the pork is not just cooked, but fully seasoned throughout every single bite.
By keeping the slow cooker lid closed throughout the process, the environment remains humid, which is critical for maintaining the moisture levels of the lean tenderloin. The addition of red onions provides a subtle sweetness that balances the intensity of the balsamic vinegar, resulting in a well-rounded sauce that coats the meat perfectly.
This controlled environment is the secret to achieving a succulent texture that is difficult to replicate with faster, higher-heat cooking methods in a standard kitchen oven.
Notes and substitutions
Pork tenderloin is a very lean cut of meat, so it is important not to overcook it. If the tenderloin is particularly thick, it may take slightly longer, but checking the internal temperature with a meat thermometer is the most reliable way to ensure it is finished without drying out. Always use a digital probe to verify the temperature, as visual cues can be misleading when working with lean cuts that can dry out rapidly if left in the heat for even a few minutes too long.
While dried rosemary is used here for its concentrated flavor, fresh rosemary can also be used if preferred. If using fresh, increase the amount to one tablespoon to account for the difference in potency.
Ensure the slow cooker insert is clean and properly seated in the base before starting the cooking cycle. Using a high-quality balsamic vinegar will also make a noticeable difference in the final depth of the glaze, as the sugars in the vinegar will concentrate during the long, slow cooking process.
- dried rosemary: 1 tablespoon fresh chopped rosemary leaves
- balsamic vinegar: balsamic glaze for a thicker, sweeter finish
Equipment
- slow cooker
- measuring cups
- measuring spoons
- knife
- cutting board
Up next · Part 2 of 3
3 steps · 4 h of cooking · what to look for at each stage
Step-by-step instructions (Part 2)