Dinner · Part 1 of 3: Ingredients
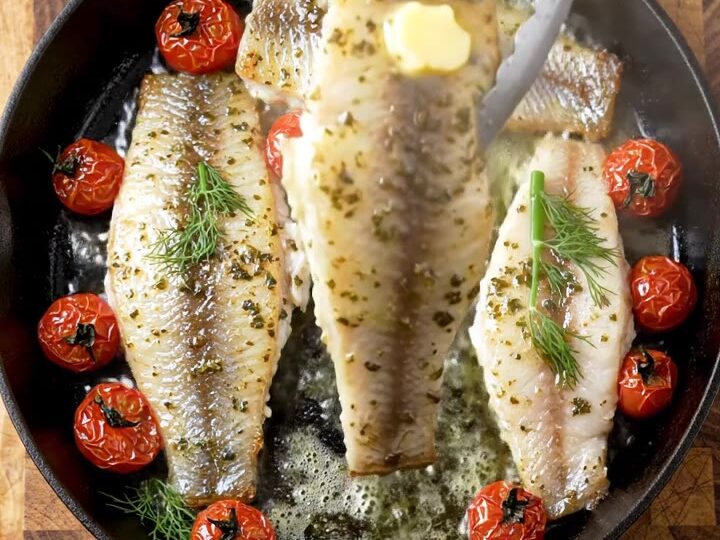
Crispy Skillet Arctic Char with Garlic Dill Butter
- Prep
- Cook
- Total
- Serves
- 2
Crispy skin is the holy grail of pan-seared fish, and this Arctic Char recipe delivers it with a foolproof crosshatch scoring technique and a screaming-hot cast iron skillet.
The fillets are seared skin-side down until the skin shatters like glass, then flipped and basted with a foaming garlic dill butter that turns every bite rich and aromatic. Blistered cherry tomatoes add bursts of acidity, while a fine snow of Parmigiano-Reggiano melts into the sauce for a salty, nutty finish.
This recipe turns a single Arctic Char fillet into a showstopping main course with minimal effort. The method is built around two key moves: scoring the skin in a crosshatch pattern to ensure even rendering and maximum crispness, and basting the fish with a foaming garlic dill butter that keeps the flesh moist and impossibly flavorful.
Cherry tomatoes blister in the same pan, soaking up the buttery juices, and a last-minute shower of grated Parmigiano-Reggiano adds a savory depth that ties everything together. Serve it straight from the skillet with crusty bread or a simple green salad, and dinner is done.
Ingredients
- 2 Arctic Char fillets (6 oz each), skin on
- 1 tsp kosher salt
- 1/2 tsp freshly ground black pepper
- 1/4 cup grated Parmigiano-Reggiano cheese
- 2 tbsp fresh dill, chopped
- 3 cloves garlic, minced
- 3 tbsp unsalted butter
- 1 cup cherry tomatoes
Why this recipe works
Scoring the skin in a crosshatch pattern is the secret to shatteringly crisp results. The shallow cuts expose more surface area to the hot pan, allowing the fat to render quickly and the skin to crisp evenly without curling. This technique also prevents the fillet from bowing, so the entire skin stays in contact with the cast iron, creating a uniform golden crust.
Basting with foaming butter is a classic restaurant technique that works wonders here. As the butter melts and foams, it emulsifies with the fish's natural juices and the garlic and dill, creating a glossy, flavorful sauce.
The butter also gently cooks the top of the fish, keeping the flesh tender and moist while the skin stays crisp. The addition of Parmigiano-Reggiano at the end adds a nutty, salty note that balances the richness.
Notes and substitutions
Arctic Char is a close cousin of salmon and trout, with a delicate flavor and a beautiful silver skin. If you can't find it, salmon or trout fillets work beautifully with the same method. Look for fillets that are about 1 inch thick and have the skin intact. Ask the fishmonger to scale them if needed, but leave the skin on — it's essential for the crisp texture.
A cast iron skillet is ideal for this recipe because it holds heat evenly and gets screaming hot, which is key for crisp skin. If you don't have cast iron, use a heavy stainless steel or carbon steel pan.
Make sure the fish is patted completely dry before searing — moisture is the enemy of crispness. Use a fish spatula to flip the fillets gently without breaking them.
- Arctic Char: Salmon or trout fillets, skin on, work well with the same method.
- Fresh dill: Use 1 tsp dried dill, but add it to the butter early so it softens.
- Parmigiano-Reggiano: Pecorino Romano or Grana Padano add a similar salty, nutty finish.
- Unsalted butter: Salted butter works; just reduce the added salt by half.
Equipment
- Cast iron skillet
- Box grater
- Chef's knife
- Cutting board
- Fish spatula
- Measuring spoons
- Paper towels
Up next · Part 2 of 3
6 steps · 12 min of cooking · what to look for at each stage
Step-by-step instructions (Part 2)