Dinner · Part 3 of 3: Tips & recipe card
Crispy Pugliese Focaccia Barese with Sun-Dried Tomatoes Tips, FAQ & printable recipe
- Prep
- Cook
- Total
- Serves
- 8
Tips for success
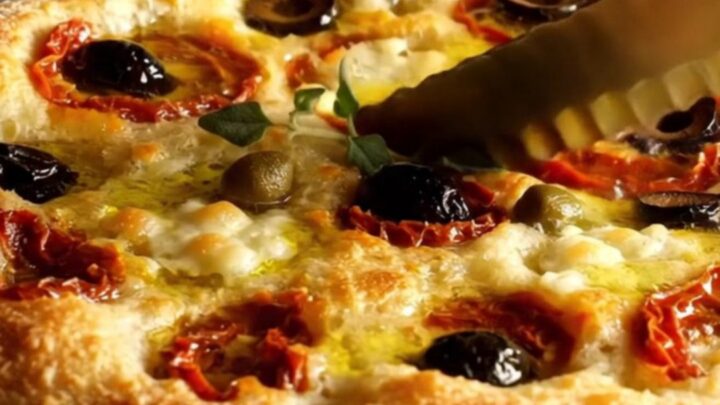
For an extra layer of flavor, drizzle a final ribbon of your best cold-pressed extra virgin olive oil over the focaccia immediately after removing it from the oven.
This adds a fresh, peppery finish that cuts through the richness of the dough and highlights the brightness of the sun-dried or fresh tomatoes. Letting the oil soak into the warm, dimpled surface creates a luxurious mouthfeel that is characteristic of the finest Italian bakeries.
If you prefer a more intense tomato flavor, you can lightly salt the hand-crushed tomatoes and let them drain in a sieve for 10 minutes before adding them to the dough. This removes excess water, preventing the bread from becoming too moist during the bake.
This technique is particularly useful if your tomatoes are very juicy, ensuring that the focaccia remains crispy and does not become soggy in the center, maintaining the perfect structural integrity of the base.
Variations
- Rosemary and Sea Salt: Omit the tomatoes and olives. Instead, top the dough with fresh rosemary sprigs and a generous sprinkling of flaky sea salt before baking for a more aromatic and savory version.
- Roasted Garlic and Onion: Press thin slices of red onion and cloves of roasted garlic into the dimples along with the olives for a sweet, caramelized flavor profile that complements the potato dough.
Storage and make-ahead
- Fridge
- Store in an airtight container for up to 3 days. Reheat in a 400°F oven for 5-8 minutes to crisp the crust.
- Freezer
- Wrap tightly in plastic wrap and foil for up to 1 month. Thaw at room temperature before reheating.
- Reheat
- Place in a 400°F oven or toaster oven for 5-10 minutes until the crust is crispy and the center is warmed through.
Store any leftover focaccia in an airtight container at room temperature for up to one day to maintain the crispiness of the crust. For longer storage, keep it in the refrigerator for up to three days. Note that the crust will soften significantly when stored, so it is best to reheat it in a hot oven or toaster oven to restore that signature crunch before serving.
You can prepare the potato-enriched dough up to 24 hours in advance and allow it to complete its primary fermentation in the refrigerator. Once you are ready to bake, bring the dough to room temperature, place it in the oiled pan, and allow it to proof for a second time before adding the toppings and baking. This slow fermentation develops a deeper, more complex flavor in the dough.
Serving ideas
Serve this focaccia warm, sliced into generous squares or wedges, as an impressive appetizer or a side dish for a hearty Mediterranean meal.
It pairs beautifully with a simple salad of arugula and shaved parmesan, or as part of an antipasto platter featuring cured meats and aged cheeses. The robust flavors of the tomatoes and olives make it substantial enough to stand alone as a snack or a light lunch.
When serving, consider providing extra olive oil on the side for dipping, especially if you have guests who appreciate the peppery notes of a high-quality oil.
The focaccia is best enjoyed within a few hours of baking while the crust is at its absolute peak of crispiness. If you have guests, slice the bread right before they arrive to ensure the aroma of the oregano and roasted tomatoes fills the room.
Frequently asked questions
Can this focaccia be made ahead of time?
Why is the bottom of the focaccia not crispy?
What if a cast-iron pan is not available?
Crispy Pugliese Focaccia Barese with Sun-Dried Tomatoes
Ingredients
- 1 recipe potato-enriched focaccia dough, prepared ahead
- 1 cup hand-crushed tomatoes
- 1/3 cup Bari olives, pitted
- 1 tbsp dried oregano
- 3 tbsp extra virgin olive oil, plus more for drizzling
- 2 tbsp semolina flour, for dusting
Instructions
- Generously oil your cast-iron or round baking pan with extra virgin olive oil. Dust the bottom of the pan evenly with semolina flour. The semolina is the secret to achieving that signature crispy, golden-brown bottom crust that defines a true Focaccia Barese.
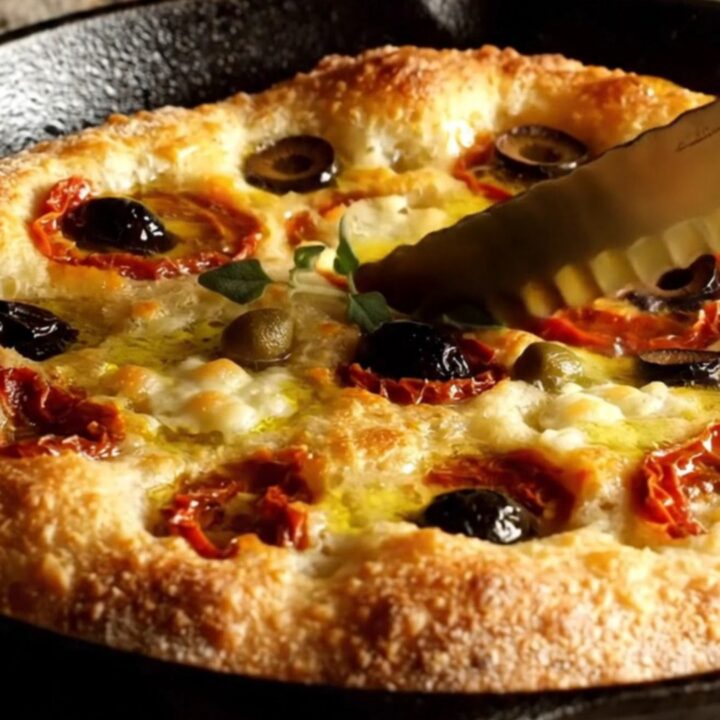
- Place the prepared potato-enriched dough into the pan. Gently press the hand-crushed tomatoes into the surface of the dough, creating characteristic dimples. Distribute the Bari olives evenly across the surface and sprinkle generously with dried oregano. Press the ingredients firmly so they partially sink into the dough.
- Preheat your oven to 475°F (246°C). Place the pan in the oven and bake for exactly 20 minutes. The focaccia is ready when the edges are charred and crispy, the tomatoes are blistered, and the dough has puffed up to a beautiful golden brown color. Remove from the oven immediately.
Estimated nutrition per serving
- Calories
- 280
- Protein
- 6.5 g
- Carbohydrates
- 38 g
- Fat
- 11.5 g
- Fiber
- 2 g
- Sugar
- 1.5 g
- Sodium
- 450 mg
Next recipe

Korean Corn-Cheese Stuffed Crust Bulgogi Pizza
See the recipe → →This recipe is based on a short cooking video and is published under the pen name Clara Weller. It was checked before publication, but errors can slip through. Nutrition, when shown, is an estimate. Read more in our editorial policy and on our food safety page.
More recipes to try

Crispy Mortadella Burrata Focaccia Sandwich
Total time: 18 min
Philly Cheesesteak Stuffed Crust Pizza
Total time: 50 min
Crispy Stuffed Pizza Baguette Boat
Total time: 27 min
Hot Dog Stuffed Crust Pizza with Mustard-Cheddar Glaze
Total time: 55 min
Braided Chicken Alfredo Pizza Bread: Comfort Bake
Total time: 1 h