Desserts · Part 1 of 3: Ingredients
Crispy Pistachio Katmer: Quick Turkish Filo Pastry
- Prep
- Cook
- Total
- Serves
- 4
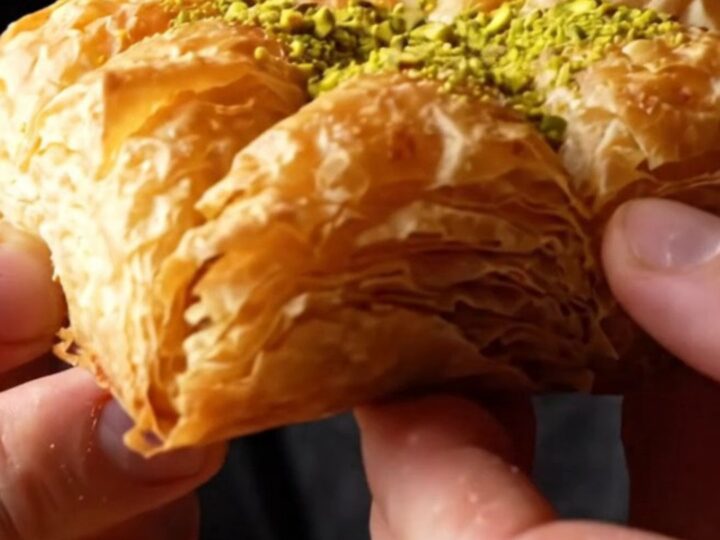
This Turkish katmer brings the iconic flavors of Gaziantep to your kitchen in under 30 minutes. Paper-thin filo is brushed with clarified butter, filled with rich clotted cream, and showered with vibrant green pistachios, then baked until golden and shatteringly crisp.
The result is a dessert that looks and tastes like a pastry shop masterpiece, yet comes together with simple ingredients and a few easy folds. Perfect for impressing guests or indulging in a special treat at home.
Katmer is a beloved Turkish pastry, especially famous in Gaziantep, where pistachios are a point of pride. This version captures the essence of the classic: layers of delicate filo, a generous filling of clotted cream (kaymak), and a generous dusting of finely ground Antep pistachios.
The contrast of textures—crisp, buttery pastry against cool, creamy filling—is simply irresistible. With just a handful of ingredients and a quick bake, this recipe makes an elegant dessert that feels both luxurious and approachable.
Ingredients
- 4 sheets paper-thin Turkish baklava yufka (or phyllo dough)
- 150 g clotted cream (kaymak or mascarpone)
- 100 g finely ground vibrant green Antep pistachios
- 50 g granulated sugar
- 40 g clarified butter, melted
- Crushed pistachios for garnish, to taste
Why this recipe works
The technique of layering and buttering each sheet of filo is what creates the signature crisp, flaky texture. As the pastry bakes, the butter steams and separates the thin layers, producing a golden, shatteringly crisp crust that shatters with every bite. The high oven temperature (425°F) ensures rapid puffing and browning, so the pastry cooks quickly without drying out.
The filling is intentionally simple: thick clotted cream provides a rich, velvety contrast to the crunchy pastry, while the pistachio-sugar mixture adds a sweet, nutty flavor and a vibrant green color.
The cream acts as a barrier, keeping the pistachios moist and preventing them from burning during the short bake. The result is a balanced dessert where every element shines.
Notes and substitutions
Clotted cream (kaymak) is traditional, but mascarpone is an excellent substitute—both are thick, rich, and spreadable. If using mascarpone, let it come to room temperature for easier handling. For the pistachios, look for vibrant green Antep pistachios if available; they have a distinctive flavor and color. Regular pistachios work too, but the color may be less striking.
Phyllo dough is delicate, so keep it covered with a damp towel while assembling. If the sheets tear, don't worry—they will still bake into a beautiful, rustic pastry.
Clarified butter (ghee) is ideal because it has a higher smoke point and richer flavor, but melted unsalted butter works as well. The recipe comes together quickly, so have all ingredients measured and ready before starting.
- clotted cream (kaymak): Mascarpone or full-fat cream cheese blended with a little heavy cream to soften.
- Turkish baklava yufka: Standard phyllo dough, thawed according to package directions.
- clarified butter: Regular unsalted butter, melted and skimmed.
Equipment
- Baking sheet
- Parchment paper
- Pastry brush
- Pizza wheel or sharp knife
- Mixing bowls
- Measuring spoons
Up next · Part 2 of 3
8 steps · 8 min of cooking · what to look for at each stage
Step-by-step instructions (Part 2)