Dinner · Part 1 of 3: Ingredients
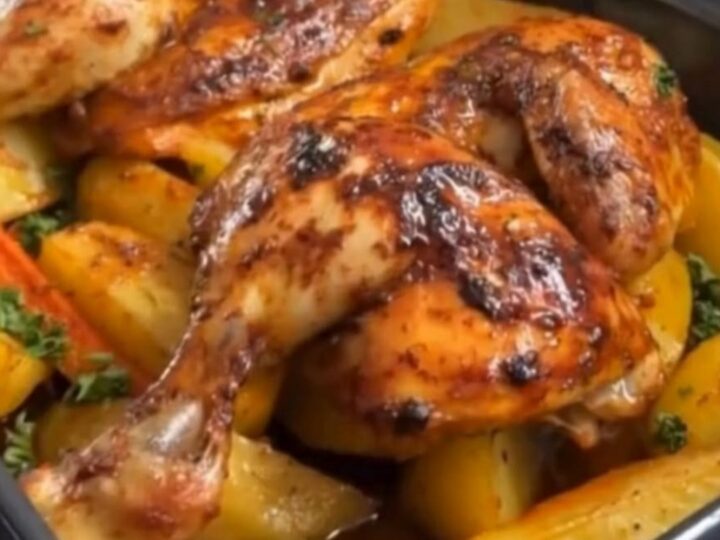
Crispy Oven-Roasted Spatchcock Chicken with Golden Potatoes
- Prep
- Cook
- Total
- Serves
- 6
Few culinary sights rival a perfectly roasted whole chicken emerging from the oven with a deeply golden, glistening skin. This recipe elevates the classic Sunday roast by using the spatchcock method, which flattens the bird for faster, more even cooking. Accompanied by tender, caramelized root vegetables that baste in the rich pan drippings, this dish is a magnificent centerpiece for any gathering.
Preparing a whole roast chicken can sometimes feel like a delicate balancing act between keeping the breast meat moist and ensuring the thighs are fully cooked. Spatchcocking solves this dilemma entirely. By removing the backbone and flattening the chicken, every part of the bird cooks at the same rate.
This recipe pairs the spatchcocked chicken with a seasoned butter rub, roasting it directly on top of potato wedges and carrots. As the chicken roasts, its savory juices and melted butter drip down, infusing the vegetables with incredible depth of flavor and creating a complete, satisfying meal in a single roasting pan.
Ingredients
- 1 whole chicken, spatchcocked (about 4 to 5 pounds)
- 1/2 cup unsalted butter, softened
- 1 tbsp poultry seasoning
- 4 large Yukon Gold potatoes, cut into wedges
- 4 medium carrots, peeled and cut into 2-inch chunks
- fresh herbs, finely chopped, for serving
Why this recipe works
The spatchcock technique is highly effective because it exposes more surface area to the direct heat of the oven. Traditional roast chickens have a hollow cavity that slows down heat transfer, often leading to overcooked, dry breast meat by the time the dark meat reaches a safe temperature.
Flattening the chicken ensures that the breasts and thighs lie on a single, even plane. This configuration allows the circulating hot air to cook both types of meat simultaneously and uniformly, reducing the overall roasting time significantly while retaining maximum moisture.
Applying a seasoned butter rub underneath and over the skin is another crucial factor. Butter contains water and fat; as it melts during roasting, the water evaporates to create steam that keeps the meat exceptionally tender, while the milk solids brown beautifully to enhance the skin's color and flavor.
Furthermore, positioning the chicken directly on top of the cut potatoes and carrots serves a dual purpose. The vegetables act as a natural roasting rack, preventing the chicken from stewing in its own juices, while simultaneously absorbing the seasoned fat and drippings for unparalleled flavor.
Notes and substitutions
Selecting the right chicken is the first step toward success. Look for a plump, high-quality whole chicken weighing between four and five pounds. For the vegetables, sturdy varieties like Yukon Gold or Russet potatoes hold up well during the high-heat roasting process without turning mushy.
Carrots should be cut into thick, uniform chunks so they caramelize beautifully without burning. A heavy-duty, dark roasting pan or a large cast-iron skillet is highly recommended, as it conducts heat evenly and encourages deep browning on both the chicken and the vegetables.
The seasoned butter rub can be customized with various dried herbs and spices depending on preference. Ensure the butter is completely softened at room temperature before mixing, as cold butter will not spread evenly and may tear the delicate chicken skin. If a dairy alternative is required, a high-quality plant-based butter can be substituted. When prepping the chicken, use sharp kitchen shears to cut along both sides of the backbone, then press down firmly on the breastbone until you hear a crack, allowing the bird to lay completely flat.
- unsalted butter: an equal amount of extra-virgin olive oil or a dairy-free plant-based butter substitute
- Yukon Gold potatoes: red potatoes, sweet potatoes, or baby potatoes cut in half
Equipment
- Kitchen shears
- Small mixing bowl
- Large dark roasting pan
- Meat thermometer
- Carving knife
- Cutting board
Up next · Part 2 of 3
6 steps · 1 h of cooking · what to look for at each stage
Step-by-step instructions (Part 2)