Dinner · Part 1 of 3: Ingredients
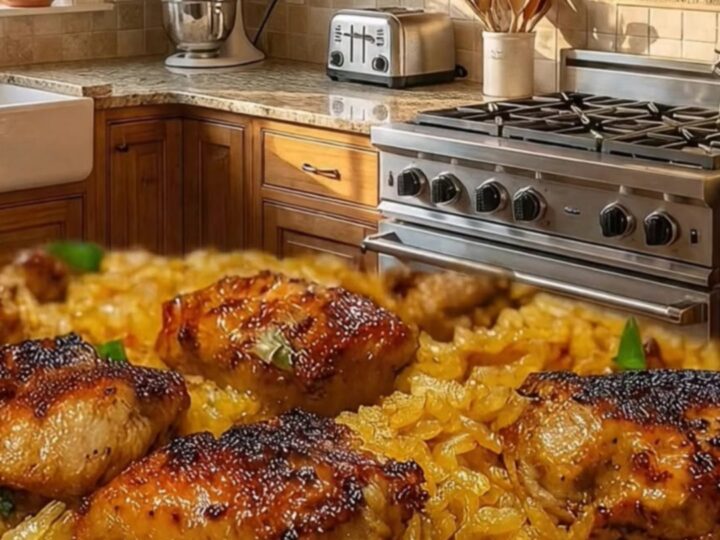
Crispy Oven Baked Chicken and Rice One-Pan Meal
- Prep
- Cook
- Total
- Serves
- 4
Discover the art of creating a complete, satisfying dinner in just one pan. This recipe combines succulent, crispy-skinned chicken thighs with perfectly seasoned, fluffy rice, delivering a professional-quality meal that requires minimal cleanup. It is the ideal approach for home cooks who value efficiency without sacrificing flavor or texture, making it a reliable staple for any weeknight rotation or casual family gathering throughout the entire year.
This oven-baked chicken and rice recipe is designed to be straightforward and rewarding. By roasting the chicken directly over the rice, the juices from the meat infuse the grains with rich flavor as they cook together in the oven. The result is a harmonious dish where the rice becomes tender and aromatic while the chicken develops a crisp, golden crust that contrasts beautifully with the soft, seasoned base.
This method eliminates the need for multiple pots and pans, simplifying the cooking process and ensuring that every component of the meal reaches perfection simultaneously. Whether preparing a quick meal after a long day or hosting a simple dinner, this method provides consistent, high-quality results that will please everyone at the table.
Ingredients
Main
- 4 pieces chicken thighs, bone-in and skin-on
- 1 1/2 cups long grain white rice, rinsed
- 3 cups chicken broth
- 1 tbsp poultry seasoning
Why this recipe works
The primary advantage of this method lies in the flavor integration that occurs during the roasting process. As the chicken thighs cook, their natural fats and juices render down into the rice and broth mixture below.
This process acts like a self-basting mechanism, ensuring that the rice absorbs all the savory notes of the poultry seasoning and chicken drippings, which creates a depth of flavor that is difficult to achieve when cooking the rice separately on the stovetop.
Furthermore, the oven environment provides a steady, consistent heat that is ideal for both grain hydration and skin crisping. By arranging the chicken skin-side up, the heat circulates efficiently to render the fat and achieve a satisfying crunch.
Meanwhile, the covered-pan effect—created by the proximity of the chicken to the rice—allows the rice to steam gently in the seasoned broth, resulting in a fluffy texture that is perfectly cooked throughout without any scorching or uneven spots.
Notes and substitutions
For the best results, use bone-in, skin-on chicken thighs, as they provide the necessary fat and flavor to season the rice effectively. While boneless options might cook faster, they often lack the depth of flavor and moisture retention found in bone-in cuts. Ensure the rice is thoroughly rinsed before adding it to the pan to remove excess surface starch, which helps prevent the grains from becoming gummy or overly sticky during the long bake time.
Regarding equipment, a sturdy metal or ceramic 9x13 inch baking pan is essential for even heat distribution. If the chicken skin is not browning as desired toward the end of the cooking time, the broiler can be used for the final two minutes, provided the pan is broiler-safe.
Always monitor the internal temperature with a meat thermometer to ensure the poultry is cooked to the recommended safe temperature of 165°F (74°C) for the best texture and safety.
- chicken thighs: chicken drumsticks or split chicken breasts work equally well for this recipe
- chicken broth: vegetable broth or water mixed with bouillon base
Equipment
- 9x13 inch baking pan
- Measuring cups
- Mixing bowl
- Serving spoon
- Meat thermometer
Up next · Part 2 of 3
3 steps · 45 min of cooking · what to look for at each stage
Step-by-step instructions (Part 2)