Dinner · Part 3 of 3: Tips & recipe card
Crispy Loaded Cheeseburger Pastries Tips, FAQ & printable recipe

- Prep
- Cook
- Total
- Serves
- 8
Tips for success
For a deeper golden color on the crust, lightly brush the tops of the pastries with a beaten egg wash before baking. This simple step adds a professional-looking shine that enhances the visual appeal of the dish. Be careful not to let the egg wash drip down the sides, as this can sometimes cause the pastry to stick to the baking sheet.
Experiment with adding a small amount of finely diced onion or a teaspoon of mustard to the beef mixture for extra depth of flavor.
If a spicy kick is desired, stir in a pinch of red pepper flakes or a dash of hot sauce into the meat while it is in the skillet. These small additions can customize the flavor profile to suit various preferences.
Variations
- Bacon Cheeseburger Pastries: Add two tablespoons of finely chopped, pre-cooked crispy bacon to the beef mixture before filling the pastries. The bacon adds a smoky saltiness that elevates the cheeseburger flavor profile significantly.
- Spicy Jalapeno Version: Mix in one tablespoon of finely diced fresh or pickled jalapenos with the cheese. This adds a nice heat that cuts through the richness of the cheese and pastry, creating a more dynamic flavor.
Storage and make-ahead
- Fridge
- Store in an airtight container for up to 3 days.
- Freezer
- Store in a freezer-safe bag for up to 1 month. Thaw in the refrigerator before reheating.
- Reheat
- Reheat in a 350°F oven for 10 minutes until crisp and warmed through.
Allow any leftover pastries to cool completely to room temperature for no more than two hours. Once cooled, place them in an airtight container to maintain their freshness.
They can be kept in the refrigerator for up to three days. For the best experience, consume them within the first day, as the pastry will naturally soften over time due to the moisture in the filling.
The beef filling can be prepared up to one day in advance and stored in the refrigerator. However, the assembly should happen just before baking to prevent the pastry from absorbing moisture from the filling.
If preparing for a party, keep the ingredients cold and assemble the pastries right before they go into the oven for the freshest possible result and maximum crispness.
Serving ideas
Serve these pastries warm as an appetizer on a platter, garnished with extra fresh parsley for a pop of color. They pair exceptionally well with a side of dipping sauce, such as a tangy barbecue sauce, a classic ketchup, or a creamy garlic aioli, which can complement the savory beef and cheese filling perfectly.
For a more substantial meal, serve two pastries per person alongside a fresh garden salad or roasted vegetables. The contrast between the rich, flaky pastry and the crisp, fresh greens creates a balanced eating experience.
Arrange them on a clean white ceramic plate to highlight their golden-brown color and let guests break into them to enjoy the hot, melted interior.
Frequently asked questions
Can these be frozen after baking?
Why is the pastry soft instead of crispy?
Can a different type of ground meat be used?
Crispy Loaded Cheeseburger Pastries

Ingredients
- 1 package store-bought puff pastry, thawed
- 1 lb ground beef
- 2 cups shredded cheddar and mozzarella cheese blend
- fresh parsley, chopped, for serving
Instructions
- Heat a skillet over medium-high heat. Add the ground beef and cook until fully browned and no longer pink. Ensure the beef reaches an internal temperature of 160°F (71°C). Drain any excess grease from the pan and set the meat aside to cool slightly before assembling.
- Preheat your oven to 400°F (200°C). Roll out the thawed puff pastry on a clean surface. Cut the dough into equal squares. Place a spoonful of the cooked ground beef in the center of each square, followed by a generous portion of the shredded cheese blend. Fold the dough over the filling to create a pocket and seal the edges tightly with a fork.
- Place the prepared pastries on a parchment-lined baking sheet. Bake in the preheated oven for 15 to 20 minutes, or until the pastries are golden brown and puffed. Remove from the oven and immediately sprinkle with fresh chopped parsley. Let the pastries rest for 5 minutes before serving to allow the cheese to set slightly.
Estimated nutrition per serving
- Calories
- 320
- Protein
- 14.5 g
- Carbohydrates
- 22 g
- Fat
- 19.5 g
- Fiber
- 1 g
- Sugar
- 0.5 g
- Sodium
- 450 mg
Next recipe
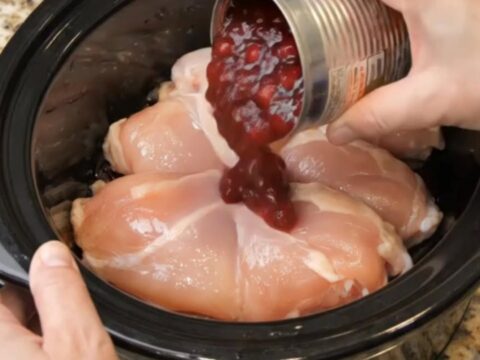
Tender Slow Cooker Amish Cranberry Chicken
See the recipe → →This recipe is based on a short cooking video and is published under the pen name Clara Weller. It was checked before publication, but errors can slip through. Nutrition, when shown, is an estimate. Read more in our editorial policy and on our food safety page.
More recipes to try
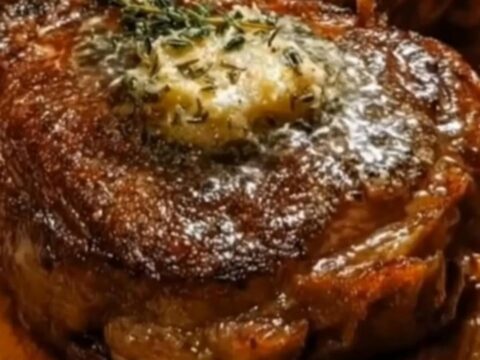
Garlic Butter Steak for a Tender Medium-Rare Finish
Total time: 25 min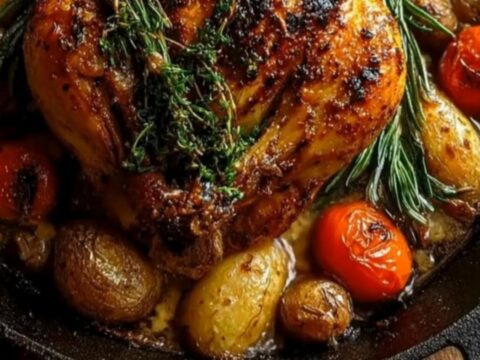
One-Pan Herb Roasted Chicken and Potatoes
Total time: 1 h 25 min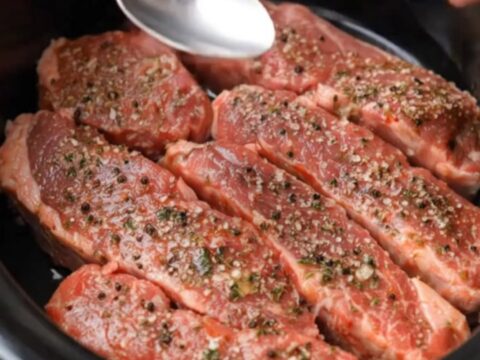
Tender Slow Cooker Garlic Butter Steak Strips
Total time: 4 h 15 min
Easy Crockpot Lasagna for Stress-Free Comfort
Total time: 4 h 30 min
Crispy Garlic Herb Roasted Chicken Drumsticks
Total time: 55 min