Dinner · Part 1 of 3: Ingredients
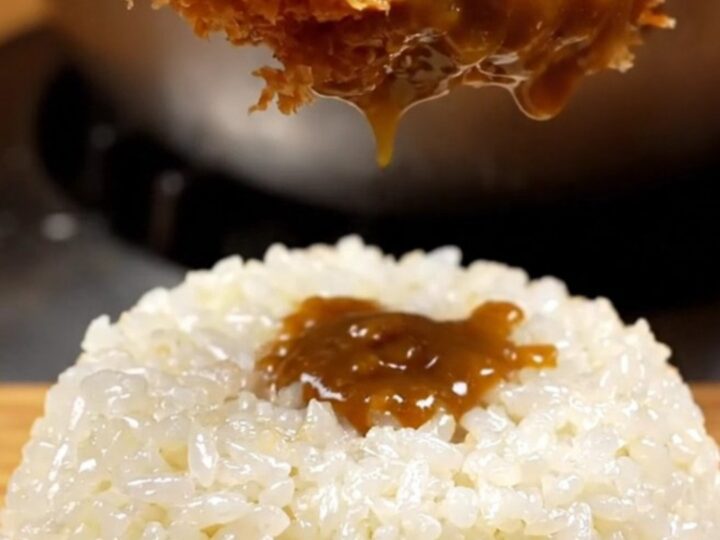
Crispy Japanese Chicken Katsu Curry with Velvety Sauce
- Prep
- Cook
- Total
- Serves
- 2
Master the art of the perfect Japanese chicken katsu curry with this foolproof guide to achieving a legendary, deafening crunch and a silky, rich curry sauce. This dish represents the pinnacle of Japanese comfort food, combining perfectly fried, tender chicken with the deep, savory notes of a classic caramelized onion curry roux.
Whether you are seeking a weekend culinary project or a satisfying weeknight dinner, this recipe delivers consistent results that satisfy every craving for something crispy, savory, and incredibly comforting.
Japanese chicken katsu curry is a beloved staple that balances textures and flavors with precision. The key lies in the contrast between the ultra-flaky, upright panko crust and the velvety, deeply seasoned curry sauce that pools around the steamed rice.
By using high-quality panko and maintaining precise frying temperatures, you can replicate the experience of a dedicated Tokyo katsu restaurant in your own kitchen. This guide streamlines the process, focusing on the essential techniques that transform simple pantry staples into a sophisticated, hearty meal that feels both special and deeply familiar.
Ingredients
Chicken Katsu
- 2 thighs boneless skinless chicken thighs
- 1/4 cup cake flour
- 1 large egg, beaten
- 2 cups fresh coarse Japanese panko flakes
- 2 cups neutral frying oil
Curry Sauce
- 2 cups caramelized onion Japanese curry roux
Serving
- 2 cups steamed short-grain rice
Why this recipe works
The method of pounding the chicken thighs to an even thickness is crucial for ensuring the meat cooks through at the same rate as the exterior crust. By using cake flour for the initial dredging, the breading adheres more effectively to the surface, creating a delicate barrier that prevents the chicken from releasing moisture into the crust, which preserves the signature crunch.
Frying at a steady 340°F allows the panko flakes to expand and crisp up without burning. This specific temperature encourages the panko to stand up like spikes, which creates more surface area for that iconic texture.
The subsequent resting period is essential to allow the juices within the chicken to redistribute, ensuring every bite remains moist and flavorful while the crust retains its structural integrity.
Notes and substitutions
For the best results, use fresh, coarse Japanese panko flakes rather than standard breadcrumbs. The coarse nature of these crumbs is what gives the katsu its characteristic spikey, airy texture. If you are unable to find specific caramelized onion curry roux, you can use a high-quality Japanese curry block, though the depth of flavor may vary depending on the brand's spice blend composition.
A sharp, high-quality chef's knife is essential for slicing the katsu without crushing the delicate crust. When frying, avoid overcrowding the pan, as this causes the oil temperature to drop rapidly, leading to soggy, oil-saturated breading.
Always use a wire rack for cooling to allow air circulation on all sides, preventing the bottom of the chicken from steaming and losing its crispness while it rests.
- cake flour: All-purpose flour works as a suitable replacement if cake flour is unavailable, though the texture of the breading may be slightly less delicate.
- chicken thighs: Boneless skinless chicken breasts may be used instead, but keep in mind they will cook faster and might dry out more easily if overcooked.
Equipment
- Japanese chef's knife
- Meat mallet
- Shallow mixing bowls
- Deep frying pan or Dutch oven
- Thermometer
- Tongs
- Wire cooling rack
Up next · Part 2 of 3
3 steps · 15 min of cooking · what to look for at each stage
Step-by-step instructions (Part 2)