Dinner · Part 1 of 3: Ingredients
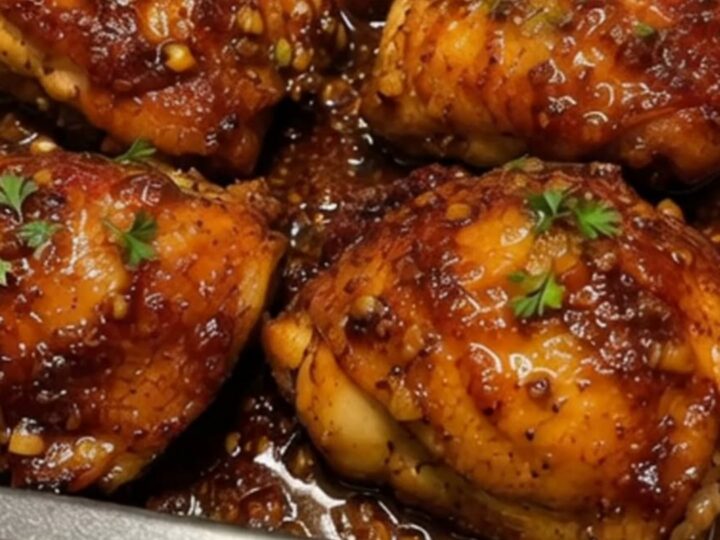
Crispy Honey Garlic Chicken Thighs in One Pan
- Prep
- Cook
- Total
- Serves
- 6
Nothing beats the satisfaction of a perfectly cooked chicken dinner that comes together in a single pan. This recipe combines the irresistible crunch of crispy-skinned chicken thighs with a luxurious, sweet, and savory glaze that clings to every bite. It is a foolproof way to elevate simple ingredients into a restaurant-quality meal right in your home kitchen.
Weeknight cooking demands recipes that are both fast and packed with deep, complex flavors. These honey garlic chicken thighs deliver on all fronts, offering a beautiful contrast of textures and tastes.
By searing the chicken skin-side down first, you render out the fat and build a crispy crust that stands up beautifully to the rich sauce. The glaze itself is a simple yet powerful combination of honey, soy sauce, and fresh garlic, simmering down into a sticky, glossy coating that will have everyone reaching for seconds.
Ingredients
- 6 skin-on, bone-in chicken thighs
- 4 cloves garlic, minced
- 1/3 cup honey
- 2 tbsp soy sauce
- fresh parsley, chopped, for serving
Why this recipe works
The secret to the success of this recipe lies in the searing technique and the timing of the sauce. Searing the chicken thighs skin-side down in a hot skillet renders the fat slowly, creating an incredibly crispy texture without drying out the meat beneath.
Chicken thighs are naturally juicy and forgiving, making them the perfect candidate for this high-heat method. The skin acts as a protective barrier, locking in moisture while absorbing the savory seasonings.
Introducing the garlic, honey, and soy sauce near the end of the cooking process prevents the sugars from burning. Honey and soy sauce caramelize quickly under high heat, so simmering them briefly at the end allows the sauce to thicken into a thick glaze without turning bitter.
Basting the chicken during these final minutes ensures that every nook and cranny of the crispy skin is coated in the sweet and savory glaze, creating a cohesive and deeply flavorful dish.
Notes and substitutions
When selecting chicken thighs for this recipe, bone-in and skin-on cuts are highly recommended. The bone helps the chicken cook evenly and keeps the meat tender, while the skin provides that essential crispy texture.
If you choose to use boneless, skinless chicken thighs, reduce the cooking time slightly to prevent them from drying out. Fresh garlic is also crucial here; pre-minced jarred garlic lacks the vibrant, sharp bite needed to balance the sweet honey.
A heavy skillet, such as cast iron or stainless steel, is the best choice for this recipe because it retains and distributes heat evenly. This ensures a uniform sear across all the chicken thighs. For the soy sauce, standard brewed soy sauce provides the best balance of saltiness, but you can use low-sodium soy sauce if you prefer to control the salt level more closely. Always pat the chicken dry before cooking to guarantee the best sear.
- skin-on, bone-in chicken thighs: Boneless, skinless chicken thighs can be used instead, though the cooking time will be reduced by about 5 to 7 minutes.
- soy sauce: Tamari or coconut aminos can be substituted for a gluten-free alternative that still provides the essential savory depth.
Equipment
- Large heavy skillet
- Tongs
- Measuring cups
- Measuring spoons
- Spoon for basting
- Chef's knife
- Cutting board
Up next · Part 2 of 3
6 steps · 25 min of cooking · what to look for at each stage
Step-by-step instructions (Part 2)