Dinner · Part 2 of 3: Instructions
Crispy Honey Butter Garlic Chicken Tenders Step-by-step instructions
- Prep
- Cook
- Total
- Serves
- 2
Before you start
Before starting, ensure all ingredients are measured and ready, as the frying and glazing steps move quickly. Prepare a tray with a wire rack to drain the chicken after frying, which helps maintain the crispness of the crust.
Slice the garlic cloves thinly to ensure they toast evenly in the butter. Check that the oil is at the correct temperature before starting the frying phase to prevent the chicken from absorbing excess grease.
Ingredients at a glance (7)
- 400 g chicken tenders
- 1/2 cup buttermilk
- 1 cup potato starch
- 60 g salted butter
- 45 ml wildflower honey
- 15 ml soy sauce
- 6 cloves garlic cloves, sliced
Instructions
Dredging and Preparation
- Prepare the chickenPlace the chicken tenders into a bowl and coat them thoroughly with the buttermilk. Once coated, dredge each piece individually in the potato starch, ensuring an even and complete layer of starch covers every inch of the surface to create that signature crust.Look for The chicken should be completely coated and dry to the touch from the starch.Tip Shake off any excess starch before frying to keep the oil clean.
The chicken should be thoroughly coated in the potato starch, with no wet spots visible. Ensure the starch is pressed onto the surface of the tenders so it does not fall off during the frying process. The texture should look dry and powdery before it hits the hot oil.
Frying to Perfection
- Fry the chickenHeat oil in a deep fryer or heavy pot to 365°F (185°C). Carefully lower the dredged chicken tenders into the hot oil. Fry for approximately 5 minutes until the crust turns golden brown and reaches an internal temperature of 165°F (74°C). Remove carefully and drain.Look for The chicken is golden brown and reaches 165°F (74°C).Safe temperature 165°F (74°C) internal temperature (poultry)Tip Use a thermometer to ensure the oil stays at the target temperature.
The chicken should sound crisp when tapped and appear a vibrant, golden brown. Monitor the temperature closely to ensure the oil remains hot enough for a fast fry. The internal temperature must hit 165°F (74°C) to ensure the poultry is safe and perfectly cooked through.
Glazing and Finishing
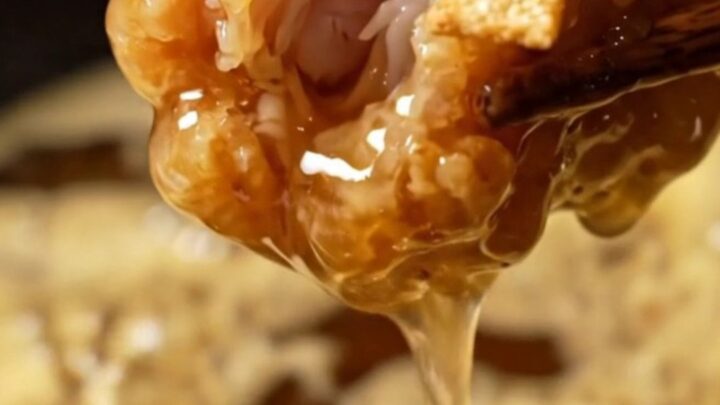
- Glaze and serveIn a separate small skillet, melt the salted butter over medium heat. Stir in the honey, soy sauce, and sliced garlic. Simmer until the mixture begins to foam. Immediately add the fried chicken tenders to the skillet and toss for 30 seconds until every piece is perfectly coated in the honey-garlic glaze.Look for The sauce is foaming and the chicken is sticky and glossy.Tip Serve immediately while the chicken is still hot and extra crispy.
The honey-garlic sauce must be bubbling and foaming, signaling that the butter and honey have emulsified. The chicken should be tossed quickly to ensure an even, glossy coating without softening the crust. Serve immediately while the aroma of toasted garlic is at its peak.
Common mistakes
A common mistake is overcrowding the fryer, which drops the oil temperature and leads to greasy, limp chicken. Fry in batches to maintain consistent heat.
Another error is not draining the chicken thoroughly after frying, which leaves excess oil that prevents the sauce from adhering properly.
Finally, ensure the chicken is not left in the sauce too long, as it will lose its crisp texture if it sits in the liquid for more than the recommended thirty seconds.
How to tell it’s done
The chicken is done when the exterior is deep golden brown and the internal temperature reaches 165°F (74°C). The crust should feel firm and brittle to the touch.
When tossing in the sauce, the chicken should be fully coated and appear shiny, with the garlic chips clinging to the surface. Ensure the sauce has reached a foamy consistency before adding the chicken, which indicates that the butter and honey have properly integrated.
- Poultry: 165°F (74°C) in the thickest part
Up next · Part 3 of 3
2 variations · storage & make-ahead · 3 answers · printable card
Tips, FAQ & printable recipe (Part 3)← Back to the ingredients (Part 1)