Dinner · Part 1 of 3: Ingredients
Crispy Honey Butter Garlic Chicken Tenders
- Prep
- Cook
- Total
- Serves
- 2
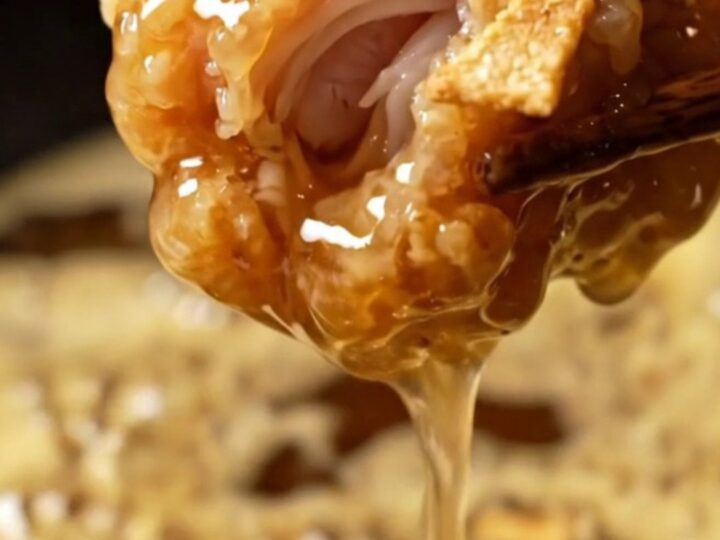
Discover the secret to professional-grade crispy chicken at home with this simple honey butter garlic recipe. This dish delivers a satisfying crunch paired with a rich, sweet, and savory glaze that elevates simple chicken tenders into a gourmet experience.
Perfect for those who crave a balance of intense flavors and textures in every single bite. Follow these steps to master the art of the perfect fried chicken crust and a decadent, glossy sauce that coats every tender perfectly.
These honey butter garlic chicken tenders are designed for maximum impact with minimal effort. By utilizing a simple buttermilk soak and a potato starch dredge, the chicken achieves a light, airy, and incredibly crunchy crust that stays crisp even after being tossed in the honey-butter glaze.
The sauce, made from a reduction of butter, honey, soy sauce, and fresh garlic, provides a deep, savory sweetness that complements the crunch of the tenders. This recipe is a fantastic choice for a quick weeknight dinner or as a standout appetizer for gatherings, offering a reliable way to get consistent, high-quality results every time you step into the kitchen.
Ingredients
Chicken
- 400 g chicken tenders
- 1/2 cup buttermilk
- 1 cup potato starch
Honey Garlic Sauce
- 60 g salted butter
- 45 ml wildflower honey
- 15 ml soy sauce
- 6 cloves garlic cloves, sliced
Why this recipe works
The method of using potato starch instead of traditional flour is key to achieving a glass-like crunch that is significantly lighter and crispier. Potato starch creates a jagged surface area that holds the honey butter glaze perfectly without becoming soggy, ensuring the chicken maintains its structural integrity throughout the glazing process.
Simmering the honey-garlic butter until it foams is a crucial step that emulsifies the fat and sugar into a cohesive, sticky sauce. This technique ensures that the garlic flavor is mellowed by the sweetness of the honey and the richness of the butter, creating a balanced coating that clings to the chicken tenders.
Notes and substitutions
When selecting chicken, choose uniform-sized tenders to ensure even cooking times. If the tenders vary significantly in size, adjust the frying time slightly to ensure the thickest parts reach the safe internal temperature of 165°F (74°C) without overcooking the smaller pieces.
Always pat the chicken dry before applying the buttermilk to help the coating adhere better.
The choice of skillet for the glaze is important. A non-stick or stainless steel skillet allows for easy tossing and ensures that the sticky honey-butter mixture doesn't burn during the final 30 seconds of cooking.
Keep the heat controlled to medium to prevent the honey from caramelizing too quickly and turning bitter, as it should remain golden and glossy throughout.
- Potato starch: Cornstarch can be used as a direct replacement for the same crispy texture.
- Wildflower honey: Any mild-flavored liquid honey works perfectly in this glaze.
Equipment
- Deep fryer or heavy-bottomed pot
- Whisk
- Mixing bowl
- Small skillet
- Tongs
- Thermometer
Up next · Part 2 of 3
3 steps · 6 min of cooking · what to look for at each stage
Step-by-step instructions (Part 2)