Dinner · Part 1 of 3: Ingredients
Crispy Homemade Cane’s-Style Chicken Fingers with Iconic Sauce
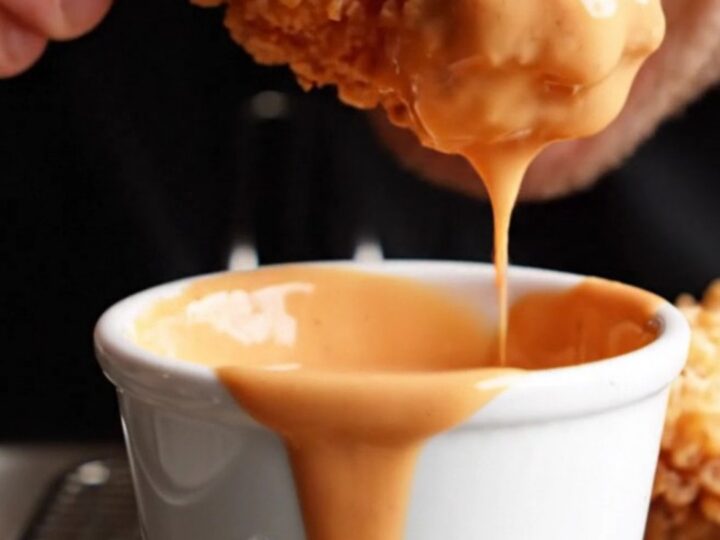
- Prep
- Cook
- Total
- Serves
- 4
These homemade chicken fingers deliver the same crave-worthy crunch and juicy tenderness as the famous fast-food version, but made entirely in your own kitchen.
The secret lies in a buttermilk marinade that tenderizes the chicken and a seasoned flour coating that fries up shatteringly crisp. Paired with the iconic tangy, peppery Cane's sauce, this recipe is perfect for a weeknight dinner, game-day snack, or any time a craving strikes.
There's something irresistible about a perfectly fried chicken finger: the craggy, golden crust that cracks with a satisfying crunch, the moist, tender chicken inside, and the tangy sauce that ties it all together. This recipe recreates the beloved Cane's-style experience at home, using simple ingredients and straightforward techniques.
The buttermilk marinade infuses the chicken with flavor and ensures it stays juicy, while the seasoned flour dredge creates a thick, textured coating that fries up beautifully.
The sauce—a quick mix of mayonnaise, ketchup, Worcestershire, and spices—captures that signature sweet-tangy kick. Whether served as a main dish with fries and coleslaw or as a party appetizer, these chicken fingers are guaranteed to disappear fast.
Ingredients
- 2 lb chicken breast tenders
Marinade
- 2 cups buttermilk
- 2 tbsp garlic powder
- 1 tbsp black pepper
- 1 tbsp smoked paprika
- salt, to taste
Dredging
- 2 cups all-purpose flour
- 3 tbsp cornstarch
- 2 tsp garlic powder
- 1 tsp smoked paprika
- 1 tsp salt
- 1 tsp black pepper
Cane's Sauce
- 1 cup mayonnaise
- 4 tbsp ketchup
- 2 tbsp Worcestershire sauce
- 1 tsp garlic powder
- 1/2 tsp black pepper
Why this recipe works
The buttermilk marinade is the cornerstone of this recipe. Buttermilk's mild acidity gently tenderizes the chicken, breaking down proteins to ensure every bite is juicy and succulent.
It also adds a subtle tang that complements the savory coating. Marinating for at least 30 minutes—or up to 4 hours—allows the flavors to penetrate deeply, resulting in chicken that's flavorful all the way through.
The double-coating technique—dipping in buttermilk, then dredging in seasoned flour—creates a craggy, textured crust that fries up incredibly crisp. The cornstarch in the flour mixture adds extra crunch, while the garlic powder, paprika, and pepper provide a savory depth. Frying at the right temperature ensures the coating turns golden and shatteringly crisp without absorbing excess oil.
Notes and substitutions
For the best texture, use chicken breast tenders—they're naturally uniform and cook quickly. If using whole breasts, slice them into even strips. Buttermilk is key; if unavailable, make a quick substitute by adding a tablespoon of lemon juice or vinegar to a cup of milk and letting it sit for 10 minutes. The sauce can be made ahead and stored in the refrigerator for up to a week.
A deep-fry thermometer is essential for maintaining the oil at 350°F. If the oil is too cool, the coating will absorb oil and become greasy; too hot, and the outside will burn before the inside cooks. Use a heavy-bottomed pot or Dutch oven to hold the temperature steady. Fry in small batches to avoid crowding, which lowers the oil temperature.
- Chicken breast tenders: Chicken breast cut into strips, or chicken thighs for extra juiciness (adjust cooking time).
- Buttermilk: Whole milk mixed with 1 tablespoon lemon juice or vinegar, let sit 10 minutes.
- Smoked paprika: Regular paprika or a pinch of cayenne for heat.
- Mayonnaise: Greek yogurt or sour cream for a tangier sauce.
Equipment
- Large mixing bowl
- Whisk
- Deep skillet or Dutch oven
- Deep-fry thermometer
- Wire rack
- Tongs
- Measuring cups and spoons
Up next · Part 2 of 3
7 steps · 20 min of cooking · what to look for at each stage
Step-by-step instructions (Part 2)