Appetizers · Part 1 of 3: Ingredients
Crispy Hasselback French Onion Garlic Baguette
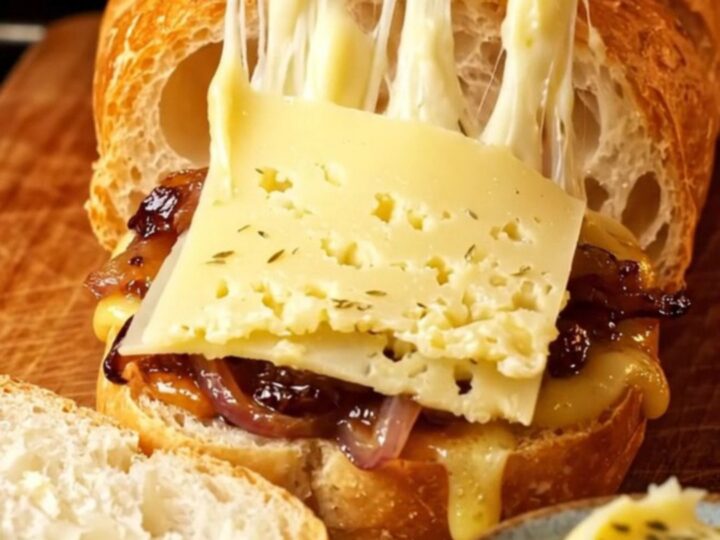
- Prep
- Cook
- Total
- Serves
- 8
This recipe takes the classic, comforting flavors of French onion soup and stuffs them into a crispy, buttery garlic baguette, creating the ultimate party appetizer that will disappear in minutes. It is a bold, savory, and incredibly satisfying dish that elevates simple bread into a gourmet experience, perfect for any occasion where you want to impress your guests with minimal effort but maximum impact.
Combining the rich, savory depth of caramelized onions with the nutty, melting goodness of cave-aged Gruyère cheese, this Hasselback baguette is a masterclass in texture and taste. The Hasselback technique allows every single slice to be infused with aromatic garlic butter and melted cheese, ensuring that each bite is as flavorful as the last.
It is a simple yet sophisticated way to elevate basic garlic bread into a main event, perfect for sharing with friends or family at any gathering. This dish brings the warmth of a French bistro directly to your home kitchen, providing a comforting, indulgent, and visually stunning appetizer that is guaranteed to be the highlight of your table.
Ingredients
- 1 loaf baguette
- 1 1/2 cups caramelized onions in beef broth
- 8 oz cave-aged Gruyère cheese, sliced
- 4 tbsp thyme garlic butter
Why this recipe works
The Hasselback method is incredibly effective because it creates multiple individual pockets for ingredients to nestle into. By slicing the bread without separating the pieces, the interior remains soft and pillowy while the exterior becomes perfectly toasted and crisp during the baking process.
This contrast between the soft, onion-filled center and the crunchy, buttery crust is what makes this dish so addictive. It allows the heat to penetrate evenly, ensuring the cheese melts perfectly while the garlic butter permeates every crumb of the bread.
Using beef-broth caramelized onions ensures a deep, umami-rich flavor profile that perfectly mimics a traditional French onion soup. When paired with the high-melting point of Gruyère cheese, the filling becomes a cohesive, gooey masterpiece that binds the bread together while providing a luxurious mouthfeel that is hard to resist.
The combination of the sweet, jammy onions and the salty, nutty cheese creates a balanced flavor profile that is both complex and deeply satisfying, making it a crowd-pleasing choice for any event.
Notes and substitutions
When selecting a baguette, choose one with a slightly sturdy crust. This will hold up better to the weight of the onions and cheese without collapsing or becoming overly soggy. A standard bakery-style baguette works perfectly, but avoid overly soft or airy loaves that might tear during the slicing process. The goal is a loaf that maintains its structure while being stuffed, allowing for a clean presentation that looks as good as it tastes when pulled apart.
For the best results, use high-quality cave-aged Gruyère cheese. Its distinct nutty profile is essential to the authentic French onion taste. If you prefer a different equipment setup, a cast-iron pan can also be used for baking, which provides an extra boost of heat to the bottom crust, making it even crunchier.
Always ensure your oven is fully preheated before placing the bread inside to guarantee the perfect texture and even melting of the cheese throughout the entire loaf.
- Gruyère: Swiss cheese or Emmental
- Beef broth: Vegetable broth for a lighter flavor
Equipment
- Chef's knife
- Cutting board
- Baking sheet
- Parchment paper
Up next · Part 2 of 3
3 steps · 14 min of cooking · what to look for at each stage
Step-by-step instructions (Part 2)