Dinner · Part 1 of 3: Ingredients
Crispy Grilled Garlic Butter Potatoes
- Prep
- Cook
- Total
- Serves
- 4
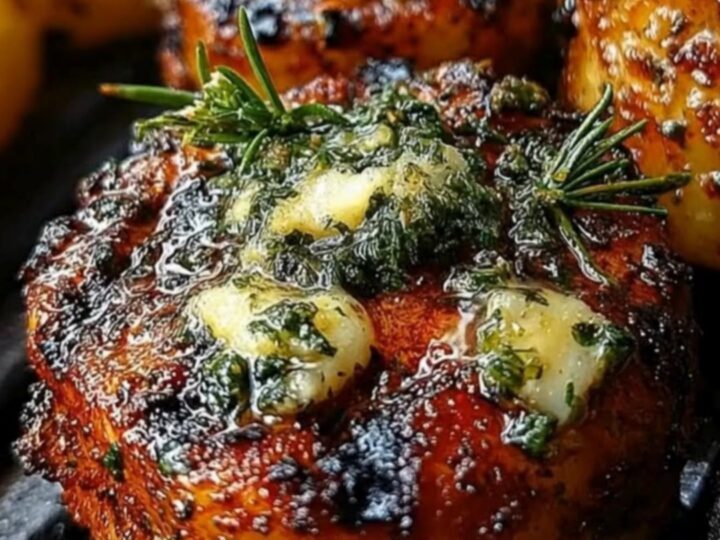
Nothing beats the aroma of garlic butter melting over hot, charred potatoes on a summer evening. These grilled garlic butter potatoes deliver the ultimate combination of crispy edges, tender interiors, and a smoky, savory punch. Slicing the potatoes into thick medallions allows them to develop a gorgeous sear on the grill grates while locking in moisture, making them the perfect side dish for any backyard barbecue.
When it comes to outdoor cooking, potatoes are often overlooked in favor of quick-cooking vegetables. However, grilling potato medallions directly on the grates transforms them into something truly spectacular. By tossing the potato rounds in a rich mixture of melted butter, minced garlic, and smoked paprika before they hit the grill, you ensure that every bite is infused with deep flavor.
The high heat of the grill caramelizes the natural sugars in the potatoes, while the butter creates a crispy, golden-brown crust that is absolutely irresistible. It is a simple, straightforward method that yields steakhouse-quality results right in your backyard.
Ingredients
- 2 lb Yukon Gold potatoes, sliced into 1/2-inch thick medallions
- 1/2 cup unsalted butter, melted
- 4 cloves garlic, minced
- 1 tsp smoked paprika
- 2 tbsp finely chopped fresh herbs
Why this recipe works
The secret to the success of this recipe lies in the direct-heat grilling method combined with the thickness of the potato medallions. Slicing the potatoes to exactly one-half inch ensures they are thick enough to hold their shape on the grill grates without falling through, yet thin enough to cook completely through without requiring a preliminary parboiling step.
The direct contact with the hot metal grates creates a beautiful, charred exterior that mimics the texture of deep-fried potatoes but with a distinct, smoky depth of flavor that only an open flame can provide.
Additionally, tossing the raw potatoes in the seasoned butter mixture before grilling serves a dual purpose. The fat in the butter acts as a protective barrier, preventing the potatoes from drying out under the intense heat of the grill while facilitating even heat distribution.
As the potatoes cook, the butter renders down, sizzling against the grates and creating a micro-fry effect on the surface of each medallion. Meanwhile, the garlic and smoked paprika roast gently in the fat, releasing their aromatic compounds directly into the potato flesh for maximum flavor impact.
Notes and substitutions
Choosing the right potato variety is crucial for achieving the perfect balance of textures. Yukon Gold potatoes are highly recommended for this recipe because of their naturally buttery flavor and medium-starch content. They hold their shape remarkably well on the grill while maintaining a creamy, velvety interior.
If you do not have Yukon Golds on hand, red-skinned potatoes are an excellent alternative. Russet potatoes can also be used, but they tend to be drier and more floury, so you may need to monitor them closely to prevent them from becoming crumbly on the grates.
For the best results, use fresh garlic rather than garlic powder. Freshly minced garlic clings to the potato slices and caramelizes beautifully during the grilling process, providing a sweet and savory bite. When preparing your grill, make sure the grates are thoroughly cleaned and lightly oiled. This is essential because the starch in the potatoes and the milk solids in the butter can cause sticking if the grates are dirty. A clean grill ensures clean release, leaving those perfect, photo-worthy grill marks on every single medallion.
- Yukon Gold potatoes: Red potatoes or Russet potatoes sliced into thick rounds work well, though cooking times may vary slightly.
- Unsalted butter: Vegan butter or olive oil can be used for a dairy-free option, though the classic butter flavor will be altered.
Equipment
- Outdoor grill
- Large mixing bowl
- Chef's knife
- Cutting board
- Grill tongs
- Small saucepan or microwave-safe bowl
Up next · Part 2 of 3
4 steps · 20 min of cooking · what to look for at each stage
Step-by-step instructions (Part 2)