Dinner · Part 3 of 3: Tips & recipe card
Crispy Grilled Cheesy Beef Burrito Tips, FAQ & printable recipe
- Prep
- Cook
- Total
- Serves
- 4
Tips for success
To achieve an extra crispy exterior, ensure the pan is sufficiently hot before adding the fat. If the pan is too cool, the fat will soak into the wrap instead of searing it.
Keep the heat at a steady medium level to brown the surface gradually without burning the wrap before the center is warm.
For those who prefer a bit of extra flavor, consider adding a small amount of diced jalapeños or onions to the beef while it browns. This adds a subtle heat and texture that complements the richness of the melted cheese and the hearty nature of the ground beef and rice combination perfectly.
Variations
- Spicy Beef Burrito: Add a tablespoon of diced chipotle peppers in adobo sauce to the ground beef while it browns for a smoky, spicy kick that pairs perfectly with the melted cheese.
- Loaded Veggie Beef Burrito: Incorporate sautéed bell peppers and onions into the beef mixture to add extra texture and sweetness to the filling without altering the core flavor profile of the dish.
Storage and make-ahead
- Fridge
- Keep leftovers in an airtight container in the refrigerator for up to 3 days.
- Freezer
- Wrap individual burritos tightly in foil and place in a freezer-safe bag for up to 1 month.
- Reheat
- Reheat in a preheated oven at 350°F (175°C) until crisp and heated through, or use an air fryer for optimal crunch.
Store any leftover burritos in an airtight container to maintain their texture. While the crunch will diminish over time, they remain flavorful.
Ensure they are completely cooled before placing them in the refrigerator to prevent excess condensation from softening the wrapper too much during the initial storage period.
You can prepare the beef filling and cook the rice in advance. Store these components in the refrigerator for up to two days.
When ready to serve, simply warm the fillings slightly before assembling and searing the burritos. This makes the assembly and final cooking process very quick for a busy weeknight meal.
Serving ideas
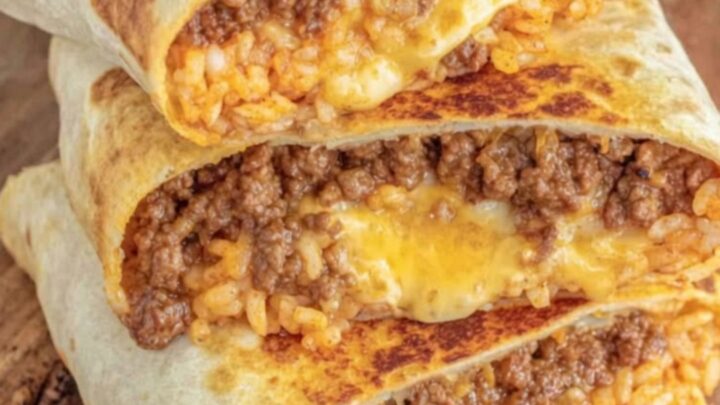
Serve the burritos immediately after the resting period to enjoy the contrast between the crispy shell and the warm, gooey interior. They are substantial on their own, but can be paired with a simple side salad or extra salsa for those who enjoy a bit of acidity to balance the richness.
When slicing, use a gentle sawing motion with a sharp knife to avoid squashing the burrito. This keeps the layers distinct and maintains the beautiful presentation.
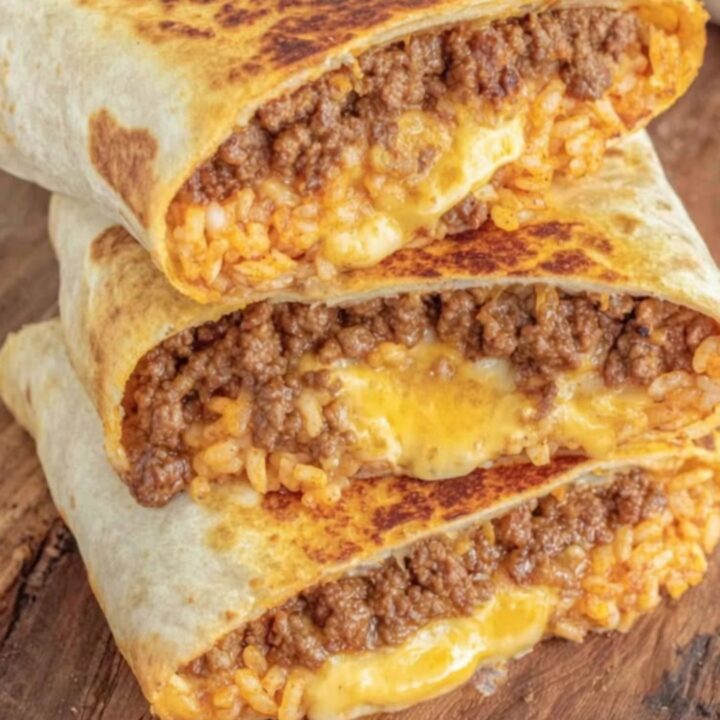
Place the halves cut-side up on a serving board to showcase the melted cheese and seasoned beef filling before serving to guests.
Frequently asked questions
Can the burritos be made ahead of time?
How can the burritos be kept crispy when reheating?
What is the best way to prevent the burritos from opening while searing?
Crispy Grilled Cheesy Beef Burrito
Ingredients
- 1 lb ground beef
- 1 packet taco seasoning
- 2 cups cooked Mexican rice
- 2 cups shredded cheddar or Mexican blend cheese
- 4 large flour wraps
- 1 tbsp cooking fat
Instructions
- Heat a large skillet over medium-high heat. Add the ground beef and cook, breaking it apart with a spoon, until it is browned and no longer pink. Drain excess fat if necessary. Stir in the taco seasoning according to the packet instructions and cook until well combined. Ensure the beef reaches an internal temperature of 160°F (71°C). Remove from the heat.
- Lay each flour wrap flat on a clean surface. Place a portion of cooked Mexican rice, the prepared seasoned ground beef, and a generous amount of shredded cheese in the center of each wrap. Fold the sides inward and roll tightly to secure the filling, creating a neat, compact cylinder for each burrito.
- Wipe the skillet clean and add the cooking fat over medium heat. Place the burritos in the pan, seam-side down first. Sear until the exterior is golden-brown and crisp, then flip to toast all sides evenly. Once the cheese is melted and the surface is crispy, remove from the pan. Let the burritos rest for 5 minutes before slicing in half to serve.
Estimated nutrition per serving
- Calories
- 650
- Protein
- 32 g
- Carbohydrates
- 45 g
- Fat
- 38 g
- Fiber
- 4 g
- Sugar
- 2 g
- Sodium
- 950 mg
Next recipe
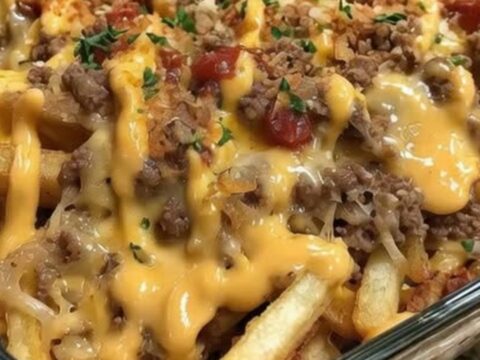
Cheeseburger French Fry Casserole for Easy Comfort
See the recipe → →This recipe is based on a short cooking video and is published under the pen name Clara Weller. It was checked before publication, but errors can slip through. Nutrition, when shown, is an estimate. Read more in our editorial policy and on our food safety page.
More recipes to try
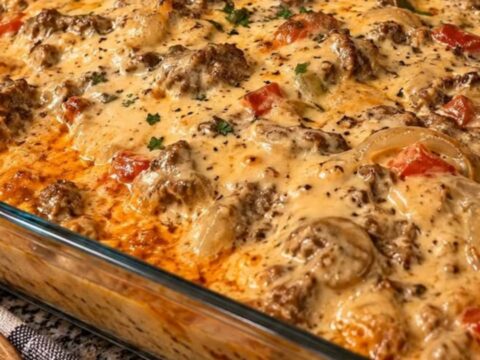
Creamy Jerk Chicken Rotel Casserole
Total time: 50 min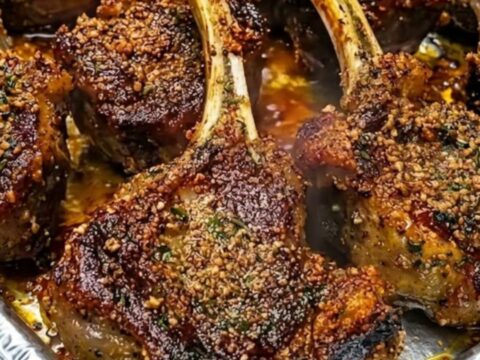
Crispy Herb and Garlic Crusted Lamb Chops
Total time: 30 min
Crispy Pepperoni Pizza Quesadillas
Total time: 15 min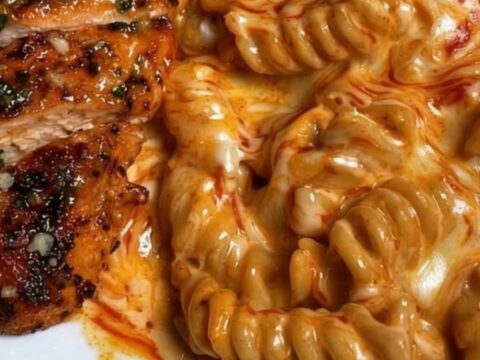
Creamy Cajun Garlic Parmesan Chicken Pasta
Total time: 40 min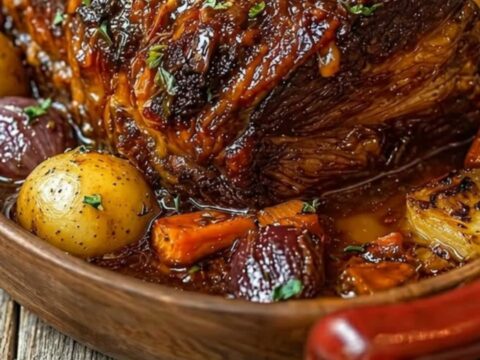
Classic Herb and Garlic Pot Roast for Easy Weeknight Dinners
Total time: 3 h 30 min