Dinner · Part 1 of 3: Ingredients
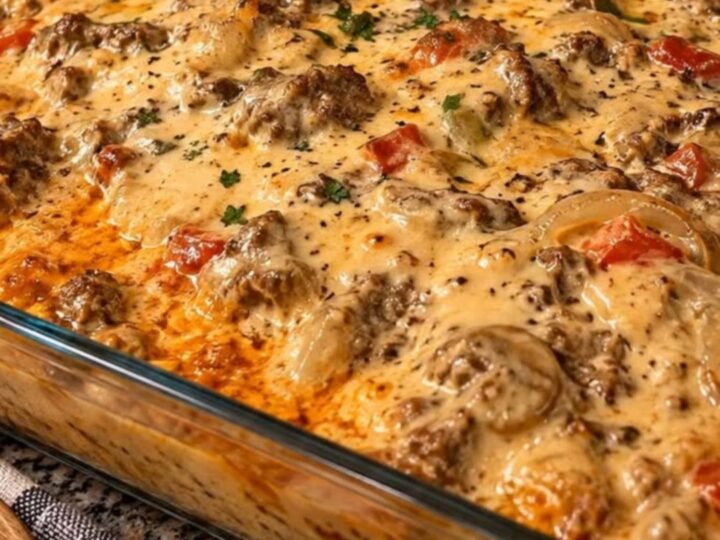
Creamy Jerk Chicken Rotel Casserole
- Prep
- Cook
- Total
- Serves
- 6
Elevate your weeknight dinner with this vibrant, spicy, and incredibly creamy jerk chicken rotel casserole. It is the ultimate comfort food that brings together the bold, aromatic heat of island jerk spices with the familiar, gooey satisfaction of a classic cheese-laden pasta bake.
With minimal effort, you can transform simple pantry staples into a restaurant-quality meal that fills the kitchen with irresistible aromas and satisfies even the heartiest of appetites. Prepare for a dish that disappears from the table in record time.
This casserole is designed for maximum flavor impact with streamlined steps. By searing the jerk-spiced chicken first, you lock in the juices and build a foundational layer of savory complexity that permeates the entire dish. The addition of tangy diced tomatoes with green chilies cuts through the richness of the velvety cheese sauce, providing a perfect balance that keeps every bite exciting.
Whether you are hosting a casual gathering or simply looking to upgrade your family dinner routine, this recipe provides a foolproof method for achieving that coveted, perfectly browned, bubbling cheese crust every single time.
Ingredients
Chicken
- 1 1/2 lb boneless skinless chicken breasts, diced
- 2 tbsp jerk seasoning
Base
- 1 lb rotini pasta
Sauce
- 1 can diced tomatoes with green chilies
- 2 cups velvety cheese sauce
Garnish
- fresh herbs, for serving
Why this recipe works
The method of searing the chicken before combining it with the sauce is crucial for developing depth of flavor. By browning the meat in a hot skillet, you create a Maillard reaction that brings out the aromatic qualities of the jerk seasoning. This initial step ensures the chicken remains tender while contributing a robust, savory base that enhances the overall profile of the creamy sauce once everything is baked together.
The choice of using a combination of creamy cheese sauce and tangy tomatoes with chilies provides the perfect textural contrast. The acidity from the tomatoes balances the heavy creaminess of the cheese, preventing the dish from feeling one-dimensional.
Baking the assembled mixture at a high temperature allows the flavors to meld while creating a distinct, golden-brown crust that provides a satisfying texture when scooping deep into the baking dish.
Notes and substitutions
When selecting jerk seasoning, look for a blend that includes allspice, thyme, and habanero or scotch bonnet peppers for an authentic profile. If the preferred brand is particularly salty, adjust the added salt in the pasta water accordingly. For the cheese sauce, a high-quality cheddar or a blend of melting cheeses like Monterey Jack works beautifully to achieve that signature velvety texture that holds up well during the oven-baking process.
Regarding equipment, a heavy-bottomed skillet is recommended for searing the chicken to ensure even heat distribution. If a glass baking dish is unavailable, a ceramic or enameled cast iron dish will also perform well.
When garnishing, fresh cilantro or flat-leaf parsley adds a necessary pop of color and freshness that cuts through the richness of the cheese. Feel free to adjust the amount of jerk seasoning depending on individual heat preferences.
- rotini pasta: penne or macaroni
- jerk seasoning: cajun seasoning
Equipment
- large skillet
- stockpot
- baking dish
- wooden spoon
- colander
Up next · Part 2 of 3
3 steps · 30 min of cooking · what to look for at each stage
Step-by-step instructions (Part 2)