Dinner · Part 1 of 3: Ingredients
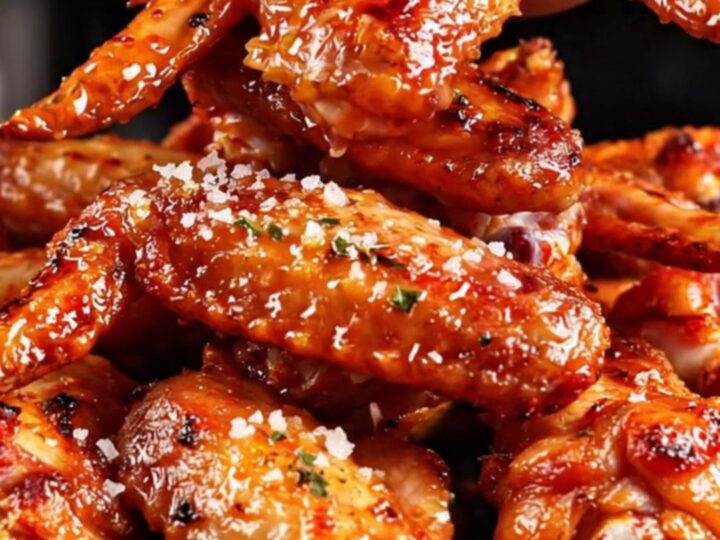
Crispy Flame-Kissed Peri-Peri Chicken Wings
- Prep
- Cook
- Total
- Serves
- 4
Elevate your weeknight dinner with these vibrant, flame-kissed Peri-Peri chicken wings. By combining the convenience of air frying with the bold, smoky intensity of a homemade chili-lemon glaze, you achieve restaurant-quality results in under an hour. These wings offer the perfect balance of crispy texture and zesty, fiery flavor that will keep everyone reaching for more. Master this simple technique and bring a touch of Portuguese-inspired heat to your kitchen with ease.
Peri-Peri chicken is famous for its distinctively spicy, citrusy, and herbaceous profile. This recipe breaks down the process into simple, manageable steps, starting with a fresh blend of bird's eye chilies and finishing with a high-heat sear.
Whether you are hosting a casual gathering or simply looking for a flavor-packed meal, these wings deliver consistent, delicious results. Following this method ensures that every bite is perfectly seasoned, beautifully charred, and incredibly satisfying, making it a reliable staple for any home cook looking to explore global flavors.
Ingredients
Main
- 2 lb chicken wings
Peri-Peri Glaze
- 6 roasted red bird's eye chilies
- 4 garlic cloves
- 1/3 cup olive oil
- 2 lemons, juiced
- 1 tbsp smoked paprika
- 1 tbsp fresh oregano
Why this recipe works
The method of air frying followed by a cast-iron sear is highly effective for poultry. The air fryer efficiently renders the fat from the skin, creating a crisp exterior without the need for deep frying. This initial cook ensures the meat stays juicy while providing a clean canvas for the sauce. By applying the glaze during the final sear, the heat caramelizes the ingredients, concentrating the vibrant flavors of the chilies and lemon.
Furthermore, using a cast-iron grill pan provides intense, direct heat that mimics a traditional churrasqueira. This step is crucial for achieving that authentic charred finish that defines great Peri-Peri wings.
The combination of high-heat roasting and direct-flame searing creates complex flavor layers that simple baking cannot replicate. This technique balances convenience with professional-grade results, allowing for a refined culinary experience that prioritizes texture and flavor intensity in every single bite.
Notes and substitutions
The choice of bird's eye chilies is essential for the authentic heat profile of this dish. When handling these peppers, ensure you wash your hands thoroughly to avoid any skin or eye irritation.
If you prefer a milder experience, you can easily substitute them with milder varieties such as Fresno or serrano peppers. The smoked paprika provides a necessary depth that grounds the brighter notes of the lemon and fresh oregano, so avoid using standard sweet paprika if possible.
Regarding equipment, a well-seasoned cast-iron grill pan is highly recommended for the searing phase. Its ability to hold and distribute heat evenly is superior for creating those iconic grill marks and deep char.
If a cast-iron pan is not available, a standard heavy-bottomed skillet can be used, though the charring effect might be slightly less pronounced. Always ensure your wings are patted dry before air frying to maximize crispness and prevent any unwanted steaming during the cooking process.
- Bird's eye chilies: Thai red chilies or serrano peppers for a milder heat level.
- Fresh oregano: 1 teaspoon of dried oregano if fresh is unavailable.
Equipment
- Blender
- Air fryer
- Cast-iron grill pan
- Basting brush
- Tongs
Up next · Part 2 of 3
3 steps · 25 min of cooking · what to look for at each stage
Step-by-step instructions (Part 2)