Dinner · Part 1 of 3: Ingredients
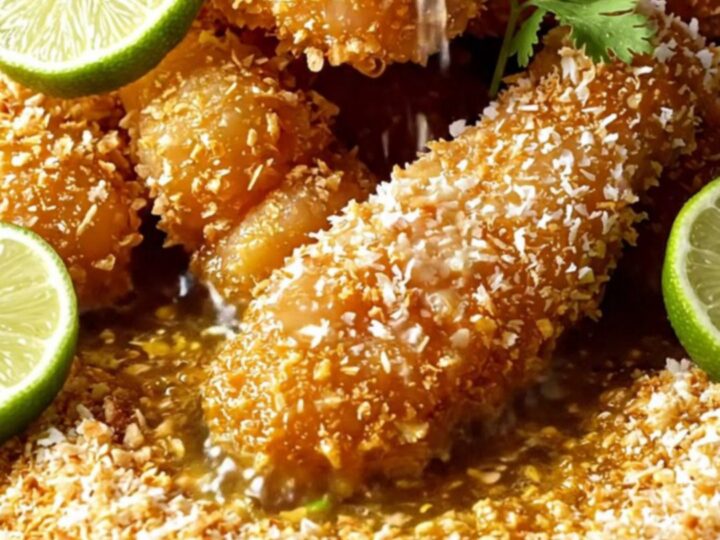
Crispy Coconut Mango Chili Chicken Tenders
- Prep
- Cook
- Total
- Serves
- 4
Searching for a dinner recipe that brings tropical sunshine to your plate? These coconut-crusted chicken tenders offer an incredible crunch and a vibrant flavor profile that feels like a getaway.
With a golden, caramelized exterior and a tender, juicy interior, they are the ultimate quick meal for any night of the week. Forget the standard breaded chicken and embrace the sweet, nutty, and savory combination of coconut, lime, and curry that makes this dish truly stand out.
These crispy coconut mango chili chicken tenders are designed for efficiency and maximum flavor. By marinating the chicken in coconut milk, you ensure the meat remains succulent during the quick frying process.
The crust, a blend of panko and shredded coconut, provides a satisfying texture that holds up perfectly against the sweet and spicy mango chili sauce. Whether you are cooking for a weeknight dinner or a casual get-together, this recipe delivers restaurant-quality results with minimal effort, making it a reliable addition to your culinary repertoire.
Ingredients
Chicken
- 1.5 lb chicken tenders
Marinade
- 1/2 cup coconut milk
- 1 tsp lime zest, for serving
Crust
- 1 cup sweetened shredded coconut
- 1 cup panko breadcrumbs
- 1 tsp curry powder
Frying
- 2 cups coconut oil, for frying
Serving
- 1/2 cup mango sweet chili sauce, for serving
Why this recipe works
The method of marinating in coconut milk serves two essential purposes. First, it acts as a tenderizing agent, breaking down the muscle fibers of the chicken tenders to ensure they remain soft after frying. Second, it provides a sticky, flavorful base that helps the panko and coconut crust adhere tightly to the surface of the chicken, preventing the breading from falling off in the hot oil.
Frying in coconut oil at a controlled temperature of 350°F (177°C) is the secret to achieving the perfect balance between a crisp exterior and fully cooked meat. The coconut oil adds a subtle, aromatic depth that complements the shredded coconut in the crust. By maintaining this specific heat, the sugars in the coconut caramelize into a beautiful amber gold without burning, ensuring a consistent, professional finish every time.
Notes and substitutions
When selecting ingredients, ensure the shredded coconut is sweetened as indicated, as this contributes to the signature caramelization that defines the crust's appearance and flavor.
If you prefer a less sweet profile, you can use unsweetened coconut, but note that the final color will be lighter and the flavor profile will shift toward the savory side. Always ensure your curry powder is fresh to get the best aromatic impact.
Regarding equipment, a heavy-bottomed skillet is essential for maintaining a stable frying temperature. The weight of the pan helps distribute heat evenly across the surface, preventing hot spots that could lead to uneven browning.
If you do not have a thermometer, you can test the oil's readiness by dropping a small piece of panko into the oil; it should sizzle immediately and rise to the surface, indicating the oil is at the correct temperature for frying.
- sweetened shredded coconut: unsweetened shredded coconut for a less sugary profile.
- coconut oil: canola oil or vegetable oil for a more neutral frying medium.
Equipment
- large mixing bowl
- shallow dish
- heavy-bottomed skillet
- tongs
- paper towels
- microplane zester
Up next · Part 2 of 3
3 steps · 5 min of cooking · what to look for at each stage
Step-by-step instructions (Part 2)