Dinner · Part 1 of 3: Ingredients
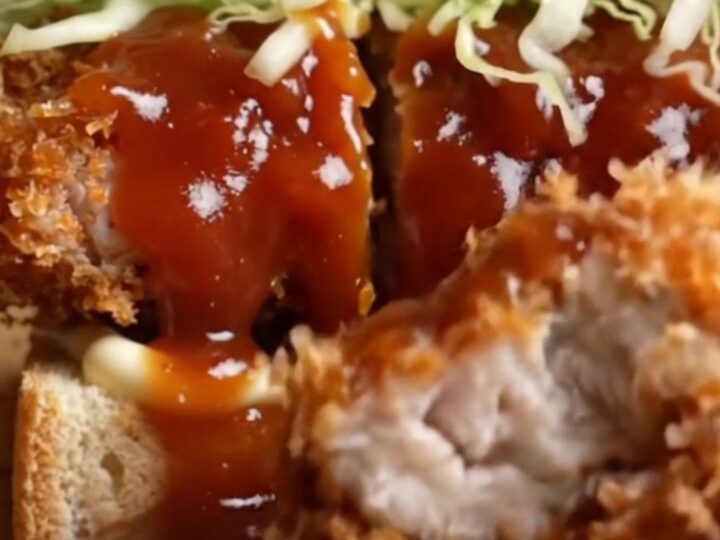
Crispy Chicken Katsu Sando with Tangy Tonkatsu Sauce
- Prep
- Cook
- Total
- Serves
- 2
This chicken katsu sando is the ultimate Japanese comfort food: a shatteringly crisp panko-crusted chicken cutlet, tangy tonkatsu sauce, and creamy Kewpie mayo, all cradled in pillowy shokupan milk bread. It's a quick weeknight dinner that feels like a special treat, and it comes together in just 30 minutes. The contrast of textures and flavors is irresistible.
This chicken katsu sando brings the beloved Japanese convenience store sandwich home, but with a homemade touch that makes it even better. The chicken is pounded thin, breaded in panko, and fried until golden and crunchy, then layered with crunchy cabbage and a sweet-tangy sauce on soft, cloud-like bread.
It's a satisfying meal that's perfect for lunch, dinner, or even a game-day snack. The recipe is straightforward and uses simple ingredients, yet the result is impressive enough to serve to guests.
Ingredients
- 2 boneless, skinless chicken breasts (about 6 oz each)
- 1/2 tsp kosher salt
- 1/4 tsp black pepper
Breading
- 1/2 cup all-purpose flour
- 2 large eggs, beaten
- 1 1/2 cups panko breadcrumbs
For frying
- 2 cups neutral oil (such as canola or vegetable), for frying
For the sandwich
- 4 slices shokupan (Japanese milk bread) or soft white bread
- 1 cup finely shredded green cabbage
- 2 tbsp Kewpie mayonnaise
Tonkatsu sauce
- 2 tbsp tonkatsu sauce (or store-bought)
- 1 tbsp Worcestershire sauce
- 1 tbsp ketchup
- 1 tsp granulated sugar
Why this recipe works
Pounding the chicken to an even 1/2-inch thickness ensures it cooks quickly and evenly, staying juicy on the inside while the crust turns shatteringly crisp. The thin cutlet also fits perfectly between the bread slices, creating a balanced sandwich where every bite has a bit of everything.
Frying at a precise 350°F (175°C) temperature is key: it sets the crust immediately, preventing oil absorption, and yields a golden, crunchy exterior without burning.
The combination of Kewpie mayonnaise and tonkatsu sauce creates a flavor profile that's creamy, tangy, and slightly sweet. Kewpie's richer, more savory taste (thanks to added MSG and rice vinegar) pairs beautifully with the robust tonkatsu sauce, which brings complexity from Worcestershire and ketchup.
Shredded cabbage adds freshness and a pleasant crunch that cuts through the richness, while the soft milk bread soaks up the sauces without becoming soggy, providing a pillowy contrast to the crispy chicken.
Notes and substitutions
Shokupan, or Japanese milk bread, is the traditional choice for katsu sando because it's soft, slightly sweet, and has a fine crumb that holds up well. If you can't find it, use brioche or a good-quality white sandwich bread.
Avoid crusty artisan loaves, which will overpower the delicate filling. Kewpie mayonnaise is a key ingredient; its unique flavor is hard to replicate, but a mix of regular mayo, a pinch of sugar, and a splash of rice vinegar comes close.
For the tonkatsu sauce, you can use store-bought, but making your own is quick and lets you adjust sweetness and tang. The recipe uses a simple blend of ketchup, Worcestershire, and sugar, but you can add a dash of soy sauce or oyster sauce for extra depth. If you prefer a spicier kick, a few drops of hot sauce or a pinch of chili flakes work well. Always use a neutral oil with a high smoke point, like canola or vegetable, for frying.
- Chicken breasts: Chicken thighs (pounded to even thickness) work well and stay juicy; adjust cooking time to reach 165°F.
- Kewpie mayonnaise: Regular mayonnaise mixed with a pinch of sugar and rice vinegar mimics Kewpie's flavor.
- Shokupan: Any soft, pillowy white bread such as brioche or Texas toast can be used; avoid crusty bread.
- Tonkatsu sauce: Combine 2 tbsp ketchup, 1 tbsp Worcestershire, 1 tsp sugar, and a dash of soy sauce for a quick substitute.
Equipment
- Meat mallet or rolling pin
- Three shallow dishes for breading
- Large heavy-bottomed skillet or Dutch oven
- Instant-read thermometer
- Tongs
- Wire rack
- Serrated knife
Up next · Part 2 of 3
6 steps · 10 min of cooking · what to look for at each stage
Step-by-step instructions (Part 2)