Dinner · Part 1 of 3: Ingredients
Crispy Chicken Caesar Wraps: Golden, Crunchy, and Ready in Minutes
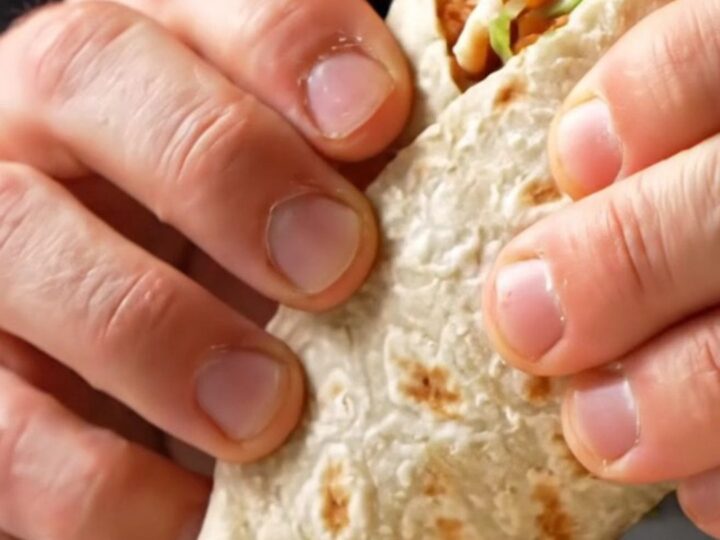
- Prep
- Cook
- Total
- Serves
- 4
Golden, crunchy chicken strips meet crisp romaine and creamy Caesar dressing, all tucked into a warm, toasted tortilla. This crispy chicken Caesar wrap delivers layers of texture and flavor in every bite.
Ready in under 30 minutes, it's a satisfying dinner that feels like a restaurant favorite but comes together easily at home. The panko crust stays shatteringly crisp, the salad stays cool and refreshing, and the garlic mayo ties it all together.
This crispy chicken Caesar wrap takes the classic Caesar salad and turns it into a handheld meal. Chicken breasts are seasoned, breaded in panko, and fried until golden, then sliced and wrapped with dressed romaine and Parmesan in a warm tortilla.
The result is a perfect balance of hot, crunchy chicken and cool, creamy salad. It's a quick dinner that feels special, and the technique is straightforward enough for any weeknight.
Ingredients
- 1 1/2 lb boneless, skinless chicken breasts
- 1 tsp garlic powder
- 1 tsp paprika
- 1/2 tsp black pepper
- 1/2 tsp salt
- 1/2 cup all-purpose flour
- 2 large eggs, beaten
- 1 1/2 cups panko breadcrumbs
- 1 tbsp dried parsley
- 2 cups avocado oil, for frying
- 4 cups chopped romaine lettuce
- 1/2 cup Caesar dressing
- 1/2 cup grated Parmesan cheese
- 4 large flour tortillas (10-inch)
- 1/4 cup garlic mayonnaise
Why this recipe works
The key to this wrap's irresistible crunch is the double coating: a light dusting of flour helps the egg wash cling, which in turn holds the panko breadcrumbs in place.
Frying in hot oil at the right temperature creates a crisp, golden crust that stays crunchy even after being wrapped. The contrast between the hot, crispy chicken and the chilled, creamy salad is what makes every bite exciting.
Warming the tortillas before assembly makes them pliable and easy to roll without cracking. Toasting the assembled wraps in a dry skillet seals the seam and adds a final layer of crispness to the outside.
This extra step ensures that the wrap holds together neatly when sliced, revealing beautiful layers of filling. The result is a sturdy, satisfying wrap that's as pleasing to look at as it is to eat.
Notes and substitutions
Use boneless, skinless chicken breasts for the most even cooking, but chicken tenders work just as well. Panko breadcrumbs are essential for the extra-crispy texture; regular breadcrumbs will not give the same crunch. Avocado oil has a high smoke point, making it ideal for frying, but any neutral oil like canola or vegetable oil will work.
The Caesar dressing can be store-bought or homemade, and garlic mayonnaise adds an extra layer of flavor. For a more intense garlic kick, mince a fresh clove into the mayonnaise. The romaine should be thoroughly dried after washing to prevent the dressing from becoming watery. Use large flour tortillas, about 10 inches, to hold all the filling comfortably.
- chicken breast: chicken tenders or thighs (adjust cooking time; thighs may need a few extra minutes)
- avocado oil: canola or vegetable oil for frying
- garlic mayonnaise: regular mayonnaise mixed with 1 minced garlic clove
- Caesar dressing: homemade Caesar dressing or a creamy ranch dressing
Equipment
- Large skillet or deep fryer
- Meat thermometer
- Three shallow dishes for breading
- Tongs
- Cutting board
- Sharp knife
- Large bowl
- Aluminum foil
Up next · Part 2 of 3
8 steps · 15 min of cooking · what to look for at each stage
Step-by-step instructions (Part 2)