Dinner · Part 1 of 3: Ingredients
Crispy Chicken Alfredo Wrap with Garlic Parmesan Cream
- Prep
- Cook
- Total
- Serves
- 4
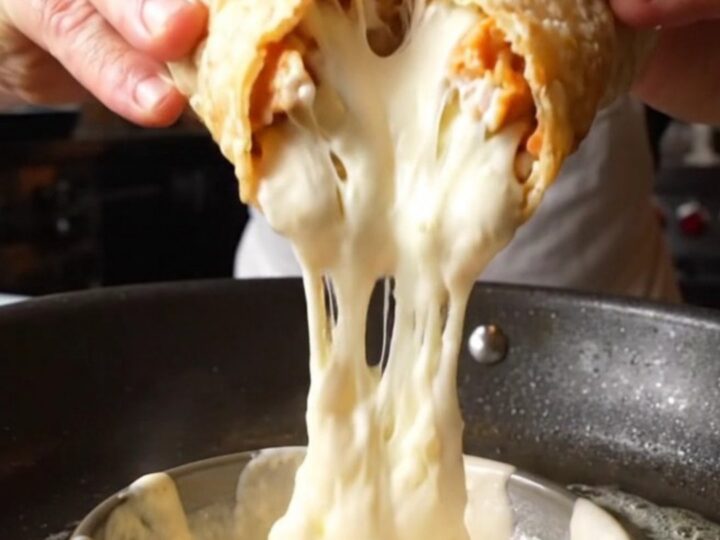
There are dinners that simply hit the spot, and this crispy chicken Alfredo wrap is one of them. Juicy, seasoned chicken is tossed in a rich garlic parmesan cream, then folded into a flour tortilla with mozzarella and toasted until golden and crunchy.
The contrast of the crisp exterior and the creamy, cheesy center is pure comfort. This is the kind of meal that feels indulgent but comes together quickly on a busy weeknight.
This recipe turns classic chicken Alfredo into a handheld, crispy wrap that everyone will love. The chicken is seared until browned, then simmered in a velvety garlic parmesan sauce.
The mixture is spooned into tortillas, topped with mozzarella, and toasted in a hot skillet until the outside is golden and shatteringly crisp. Serve with extra sauce for dipping, and dinner is ready in under half an hour. It's an easy, satisfying meal that brings restaurant flavor home.
Ingredients
- 2 lb boneless, skinless chicken breast, sliced
Chicken Seasoning
- 1 tsp garlic powder
- 1 tsp onion powder
- 1 tsp smoked paprika
- 1 tsp salt
- 2 tbsp avocado oil, divided
Garlic Parmesan Cream
- 2 tbsp butter
- 1 cup heavy whipping cream
- 3 cloves garlic, minced
- 1/2 cup grated parmesan cheese
For the Wraps
- 4 large flour tortillas
- 1 cup shredded mozzarella cheese
- 2 tbsp butter, for toasting
Why this recipe works
The method here is all about building layers of flavor and texture. Searing the chicken in a hot skillet with a simple spice blend creates a deep, savory crust that locks in juices.
Then, using the same skillet to make the garlic parmesan cream picks up those browned bits, adding an extra dimension of flavor to the sauce. The sauce is reduced until thick enough to cling to the chicken, ensuring every bite is creamy and rich.
Toasting the assembled wraps in butter or oil creates a crispy, golden exterior that contrasts beautifully with the creamy filling. The high heat quickly browns the tortilla without overcooking the filling, while the mozzarella melts into a gooey, stringy layer that holds everything together. This technique gives you a satisfying crunch in every bite, making the wrap feel both indulgent and comforting.
Notes and substitutions
Use boneless, skinless chicken breast or thighs for this recipe. Slicing the chicken into even strips helps it cook quickly and evenly. The spice blend of garlic powder, onion powder, smoked paprika, and salt adds a smoky, savory kick.
For the sauce, choose heavy whipping cream for the best rich and velvety texture. Grated parmesan from a block melts more smoothly than pre-shredded, which often contains anti-caking agents.
Large flour tortillas are essential for holding the generous filling. If you prefer a whole grain or gluten-free option, check the labels for allergens and adjust the toasting time as needed. The recipe works well with store-bought tortillas; just make sure they are pliable. For the best results, do not overfill the wraps, and seal them tightly to prevent any sauce from leaking during toasting.
- avocado oil: olive oil or canola oil
- smoked paprika: regular paprika or chili powder
- heavy whipping cream: half-and-half (sauce will be slightly thinner)
- flour tortillas: whole wheat or gluten-free tortillas (check labels for allergens)
Equipment
- Large skillet
- Medium skillet or saucepan
- Cutting board
- Chef's knife
- Spatula
- Measuring cups and spoons
Up next · Part 2 of 3
6 steps · 15 min of cooking · what to look for at each stage
Step-by-step instructions (Part 2)