Dinner · Part 1 of 3: Ingredients
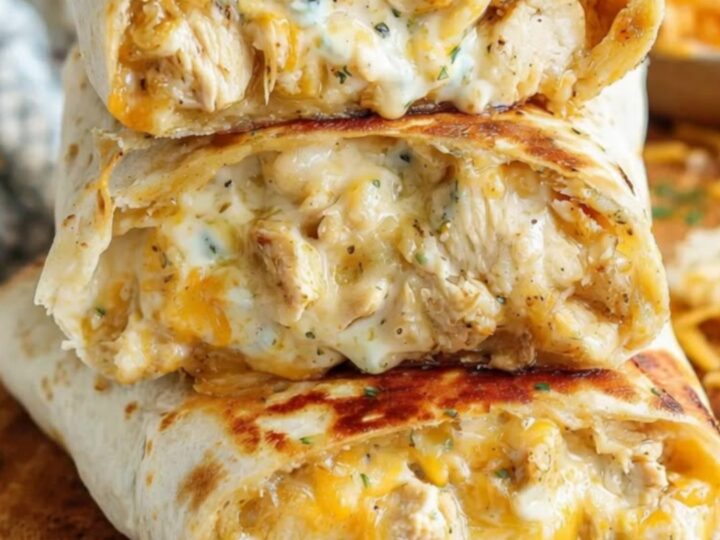
Crispy Cheesy Garlic Chicken Wraps
- Prep
- Cook
- Total
- Serves
- 4
Nothing beats the satisfying crunch of a perfectly toasted wrap, especially when it is packed with a rich, savory filling. These crispy cheesy garlic chicken wraps deliver exactly that experience in every single bite.
By combining tender seared chicken, a luscious garlic cream cheese sauce, and plenty of gooey melted cheese, this dish transforms simple ingredients into an extraordinary meal that the whole family will request again and again.
If you are looking for a quick, comforting dinner that requires minimal effort but offers maximum flavor, these wraps are the perfect solution. They are incredibly easy to put together, making them ideal for busy weeknights when time is short but cravings are high.
The secret lies in the contrast of textures: the crisp, golden-brown exterior of the toasted wrap perfectly complements the warm, creamy, and cheesy chicken filling inside. It is a satisfying, crowd-pleasing dish that brings gourmet comfort food straight to your dinner table in under thirty minutes.
Ingredients
- 1 1/2 lb chicken breast, cubed
- 4 cloves garlic, minced
- 4 oz cream cheese
- 1 1/2 cups shredded cheese
- 4 wraps
Why this recipe works
Toasting the assembled wraps seam-side down first is a crucial step that serves two important purposes. It immediately seals the wrap, preventing the rich garlic chicken and melted cheese filling from leaking out during the cooking process.
Additionally, the direct contact with the hot skillet creates an incredibly crispy, golden-brown crust that provides a wonderful structural contrast to the creamy interior. This simple pan-searing technique elevates a basic wrap into a restaurant-quality meal with an irresistible crunch.
Melting the cream cheese directly into the skillet with the seared chicken and fresh garlic creates an instant, cohesive sauce without the need for a separate pan.
The residual heat from the cooked chicken and the pan helps the cream cheese soften and emulsify, coating every bite-sized piece of poultry in a velvety, garlic-infused glaze. This method ensures that the chicken remains moist and flavorful throughout the assembly and toasting phases, resulting in a perfectly balanced filling.
Notes and substitutions
When choosing ingredients for this recipe, opt for high-quality wraps that are fresh and pliable, as older wraps tend to crack and split when rolled. Standard large wraps work best to accommodate the generous portion of creamy chicken and shredded cheese. For the chicken, chicken breasts are ideal because they cook quickly and evenly, but you can easily substitute boneless chicken thighs if you prefer a richer flavor and juicier texture.
For the cheese, shredded cheese provides the classic, dramatic cheese pull that makes these wraps so visually appealing and delicious. If you want to customize the flavor, feel free to use cheddar, Monterey Jack, or even a sprinkle of parmesan for an extra savory kick. Ensure the cream cheese is softened at room temperature before adding it to the skillet, which allows it to melt smoothly into the sauce without leaving any lumps.
- cream_cheese: sour cream or heavy cream with a splash of lemon juice for a lighter tangy flavor
- cheese: shredded Monterey Jack or cheddar cheese for a sharper, bolder flavor profile
Equipment
- large skillet
- cutting board
- chef's knife
- spatula
- measuring cups and spoons
Up next · Part 2 of 3
4 steps · 15 min of cooking · what to look for at each stage
Step-by-step instructions (Part 2)