Dinner · Part 3 of 3: Tips & recipe card
Crispy Cheesy Beef Tortilla Pockets Tips, FAQ & printable recipe
- Prep
- Cook
- Total
- Serves
- 4
Tips for success
For the crispiest tortillas, use a baking sheet with a rim and line it with parchment paper. This prevents sticking and makes cleanup easy. If your tortillas are on the softer side, you can pre-toast them in a dry skillet for 30 seconds per side before filling—this helps them hold up better.
When brushing the garlic butter, use a pastry brush to get an even coat, and don't be shy; the butter is what creates that golden, blistered crust. If you have time, let the assembled pockets rest in the refrigerator for 10 minutes before baking—this helps the butter firm up and the tortillas crisp more evenly.
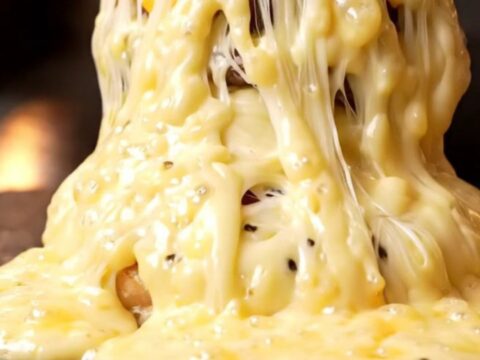
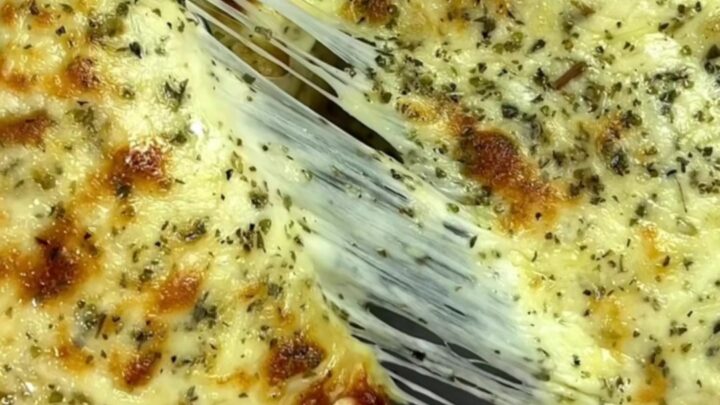
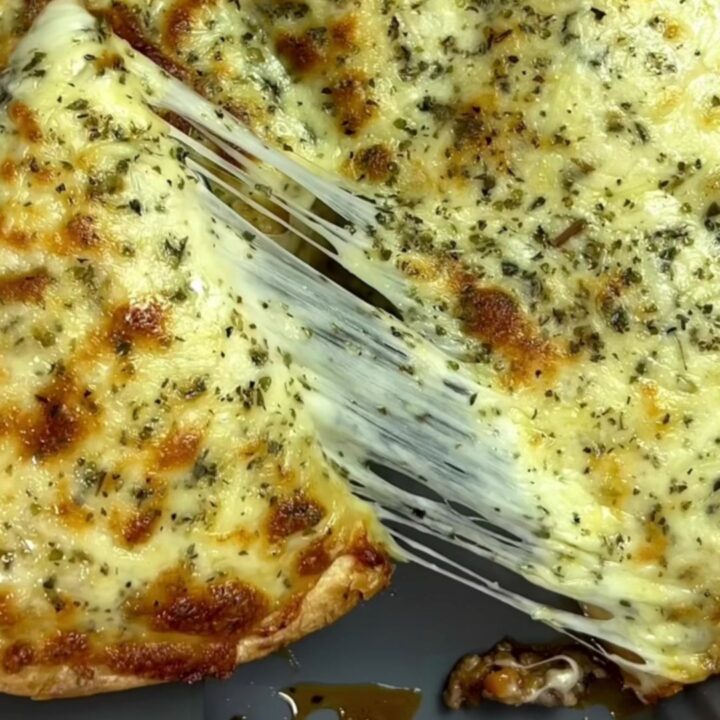
To achieve that perfect cheese pull, use freshly shredded mozzarella rather than pre-shredded, which often contains anti-caking agents that prevent melting. The same goes for the cheese on top; shred it yourself for the best melt.
If you want extra browning, you can switch the oven to broil for the last 1–2 minutes, but watch closely to avoid burning. Serve the pockets immediately after resting, because the crispness fades as they cool. If you're making them for a crowd, you can keep them warm in a low oven (200°F/93°C) for up to 30 minutes, but they are best fresh.
Variations
- Chicken Pockets: Replace the ground beef with ground chicken or turkey. Cook the poultry thoroughly to 165°F (74°C). The rest of the recipe stays the same; the filling will be slightly leaner but still flavorful.
- Spicy Chorizo Version: Swap the ground beef for fresh chorizo (remove the casing). Brown the chorizo with the vegetables, and reduce the salt since chorizo is often salty. Add a pinch of cayenne or chipotle powder for extra heat.
- Veggie Lovers: For a vegetarian version, omit the beef and double the vegetables, adding black beans or corn. Sauté the vegetables until they are tender, then proceed with the tomato sauce and cheese. No protein temp needed.
- BBQ Beef Pockets: Use barbecue sauce instead of tomato sauce for a smoky-sweet twist. Reduce the smoked paprika to 1/2 teaspoon and add a teaspoon of brown sugar. The filling will have a different depth of flavor.
Storage and make-ahead
- Fridge
- Store leftover pockets in an airtight container in the refrigerator for up to 3 days.
- Freezer
- Freeze baked or unbaked pockets in a single layer, then transfer to a freezer bag for up to 2 months.
- Reheat
- Reheat frozen pockets directly in a 350°F (175°C) oven for 15-20 minutes, or until hot and crispy.
Leftover pockets can be stored in an airtight container in the refrigerator for up to 3 days. The crispness will soften, but they can be re-crisped in the oven or toaster oven. To reheat, place them on a baking sheet in a 350°F (175°C) oven for 5–7 minutes, or until heated through and the exterior is crunchy again. Avoid microwaving, as it will make the tortillas soggy.
The beef filling can be prepared up to 2 days in advance and stored in the refrigerator. When ready to assemble, reheat the filling slightly so it's easier to spread.
The assembled pockets can also be refrigerated for up to 8 hours before baking; just brush with the garlic butter right before putting them in the oven. If baking from cold, add a few extra minutes to the cooking time.
Serving ideas
These pockets are hearty enough to be a main course, served with a simple green salad or a bowl of Mexican rice. They also shine as an appetizer or party snack—cut them into smaller pieces and serve with salsa, guacamole, or sour cream for dipping. The combination of crunchy tortilla, seasoned beef, and melted cheese is universally appealing, making them a hit at gatherings.
For a complete meal, pair the pockets with a side of black beans, corn salad, or roasted vegetables. The flavors are bold but not overpowering, so they go well with a variety of sides.
If you're serving them for a casual dinner, let everyone grab a pocket and enjoy the cheese pull—it's a fun, interactive dish that brings people together. Leftovers can be packed for lunch and enjoyed cold or reheated.
Frequently asked questions
Can these pockets be made ahead and baked later?
Why do the tortillas become soggy?
Can these be frozen?
What can be used instead of mozzarella?
How can the pockets be made crispier?
Crispy Cheesy Beef Tortilla Pockets
Ingredients
- 4 large flour tortillas (8-inch)
- 2 tbsp olive oil
- 1 yellow onion, diced
- 1 red bell pepper, diced
- 1 carrot, finely diced
- 500 g lean ground beef
- 1 tsp garlic powder
- 1 tsp smoked paprika
- 1/2 tsp salt
- 1/4 tsp cracked black pepper
- 4 tbsp tomato sauce
- 2 cups shredded mozzarella cheese
- 4 tbsp salted butter, melted
- 3 garlic cloves, minced
- 2 tbsp fresh parsley, chopped
Instructions
- Heat the olive oil in a large cast iron skillet over medium heat. Add the diced onion, red bell pepper, and carrot. Cook, stirring occasionally, until the vegetables soften and the onion turns translucent, about 5 minutes.
- Add the lean ground beef to the skillet. Break it up with a wooden spoon and cook until browned, about 5 minutes. Stir in the garlic powder, smoked paprika, salt, and cracked black pepper. Cook for another minute until fragrant.
- Pour the tomato sauce over the beef mixture and stir to combine. Let it simmer for 2 minutes until the sauce thickens slightly and coats the beef. Remove the skillet from the heat and let the filling cool for a few minutes.
- Lay the tortillas on a clean work surface. Divide the beef mixture evenly among the tortillas, placing it in the center. Top each with a generous handful of shredded mozzarella, about 1/2 cup per pocket. Fold the sides inward, then roll tightly to form a pocket.
- Preheat the oven to 350°F (175°C). In a small bowl, mix the melted butter, minced garlic, and chopped parsley. Brush the mixture generously over the tops of the assembled pockets.
- Sprinkle the remaining shredded mozzarella over the tops of the buttered pockets, pressing lightly so it adheres.
- Place the pockets on a baking sheet lined with parchment paper. Bake at 350°F (175°C) for 12–15 minutes, until the cheese is melted and bubbling and the tortillas are golden brown and crisp.
- Remove from the oven and let the pockets rest for 2 minutes. Serve warm, with the cheese pull stretching as you cut into them.
Estimated nutrition per serving
- Calories
- 550
- Protein
- 30 g
- Carbohydrates
- 35 g
- Fat
- 32 g
Next recipe

Japanese Crispy Pork Gyoza with Golden Lace Skirt
See the recipe → →This recipe is based on a short cooking video and is published under the pen name Clara Weller. It was checked before publication, but errors can slip through. Nutrition, when shown, is an estimate. Read more in our editorial policy and on our food safety page.
More recipes to try
Crispy Antep Lahmacun Rolls with Fresh Mint and Lemon
Total time: 1 h 12 min
Japanese Crispy Karaage Rice Bowl with Kewpie & Pickled Ginger
Total time: 1 h
Crispy Bang Bang Salmon Bites with Coconut Rice
Total time: 25 min
Turkish Etli Ekmek: Crispy One-Meter Flatbread
Total time: 1 h 19 min
Crispy Salt & Pepper Chicken Wings with Wok-Tossed Chiles
Total time: 40 min