Appetizers · Part 3 of 3: Tips & recipe card
Crispy Cheesy Beef Cones Tips, FAQ & printable recipe
- Prep
- Cook
- Total
- Serves
- 6
Tips for success
For the crispiest cones, make sure the tortillas are completely dry before baking. If they are slightly damp, pat them with a paper towel.
Also, do not skip the initial bake—this sets the shape and creates a barrier that prevents sogginess. You can also brush the outside of the cones with a little oil for extra golden color.
To keep the cones upright during baking, use a muffin tin or a small oven-safe dish filled with crumpled foil. This is especially helpful if you are making a large batch.
For a more even bake, rotate the baking sheet halfway through. Serve the cones immediately after baking for the best texture.
Variations
- Chicken Cones: Substitute ground chicken for the beef. Cook until no longer pink and reaches 165°F (74°C). Add a tablespoon of taco seasoning for extra flavor.
- Spicy Chorizo Cones: Use fresh Mexican chorizo instead of ground beef. Remove the casing and crumble while cooking. Omit the chili flakes if you prefer less heat.
- Veggie Cones: For a vegetarian version, replace the beef with cooked black beans and corn. Sauté with the same seasonings until heated through.
- BBQ Beef Cones: Stir in a few tablespoons of barbecue sauce with the tomato paste for a smoky-sweet flavor. Use cheddar cheese instead of mozzarella.
Storage and make-ahead
- Fridge
- Store leftover cones in an airtight container in the refrigerator for up to 3 days.
- Freezer
- Freeze unbaked filled cones on a baking sheet, then transfer to a freezer bag for up to 2 months. Bake from frozen at 400°F for 12-15 minutes.
- Reheat
- Reheat leftover cones in an oven at 375°F for 5-7 minutes to restore crispness. Avoid microwaving.
Store leftover cones in an airtight container in the refrigerator for up to 3 days. To reheat, place them on a baking sheet and warm in a 375°F (190°C) oven for 5-7 minutes, until crisp again. Avoid microwaving, as it will make the tortillas soggy.
You can prepare the beef filling up to 2 days ahead and keep it refrigerated. Shape and bake the empty cones up to 1 day in advance; store them in an airtight container at room temperature.
When ready to serve, fill the cones with the cold filling and cheese, then bake as directed, adding a couple of extra minutes to compensate for the cold filling.
Serving ideas
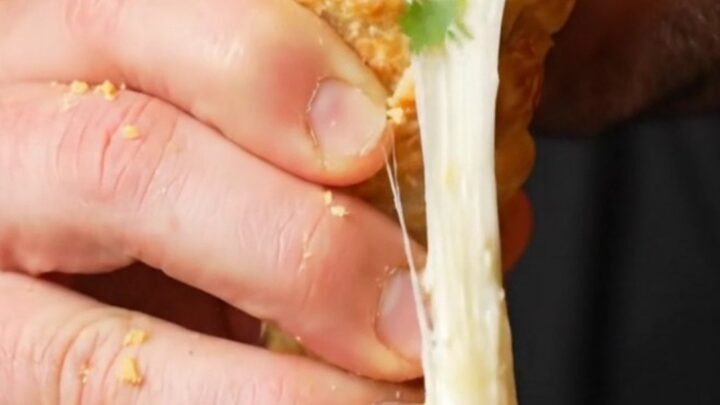
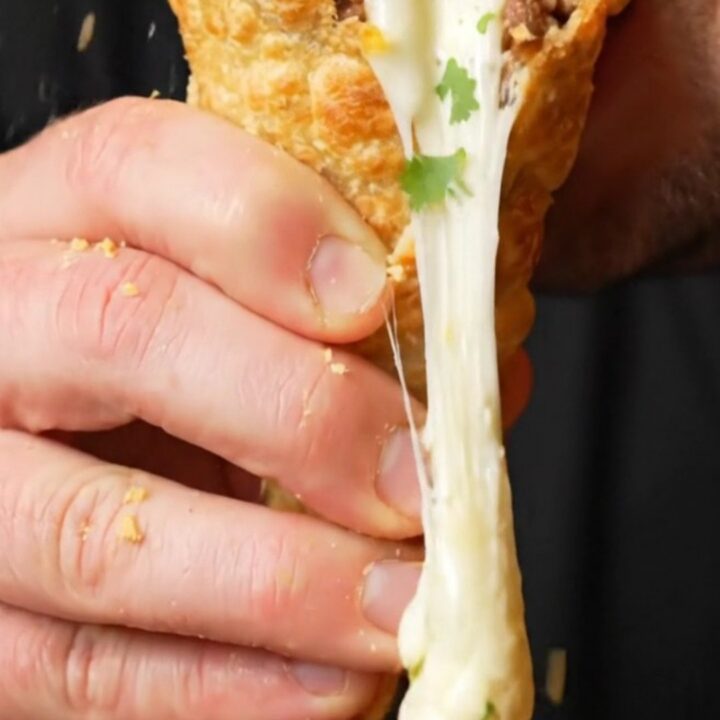
Serve these beef cones as a fun appetizer at parties, game day gatherings, or even as a weeknight dinner. They are best enjoyed warm, with the cheese pulling as you bite into the crunchy shell.
Arrange them upright on a platter for a striking presentation. You can also serve them with a side of salsa, guacamole, or sour cream for dipping.
For a complete meal, pair them with a simple green salad or Mexican rice. The cones are portable and easy to eat with your hands, making them perfect for casual get-togethers. They are sure to disappear quickly, so consider making a double batch if you're feeding a crowd.
Frequently asked questions
Can these beef cones be made ahead of time?
Why do your tortilla cones turn out soggy?
Can you use corn tortillas instead of flour?
How do you prevent the cones from unrolling during baking?
What is the best way to reheat leftover cones?
Crispy Cheesy Beef Cones
Ingredients
- 6 flour tortillas (8-inch)
- 1 lb ground beef
- 1/2 cup finely chopped onion
- 2 cloves garlic, minced
- 2 tbsp tomato paste
- 1 tsp smoked paprika
- 1 tsp ground cumin
- 1/2 tsp chili flakes
- 1/2 cup diced bell peppers
- 1 1/2 cups shredded mozzarella cheese
- toothpicks, for securing cones, to taste
Instructions
- Heat the oven to 400°F (200°C). Cut each tortilla in half. Roll one half into a cone shape, overlapping the edges slightly, and secure with a toothpick. Place the cones upright on a baking sheet lined with parchment paper, spacing them apart. Bake for 8 minutes until they hold their shape and begin to crisp. Remove from the oven and let cool slightly on the sheet.
- While the cones bake, heat a large skillet over medium-high heat. Add the ground beef and cook, breaking it up with a spoon, until browned and no longer pink, about 5 minutes. Add the onion and garlic and cook until softened, about 2 minutes. Stir in the tomato paste, smoked paprika, cumin, chili flakes, and bell peppers. Cook until the mixture is thick and the peppers are tender, about 2 minutes more.
- Once the cones are cool enough to handle, carefully remove the toothpicks. Spoon the beef mixture into each cone, filling them generously. Top with shredded mozzarella, pressing lightly to pack the filling.
- Return the stuffed cones to the baking sheet, upright. Bake at 400°F (200°C) for 8 minutes, until the mozzarella is melted, bubbling, and golden brown at the tips.
- Remove the cones from the oven and let them cool for 2 minutes on the baking sheet. Serve warm, with the cheese pulling as you bite into the crunchy shell.
Estimated nutrition per serving
- Calories
- 420
- Protein
- 28 g
- Carbohydrates
- 24 g
- Fat
- 24 g
Next recipe

Mini Garlic Mushroom and Cheese Boat Pides: Crispy Pull-Apart Bites
See the recipe → →This recipe is based on a short cooking video and is published under the pen name Clara Weller. It was checked before publication, but errors can slip through. Nutrition, when shown, is an estimate. Read more in our editorial policy and on our food safety page.
More recipes to try

Crispy Garlic Butter Parmesan Fries with Garlic Aioli
Total time: 1 h 20 min
Sparkling Water Börek with Feta and Parsley
Total time: 55 min
Crispy Fan-Cut Accordion Eggplant Fries with Garlic Yogurt Dip
Total time: 25 min
Slow-Cooker Dr Pepper BBQ Lil' Smokies: 3-Step Tailgate Glaze
Total time: 2 h 35 min
Loaded Wagyu Bacon Waffle Fries: Crispy, Cheesy, Ultimate
Total time: 45 min