Dinner · Part 1 of 3: Ingredients
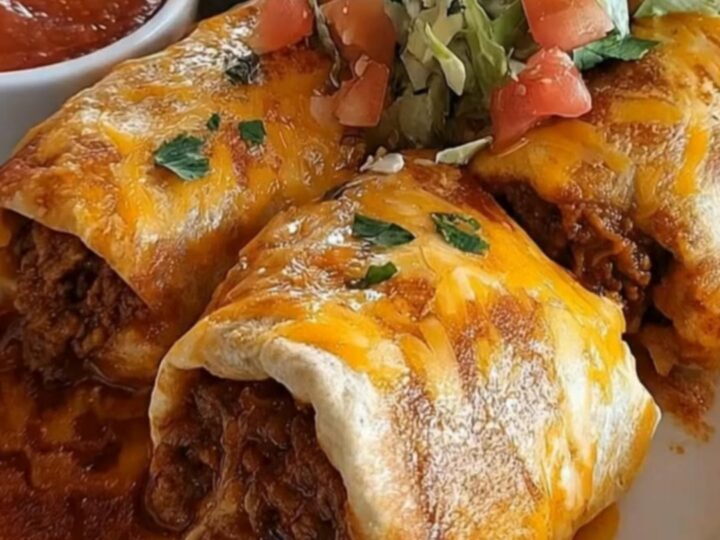
Crispy Cheesy Beef Chimichangas
- Prep
- Cook
- Total
- Serves
- 4
Craving ultimate Tex-Mex comfort? These golden, ultra-crispy cheesy beef chimichangas deliver the ultimate crunch and gooey satisfaction. Perfect for busy weeknights or festive weekend gatherings, this recipe transforms simple ingredients into a spectacular restaurant-quality meal. Experience the contrast of a shatteringly crisp tortilla exterior yielding to seasoned beef and melted cheese.
Chimichangas are a beloved staple of Tex-Mex cuisine, essentially a deep-fried burrito that elevates standard comfort food to legendary status. This recipe focuses on achieving the perfect crispy outer shell without losing the juicy tenderness of the seasoned beef filling inside.
By combining seasoned ground beef, melted cheese, and a perfectly folded flour tortilla, you get a handheld masterpiece. Top them with warm red sauce, extra cheese, fresh lettuce, and tomatoes, and serve them alongside cool sour cream and vibrant salsa for a complete sensory experience that brings the cantina right to your home.
Ingredients
- 1 lb ground beef
- 2 tbsp taco seasoning
- 4 large flour tortillas
- 1 1/2 cups shredded cheddar cheese, divided
- 2 cups vegetable oil for frying
- 1/2 cup red enchilada sauce, warmed
- 1 cup shredded lettuce for garnish
- 1/2 cup diced tomato for garnish
- 1/2 cup sour cream for serving
- 1/2 cup salsa for serving
Why this recipe works
The secret to an exceptionally crispy chimichanga lies in the frying technique and tortilla preparation. Warming the flour tortillas before rolling makes them incredibly pliable, preventing tears and ensuring a tight, secure seal that keeps the filling from leaking into the hot oil.
When the rolled tortilla hits the hot vegetable oil, the outer layers dehydrate rapidly, creating a shatteringly crisp, blistered crust that holds its shape and provides that signature crunch.
Simmering the ground beef with seasonings ensures the meat remains incredibly flavorful and moist. As the beef cooks, the spices concentrate, coating the meat in a rich, savory glaze. This seasoning process is crucial; it helps flavor the cheese inside the tortilla during the brief frying process, creating a cohesive, gooey filling that contrasts beautifully with the crunchy shell.
Notes and substitutions
Selecting the right ingredients is key to success. Choose large, 10-inch flour tortillas, often labeled as burrito-size, as they offer enough surface area for folding and securing the filling.
For the cheese, a high-quality, freshly shredded Cheddar or Monterey Jack melts much better than pre-packaged shredded varieties, which contain anti-caking agents that can hinder that perfect, gooey cheese pull.
For frying, use a neutral oil with a high smoke point, such as canola, corn, or vegetable oil. Avoid olive oil, which can burn at the required frying temperatures and impart an unwanted flavor.
If you prefer a lighter alternative, these can be shallow-fried in a skillet with just an inch of oil, turning carefully to brown all sides, or even baked, though frying yields the most authentic texture.
- ground beef: ground turkey or shredded chicken for a lighter protein alternative
- red enchilada sauce: salsa verde or warm cheese sauce for a different flavor profile
Equipment
- large skillet
- wooden spoon
- tongs
- deep frying thermometer
- paper towels
- cutting board
- chef knife
Up next · Part 2 of 3
6 steps · 20 min of cooking · what to look for at each stage
Step-by-step instructions (Part 2)