Appetizers · Part 1 of 3: Ingredients
Crispy Baked Parmesan Zucchini Crisps
- Prep
- Cook
- Total
- Serves
- 4
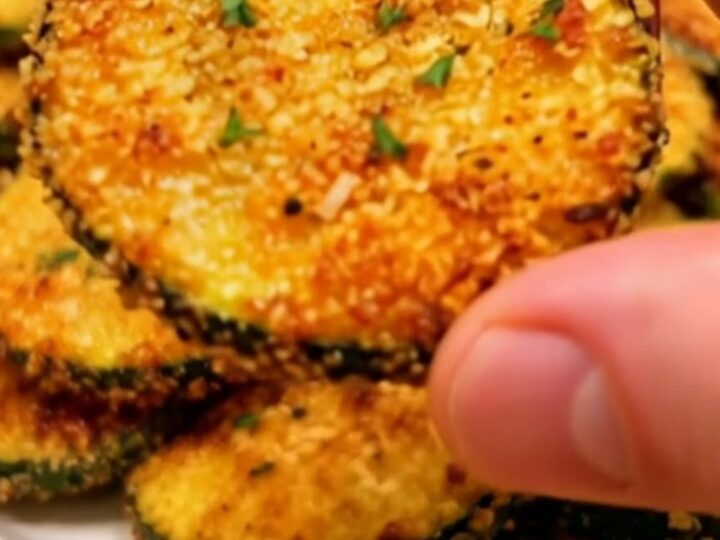
Craving a savory, crunchy snack that satisfies without the heavy grease of potato chips? These crispy parmesan zucchini rounds deliver the ultimate crunch in every bite. Perfectly baked until bubbling and golden-brown, they combine the fresh, mild flavor of zucchini with the sharp, salty punch of real parmesan cheese and rustic breadcrumbs. It is a simple, elegant appetizer or snack that comes together quickly in the oven.
Finding the perfect balance between a crispy exterior and a tender interior can be challenging when cooking zucchini, which naturally contains a high water content. This recipe solves that dilemma by utilizing a dry parmesan and breadcrumb coating that crisps up beautifully under high heat while locking in the natural moisture of the vegetable.
By slicing the zucchini uniformly and baking them on a preheated sheet pan, you achieve a reliable crunch every single time. It is an impressive dish to serve guests or enjoy as a quick afternoon snack.
Ingredients
- 2 medium zucchini, sliced into 1/4-inch rounds
- 1/2 cup panko breadcrumbs
- 1/2 cup grated parmesan cheese
- 1 tsp fresh thyme leaves
Why this recipe works
The science behind this baking method lies in the high-heat roasting process combined with the moisture-absorbing properties of the breadcrumbs and parmesan. Zucchini is notoriously watery, which often leads to soggy results when cooked.
However, dredging the slices in a dry mixture of panko breadcrumbs and finely grated parmesan cheese creates a protective barrier. As the oven heat penetrates the zucchini, the moisture evaporates from the surface, allowing the cheese to melt and fry the breadcrumbs into a rigid, crunchy shell.
Furthermore, using a high baking temperature of 425°F (218°C) ensures that the exterior crisps up rapidly before the zucchini slices can overcook and turn mushy. The cheese melts, caramelizes, and binds the breadcrumbs together, forming a golden crust that snaps beautifully when bitten. This quick-cooking method preserves the vibrant green color and delicate texture of the zucchini, while delivering a rich, savory flavor profile that pairs perfectly with the fresh herbal notes of thyme.
Notes and substitutions
For the best results, select medium-sized zucchini that are firm to the touch and have a bright green, unblemished skin. Smaller zucchini contain fewer seeds and less water, which helps them stay firm during baking.
When preparing the breading, opt for panko breadcrumbs rather than standard fine breadcrumbs, as their larger, flaky structure provides a superior, airy crunch. Ensure the parmesan cheese is finely grated so it adheres evenly to the zucchini slices and melts uniformly to create a continuous crust.
If a dairy-free alternative is required, nutritional yeast can replace the parmesan, though the melting properties will differ. For a gluten-free version, substitute the panko with gluten-free breadcrumbs or crushed pork rinds.
It is crucial to use a high-quality baking sheet that conducts heat evenly, preventing the bottom of the crisps from burning before the tops turn golden. Fresh thyme added right after baking provides a bright, aromatic finish that elevates the overall flavor of the dish.
- panko breadcrumbs: gluten-free panko or crushed pork rinds for a gluten-free alternative
- grated parmesan cheese: finely grated pecorino romano or nutritional yeast for a different savory profile
Equipment
- Baking sheet
- Parchment paper
- Two shallow bowls
- Chef's knife
- Cutting board
- Wire cooling rack
Up next · Part 2 of 3
4 steps · 20 min of cooking · what to look for at each stage
Step-by-step instructions (Part 2)