Appetizers · Part 3 of 3: Tips & recipe card
Crispy Baked Mini Taco Cups for Game Day Tips, FAQ & printable recipe
- Prep
- Cook
- Total
- Serves
- 12
Tips for success
Work in batches efficiently by greasing both tins before starting, so the second dozen goes straight in without delay. Cut the tortilla rounds with kitchen scissors held just outside a 4-inch bowl; it is faster than a cutter and wastes less tortilla.
Keep the oven rack centered, since a rack too low browns the bottoms before the cheese melts. If the kitchen runs warm, assemble the cups quickly and get them into the oven, because a filled tortilla left sitting softens before the bake begins.
Flavor lives in the small moves. Bloom the taco seasoning in the beef fat for a full minute rather than stirring it in at the end, and taste the beef before it goes into the cups. Shred the Colby Jack from a block for the smoothest melt and the best cheese pull.
Press the pico de gallo with a fork over the sieve until the drips slow, then spoon it in. And resist topping the whole batch at once if the party stretches over an hour; top a few cups at a time so every serving arrives hot with cool, distinct dollops.
Variations
- Ground Chicken: Swap the beef for an equal amount of ground chicken seasoned with taco seasoning. Brown it the same way and cook it to an internal temperature of 165°F (74°C) before it goes into the cups. A pinch of cumin and an extra spoonful of pico de gallo round out the lighter flavor.
- Black Bean Cups: Skip the beef and double the refried beans, or use seasoned mashed black beans with cumin and a pinch of chili powder. Layer them over the refried beans, add the pico de gallo and cheese as written, and bake the same ten minutes for a meatless version of the same crispy cup.
- Chorizo Kick: Replace half the ground beef with fresh Mexican chorizo, removed from its casing and browned with the beef until crumbly and cooked through. The chorizo seasons the whole filling, so use half the taco seasoning. Drain well before filling the cups, since chorizo releases more grease than beef alone.
- Breakfast Cups: Use the same tortilla shells and bean layer, then fill with scrambled eggs cooked through to 160°F (71°C), crumbled cooked bacon and shredded cheese. Bake only until the shells are golden, about 8 minutes, since the filling is already cooked. Top with salsa instead of the jalapeños.
Storage and make-ahead
- Fridge
- Refrigerate leftover taco cups in an airtight container for up to 3 days; keep the toppings separate.
- Freezer
- Freeze baked, undressed cups in a freezer bag for up to 2 months; thaw overnight in the refrigerator before reheating.
- Reheat
- Reheat on a baking sheet at 350°F (175°C) for 8 to 10 minutes until the shells crisp again; skip the microwave.
Cool leftover taco cups on the rack for no more than 2 hours, then transfer them to an airtight container lined with a paper towel, which catches stray moisture. Refrigerate for up to 3 days. Keep the sour cream, guacamole and pickled jalapeños in separate containers, with plastic pressed directly onto the surface of the guacamole so it holds its color.
The shells soften in the refrigerator no matter what, but a hot oven brings most of the crispness back; the microwave will heat the filling at the cost of the shell, so save it for emergencies.
Two components can be prepared a day in advance. The seasoned beef keeps in an airtight container in the refrigerator for up to 2 days and reheats in a skillet in minutes. The tortilla rounds can be cut ahead and stacked between sheets of parchment, wrapped tightly at room temperature.
The shells themselves are best baked the day they are served, but a full batch of baked, unfilled cups holds overnight in the refrigerator and recrisps at 350°F (175°C) for about 5 minutes. Assemble, bake and top on the day, and the whole recipe still comes together in under half an hour.
Serving ideas
Arrange the cups on a wide platter in a single layer, cheese side up, with the ruffled rims facing out so the golden edges catch the light. Scatter a little extra pico de gallo and a few jalapeño slices around the base for color. Put out small plates and plenty of napkins, because the cheese pull and the crisp shell guarantee crumbs. For a game day spread, set the platter in the middle of the table with the toppings bowls alongside so late arrivals can dress their own.
The cups pair naturally with the rest of a Mexican-American spread: a bowl of Mexican rice, elote-style corn salad, lime wedges and a simple shredded lettuce salad all sit comfortably next to them. They also hold their own as a finger-food dinner alongside a big sheet-pan of nachos or a pot of black bean soup. Serve them hot from the oven in shifts if the table fills slowly; a fresh, steaming batch always draws a faster crowd than a platter that has been sitting.
Frequently asked questions
Can these taco cups be made ahead?
Why did the bottoms turn soggy?
Can corn tortillas be used instead of flour?
How is the ground beef cooked safely?
What size muffin tin works best?
Crispy Baked Mini Taco Cups for Game Day
Ingredients
- Cooking spray, to taste, for greasing the muffin tin
- 3/4 lb ground beef, 85% lean
- 1 tbsp taco seasoning
- 12 small flour tortillas (8-inch), trimmed into 4-inch rounds
- 3/4 cup refried beans (1 tablespoon per cup)
- 1/2 cup pico de gallo, drained, plus more for serving
- 3 cups shredded Colby Jack cheese (1/4 cup per cup)
- 1/2 cup sour cream, for dolloping
- 1/2 cup guacamole, for dolloping
- 1/4 cup pickled jalapeño slices
Instructions
- Position a rack in the center of the oven and heat to 400°F (200°C). Coat a 12-cup muffin tin evenly with cooking spray, covering the rims as well as the bottoms, since the tortilla edges crisp directly against the metal. A well-greased tin is what lets each baked cup release cleanly, with no torn edges and no scraping.
- Brown the ground beef in a skillet over medium-high heat, breaking it into small crumbles as it cooks. When no pink remains, stir in the taco seasoning and cook for one more minute so the spices bloom in the fat, then drain the excess grease. For safety, the beef is done at an internal temperature of 160°F (71°C).
- Trim each flour tortilla into a 4-inch round. Set an upside-down 4-inch bowl or a wide-mouth cutter on the tortilla and cut around it with kitchen scissors or a small knife, working stack by stack. Save the trimmings for snacking or crisping. The rounds should be even, since uniform edges brown at the same rate in the oven.
- Press one tortilla round into each greased muffin cup, pleating the edges where the tortilla folds so the round sits snugly against the bottom and sides. The pleats give the cups their signature ruffled rim. Press gently but firmly; the tortilla should hold its cup shape on its own before any filling goes in.
- Spoon 1 tablespoon of refried beans into the bottom of each tortilla cup and spread it into a thin, even layer with the back of a small spoon. The beans act as a moisture barrier between the tortilla and the beef, keeping the bottoms from turning soggy as the cups bake.
- Divide the seasoned beef evenly among the cups, about 2 tablespoons each, pressing it gently into the bean layer. Top each with a small spoonful of pico de gallo, letting the juices drain back through a fork so the cups do not take on extra liquid. Keep the filling level with the rim.
- Top each cup with 1/4 cup of shredded Colby Jack, mounding it gently so it covers the filling edge to edge, then bake for 10 minutes, rotating the tin once halfway through. Watch the last two minutes closely; the line between golden and too dark is short at this temperature.
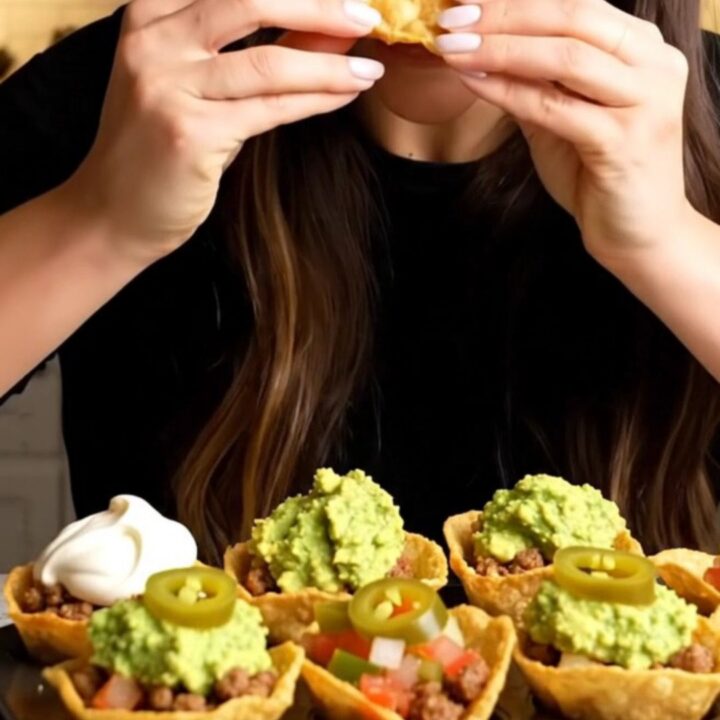
- Let the tin rest on a rack for 2 minutes, then lift each cup with a small offset spatula, working around the edges so the shells stay whole. Dollop each one with sour cream and guacamole, then finish with a pickled jalapeño slice. Serve the taco cups warm, while the cheese still pulls, with extra pico de gallo alongside.
Estimated nutrition per serving
- Calories
- 180
- Protein
- 8 g
- Carbohydrates
- 16 g
- Fat
- 9 g
- Sugar
- 3 g
- Sodium
- 480 mg
Next recipe
Crockpot Bacon BBQ Sausage Cream Cheese Dip for Easy Entertaining
See the recipe → →This recipe is based on a short cooking video and is published under the pen name Clara Weller. It was checked before publication, but errors can slip through. Nutrition, when shown, is an estimate. Read more in our editorial policy and on our food safety page.
More recipes to try
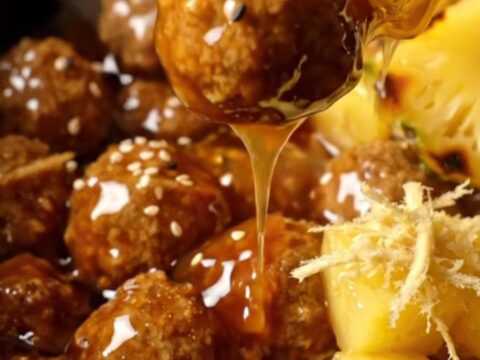
Slow Cooker Teriyaki Pineapple Meatballs (Dump-and-Go)
Total time: 3 h 15 min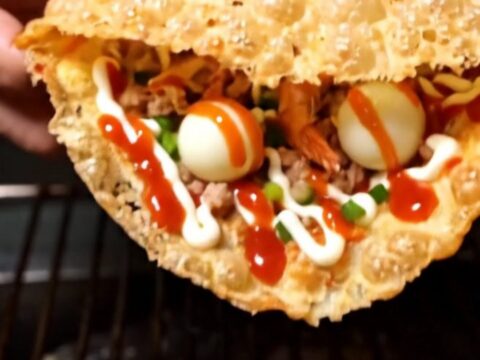
Vietnamese Rice Paper Pizza — Crispy 3-Minute Street Snack
Total time: 8 min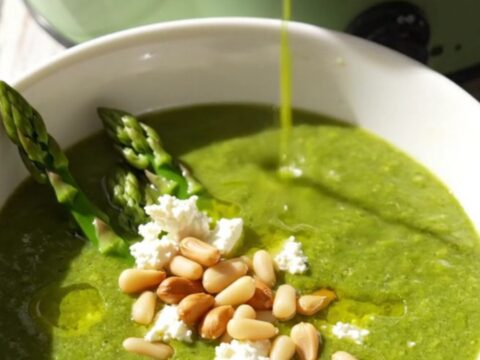
Slow-Cooker Asparagus and Goat Cheese Bisque — Dump-and-Go Silky
Total time: 4 h 20 min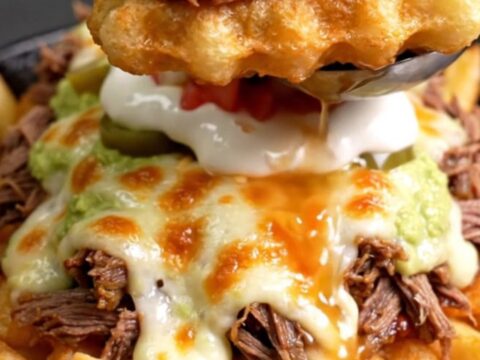
Loaded Birria Waffle Fries — One-Pan Broiler Appetizer
Total time: 15 min
Crispy Cowboy Caviar Tostada Bites in Five Minutes
Total time: 5 min