Appetizers · Part 3 of 3: Tips & recipe card
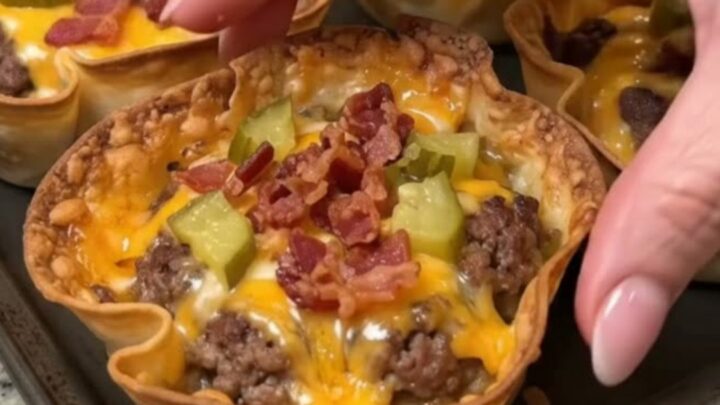
Crispy Bacon Cheeseburger Cups for Easy Appetizers Tips, FAQ & printable recipe
- Prep
- Cook
- Total
- Serves
- 12
Tips for success
To add extra flavor to the ground beef, sauté a small amount of finely diced onion or garlic along with the meat. This will enhance the overall savory profile of the filling. Always drain the beef thoroughly in a colander before placing it into the shells to ensure the tortilla cups remain perfectly crisp and provide the desired texture in every bite.
If serving for a larger group, double the recipe ingredients and bake in batches. Since the tortilla cups can be prepared ahead of time, this is an efficient way to manage the cooking process.
Keep the pre-baked shells in an airtight container until ready for filling. This simple preparation strategy ensures that the appetizer is always ready to be assembled and finished in the oven quickly.
Variations
- Spicy Version: Add a teaspoon of chili powder to the beef while browning and top with sliced jalapeños before the final melt to provide a spicy kick.
- BBQ Style: Stir two tablespoons of your favorite barbecue sauce into the browned beef before filling the cups for a sweet and smoky flavor profile.
Storage and make-ahead
- Fridge
- Keep in an airtight container for up to 2 days.
- Freezer
- Not recommended, as the tortilla shells will lose their crisp texture upon thawing.
- Reheat
- Reheat in a preheated oven at 350°F (175°C) for 5-8 minutes until warmed through and the shells are crisp again.
Store any leftover bacon cheeseburger cups in an airtight container in the refrigerator for up to 2 days. To maintain the best texture, keep the cups separate from the pickles if possible, as the moisture from the pickles can soften the shells over time.
Reheat in an oven or toaster oven to restore the crispness of the tortilla shells before serving again to ensure the best quality.
The tortilla shells can be baked up to 24 hours in advance and stored at room temperature in an airtight container. The ground beef filling can also be cooked, cooled, and stored in the refrigerator for up to 2 days. When ready to serve, simply fill the pre-baked shells with the beef, top with cheese and bacon, and proceed with the final baking step as directed in the recipe.
Serving ideas
Serve these cups warm immediately after the final baking step to ensure the cheese is gooey and the tortilla shells remain as crisp as possible. Arranging them on a clean serving platter makes them easy for guests to pick up and enjoy.
They pair well with a side of dipping sauce like a mild salsa or a creamy ranch dressing, which can be provided in small bowls for those who enjoy an extra flavor boost.
These appetizers are versatile and work well for both casual gatherings and more structured events. Because they are self-contained and easy to eat, they are ideal for parties where guests are mingling and standing.
Place them on a flat tray to ensure they stay upright, and consider garnishing the serving platter with a few fresh herbs or extra pickle slices to enhance the presentation and provide a bright contrast to the savory cups.
Frequently asked questions
Can the tortilla cups be made with corn tortillas?
What is the best way to keep the cups from getting soggy?
Can these be assembled and then baked later?
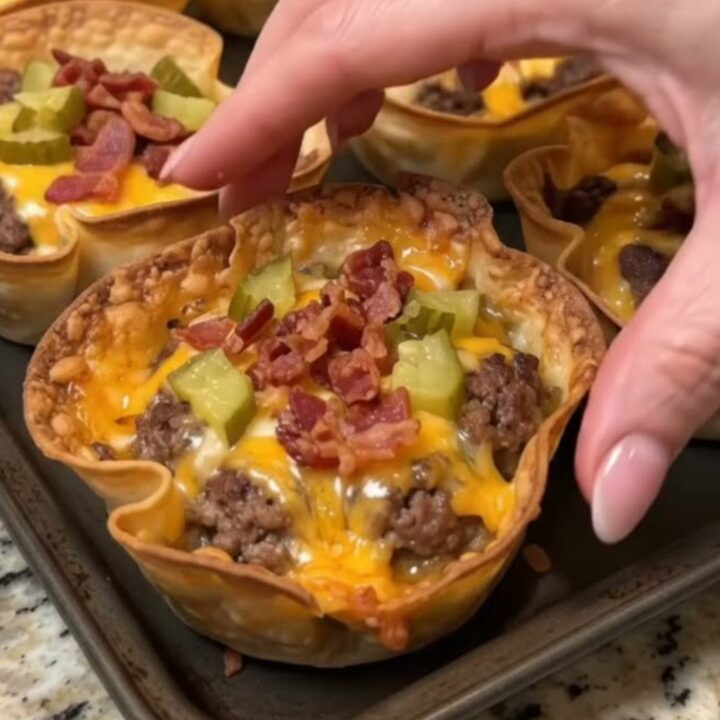
Crispy Bacon Cheeseburger Cups for Easy Appetizers
Ingredients
- 6 large flour tortillas, cut into rounds
- 1 lb ground beef
- 1 1/2 cups shredded cheddar cheese
- 6 slices bacon, cooked and crumbled
- 1/2 cup diced pickles
Instructions
- Preheat the oven to 375°F (190°C). Cut the flour tortillas into smaller circles using a round cutter or glass. Press the tortilla circles into the cups of a muffin tin to create small shell shapes. Bake for 8 minutes until lightly golden and firm.
- In a skillet over medium-high heat, cook the ground beef until it is fully browned and no longer pink. Ensure the beef reaches an internal temperature of 160°F (71°C) to be safe. Drain excess grease from the skillet before assembling the cups.
- Fill each baked tortilla cup with the cooked ground beef. Top generously with shredded cheddar cheese and bacon crumbles. Place the muffin tin back into the oven for 5 minutes until the cheese is bubbling and melted. Remove from the oven, garnish with diced pickles, and serve warm.
Estimated nutrition per serving
- Calories
- 240
- Protein
- 12 g
- Carbohydrates
- 15 g
- Fat
- 14 g
- Fiber
- 1.5 g
- Sugar
- 0.5 g
- Sodium
- 450 mg
Next recipe
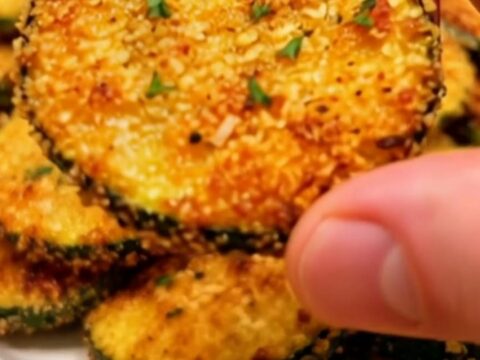
Crispy Parmesan Zucchini Chips
See the recipe → →This recipe is based on a short cooking video and is published under the pen name Clara Weller. It was checked before publication, but errors can slip through. Nutrition, when shown, is an estimate. Read more in our editorial policy and on our food safety page.
More recipes to try
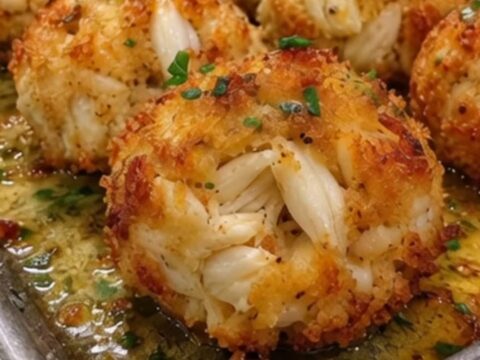
Crispy Garlic Butter Crab Bombs for Easy Entertaining
Total time: 40 min
Crispy Pan-Fried Gyoza Dumplings with Juicy Pork Filling
Total time: 30 min
Loaded Cheesy Bacon Potatoes for a Comforting Snack
Total time: 1 h 20 min
Crispy Garlic Parmesan Potatoes: The Ultimate One-Pan Side Dish
Total time: 55 min
Sticky Caramelized Brown Sugar Pineapple Ham Bites
Total time: 28 min