Appetizers · Part 2 of 3: Instructions
Crispy Air-Fryer Smoky Chickpeas for a Crunchy Snack Step-by-step instructions
- Prep
- Cook
- Total
- Serves
- 4
Before you start
Before starting, ensure that all your ingredients are measured and ready to go. The most critical step is ensuring the chickpeas are thoroughly dried after rinsing.
Use a clean kitchen towel or paper towels and roll the chickpeas gently until no visible moisture remains on their surface. This preparation is the foundation of a successful, crispy result, so take your time to ensure the beans are truly dry.
Ingredients at a glance (8)
- 400 g cooked garbanzo beans, rinsed and thoroughly dried
- 15 ml olive oil
- 10 g smoked paprika
- 5 g cumin
- 1/2 tsp garlic powder
- 1/2 tsp flaky sea salt
- 1 tsp fresh lemon zest
- 1 tbsp fresh rosemary, minced
Instructions
Preparation and drying
- Prepare the chickpeasRinse the garbanzo beans thoroughly under cold running water using a colander. Transfer the rinsed beans to a clean kitchen towel and pat them dry completely. Ensuring the surface of the beans is free of moisture is essential for achieving the best crunch during the air-frying process.Look for The chickpeas should feel completely dry to the touch.Tip Do not skip the drying step, as excess moisture will steam the beans rather than crisping them.
The chickpeas should be completely rinsed and dried. They must look dull rather than shiny, indicating that the surface moisture has been removed.
This stage is crucial, as any remaining water will prevent the chickpeas from achieving the desired crisp texture during the air-frying process.
Seasoning the beans
- Season the chickpeasPlace the dried chickpeas into a large mixing bowl. Drizzle with olive oil, then add the smoked paprika, cumin, garlic powder, and a generous pinch of flaky sea salt. Toss everything together until each chickpea is evenly coated with the oil and spice mixture.Look for The chickpeas should look vibrantly coated in the spice blend.Tip Use your hands to gently massage the oil and spices onto the skins for even distribution.
The beans should be evenly coated with the olive oil and spice blend. The color should be uniform, with the smoked paprika and cumin clinging to the surface of each chickpea. Ensure there are no large clumps of spice at the bottom of the bowl.
Air frying
- Air fry to perfectionPreheat the air fryer to 390°F. Arrange the seasoned chickpeas in a single layer in the air fryer basket. Cook for 14 minutes, ensuring the basket is removed and shaken at least twice during the cooking time to promote even browning. Once finished, remove the basket and finish with fresh lemon zest and finely chopped fresh rosemary.Look for The skins should be blistered and the centers light and crunchy.Tip Listen for the audible crunch as you shake the basket; if they sound hollow, they are perfectly crispy.
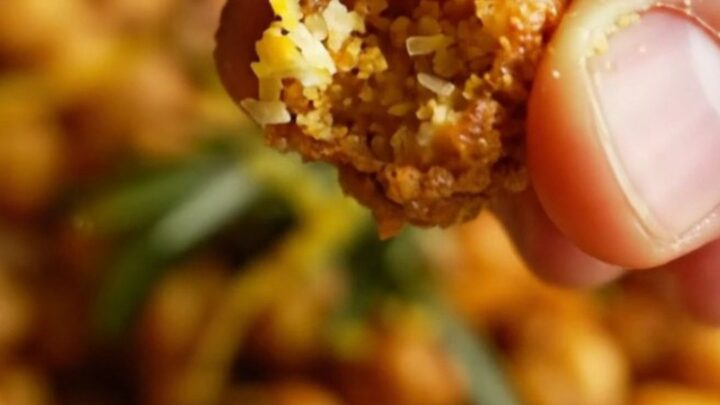
The chickpeas are finished when they appear deeply browned and have a blistered appearance. They should sound light and crisp when shaken. The final addition of fresh lemon zest and rosemary adds a bright, aromatic finish that balances the smoky flavors.
Common mistakes
A common mistake is failing to dry the chickpeas adequately, which leads to soft or chewy beans instead of crispy ones. Another error is overcrowding the air fryer basket; if the chickpeas are stacked too high, they will steam instead of crisping.
Finally, skipping the mid-way shake can cause uneven cooking, where some beans remain soft while others might become too dark or charred on the edges.
How to tell it’s done
The chickpeas are done when they are deeply golden, blistered, and sound hollow when shaken in the basket. They should feel firm and crunchy rather than chewy when tested.
As they cool slightly after being removed from the air fryer, they will continue to firm up and reach their final, satisfying texture. Always taste one before removing the entire batch to ensure they meet your preferred level of crispiness.
Up next · Part 3 of 3
2 variations · storage & make-ahead · 3 answers · printable card
Tips, FAQ & printable recipe (Part 3)← Back to the ingredients (Part 1)