Desserts · Part 3 of 3: Tips & recipe card
Creamy Strawberry Banana Pudding Dessert Tips, FAQ & printable recipe
- Prep
- Cook
- Total
- Serves
- 6
Tips for success
To prevent bananas from browning, toss the slices in a small amount of lemon juice before adding them to the dish. This simple step preserves their bright color and adds a subtle acidity that balances the sweetness of the pudding. Alternatively, layer the bananas immediately before serving if the dessert is being prepared for a special occasion, ensuring they remain as fresh and visually appealing as possible.
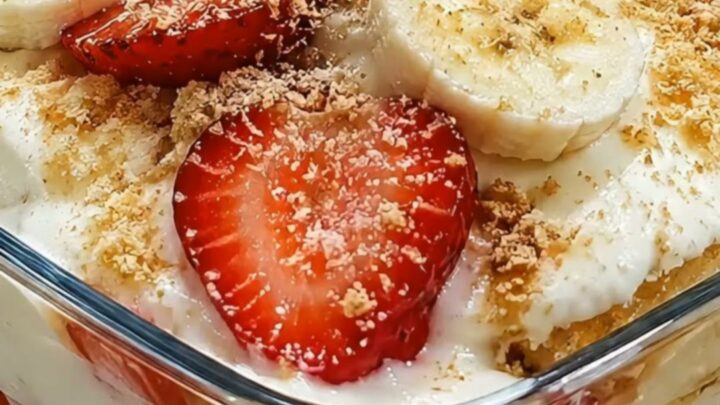
For a more refined presentation, reserve a few perfect strawberry slices and a handful of whole wafers to decorate the top layer. Arrange them in a symmetrical pattern just before serving.
This adds a professional touch to the dish and gives guests a hint of the delicious ingredients hidden within the layers. Use a clean, warm spoon to serve, as it will glide through the pudding more easily and create cleaner lines in the serving bowl.
Variations
- Tropical Twist: Replace the strawberries with fresh mango chunks and add a sprinkle of toasted coconut flakes between the layers for a tropical flavor profile that pairs beautifully with the banana pudding.
- Chocolate Lover: Use chocolate-flavored wafers and a layer of thin chocolate shavings between the fruit layers to create a decadent variation that adds a rich, dark cocoa note to the dessert.
Storage and make-ahead
- Fridge
- Keep refrigerated at all times in an airtight container for up to 2 days. The quality decreases after 48 hours as the fruit softens excessively.
Store the pudding covered tightly with plastic wrap or in an airtight container to prevent it from drying out or absorbing other scents. It is best to keep it in the coldest part of the refrigerator, away from the door, to maintain a consistent temperature.
Consume within two days for the best texture, as the fruit will continue to release moisture and the wafers will eventually become too soft if left for too long.
This dessert is an ideal make-ahead dish, as it requires chilling time to set properly. Prepare it up to 24 hours in advance, keeping it covered in the refrigerator. The flavors will have more time to meld, resulting in a more cohesive and delicious pudding. If planning to serve it the next day, hold off on adding any decorative fruit or cookie toppings until just before serving to ensure they look fresh and crisp.
Serving ideas
Serve the pudding chilled, straight from the refrigerator, to maintain its creamy texture and refreshing quality. Use a large, deep serving spoon to lift the layers cleanly from the glass dish.
Ensure each portion includes a generous amount of the fruit, pudding, and softened wafers to provide the full spectrum of textures that define this classic dessert. It pairs well with a light tea or coffee, which complements the sweetness.
For a more casual serving experience, individual glass cups or mason jars can be used for assembly. Simply layer the ingredients in the same order as directed for the large dish.
This method is particularly convenient for gatherings, as it eliminates the need for scooping and ensures every person receives an equal share of the fruit and cream. It also makes the dessert easier to store and transport if the gathering is held away from home.
Frequently asked questions
Can this be made with sugar-free pudding?
How can the fruit be kept from browning?
What is the best way to ensure the layers stay distinct?
Creamy Strawberry Banana Pudding Dessert
Ingredients
- 3 cups vanilla pudding, chilled
- 3 bananas, sliced into coins
- 1 lb strawberries, hulled and sliced
- 2 cups vanilla wafers, crushed
Instructions
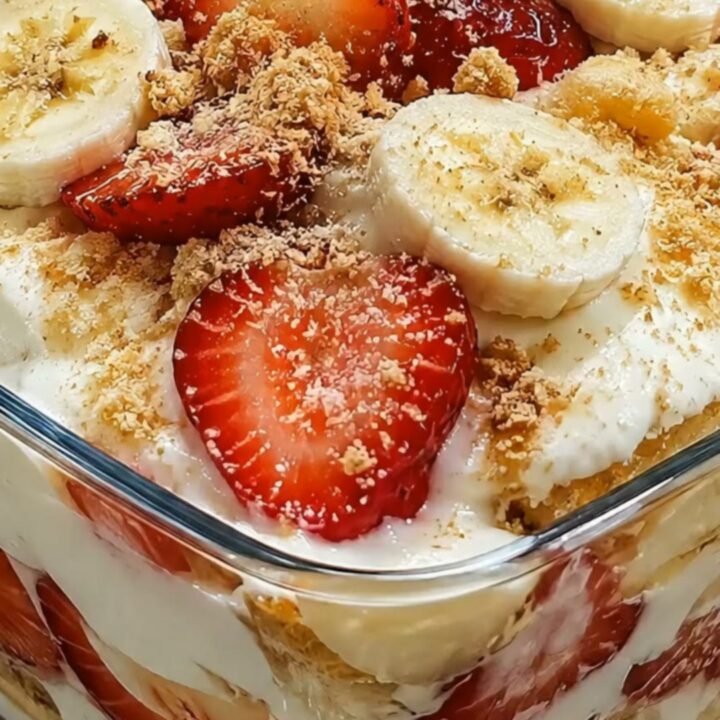
- Spread a thin layer of vanilla pudding on the bottom of a 9x9 inch glass dish to ensure the wafers do not slide. Arrange a layer of crushed vanilla wafers over the pudding, pressing them down gently to create a solid foundation for the fruit and cream layers.
- Place a layer of sliced bananas and strawberries over the wafers. Cover the fruit with a generous portion of the remaining vanilla pudding, smoothing it out with the back of a spoon. Repeat the layering process until all ingredients are used, finishing with a final layer of pudding topped with extra fruit slices for a decorative finish.
- Cover the glass dish with plastic wrap and refrigerate for at least one hour before serving. This resting period allows the pudding to set properly and the wafers to soften slightly from the moisture of the fruit and pudding. Scoop into individual serving bowls using a large spoon.
Estimated nutrition per serving
- Calories
- 280
- Protein
- 3.5 g
- Carbohydrates
- 45 g
- Fat
- 9.5 g
- Fiber
- 2.5 g
- Sugar
- 32 g
- Sodium
- 210 mg
Next recipe
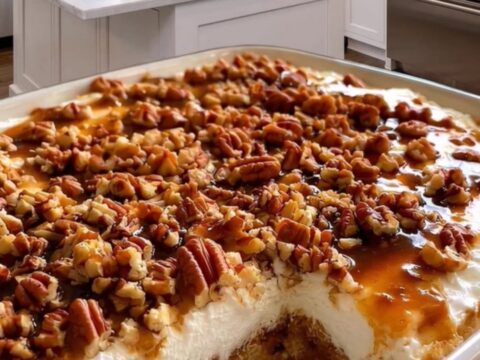
Creamy Pecan Caramel Poke Cake
See the recipe → →This recipe is based on a short cooking video and is published under the pen name Clara Weller. It was checked before publication, but errors can slip through. Nutrition, when shown, is an estimate. Read more in our editorial policy and on our food safety page.
More recipes to try

Moist and Fluffy Pineapple Paradise Cake
Total time: 1 h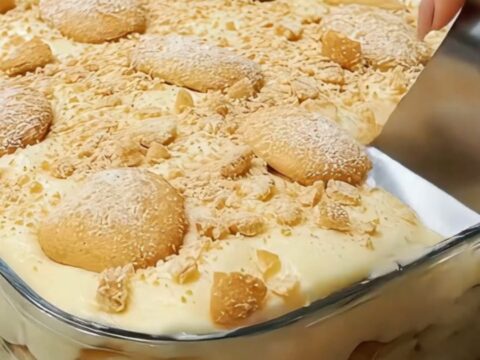
Creamy Homemade Banana Pudding with Vanilla Wafers
Total time: 2 h 35 min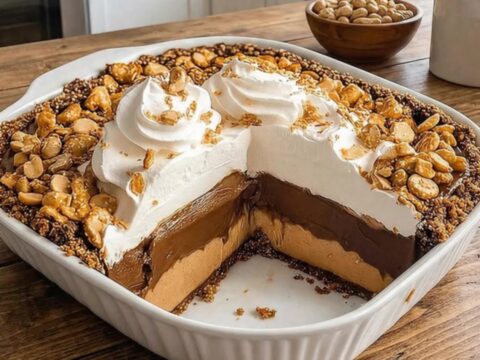
No-Bake Peanut Butter Chocolate Pretzel Pie
Total time: 2 h 30 min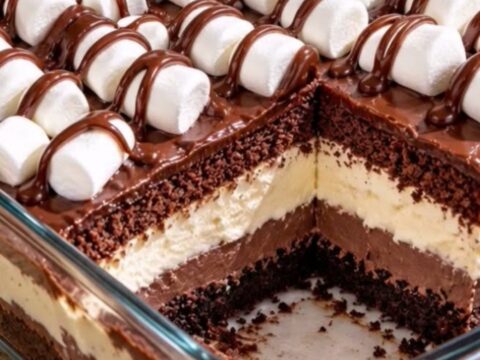
Rich Chocolate Marshmallow Layered Dessert
Total time: 1 h 35 min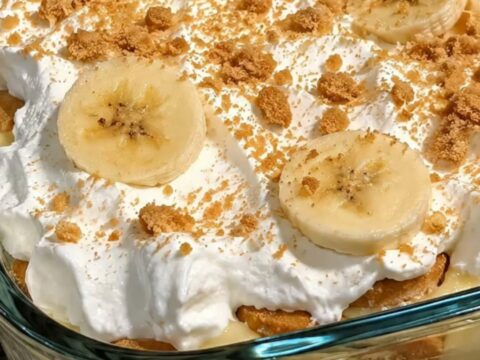
Classic Southern Banana Pudding
Total time: 2 h 30 min