Appetizers · Part 1 of 3: Ingredients
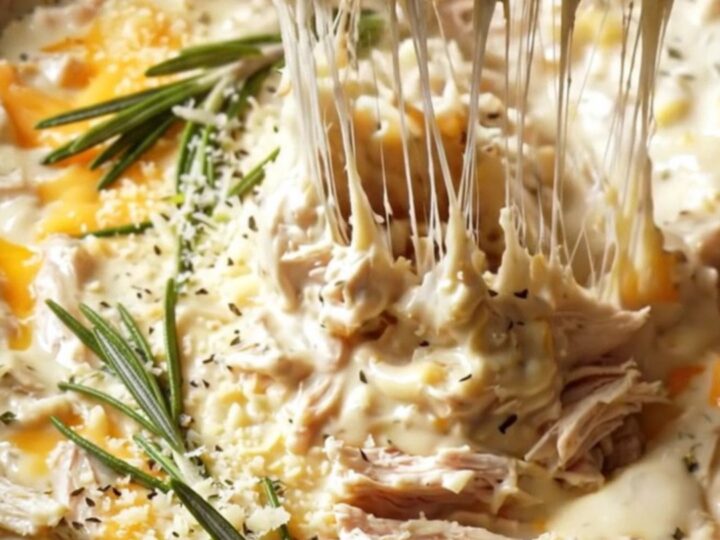
Creamy Slow-Cooker Garlic Parmesan Buffalo Chicken Dip
- Prep
- Cook
- Total
- Serves
- 8
This decadent slow-cooker garlic Parmesan buffalo chicken dip is the ultimate answer to any appetizer craving. It balances the sharp, salty punch of aged Parmesan with the mellow sweetness of roasted garlic and the creamy indulgence of melted mozzarella and cream cheese.
Perfect for game days, holiday parties, or casual weekend hangouts, this recipe takes the hassle out of entertaining by letting your slow cooker do all the heavy lifting while you focus on hosting.
When it comes to comfort food, few things beat a warm, cheesy dip that comes together with almost zero effort. This garlic Parmesan buffalo chicken dip is a masterclass in flavor layering.
By combining high-quality aromatics like roasted garlic with the distinct tang of Parmesan and the richness of cream cheese, this dip achieves a complexity that usually takes hours to build. The result is a molten, savory, and incredibly satisfying dip that pairs perfectly with crunchy toasted baguette slices or even fresh vegetable crudités.
Ingredients
Main Ingredients
- 3.5 cups shredded chicken
- 16 oz cream cheese
- 1 cup garlic Parmesan wing sauce
- 2 heads roasted garlic, squeezed
- 1.5 cups mozzarella cheese
- 1 cup grated Parmigiano-Reggiano
Serving
- toasted garlic baguette slices, for serving
Why this recipe works
The slow-cooker method is essential for this recipe because it allows the proteins and fats to emulsify slowly without splitting. By cooking on low heat, the cream cheese and mozzarella melt into the shredded chicken, creating a unified, velvety texture that holds onto every bite of bread. This gentle heat also ensures the roasted garlic infuses the entire base, creating a deeply savory profile that intensifies over the two-hour cooking window.
Additionally, the dump-and-go nature of this dip makes it incredibly reliable for busy hosts. Because the ingredients are meant to meld together, there is no need for precise layering or complex techniques.
The slow cooker maintains a constant, stable temperature that keeps the dip at the perfect consistency, preventing the cheese from hardening or becoming oily. It is a foolproof method that guarantees a consistent result every single time it is prepared.
Notes and substitutions
When selecting ingredients, quality makes a significant difference. Using authentic Parmigiano-Reggiano provides a nutty, complex depth that is far superior to pre-grated alternatives.
Similarly, roasting the garlic until it is completely soft ensures it blends seamlessly into the sauce without leaving any fibrous bits behind. For the chicken, rotisserie or pre-cooked shredded chicken breast works perfectly, providing a neutral canvas that absorbs the bold flavors of the wing sauce and cheese.
For equipment, a standard 4-to-6-quart slow cooker is the ideal size for this recipe. It provides enough surface area for the dip to heat evenly without overheating at the edges. If a smaller slow cooker is used, monitor the dip closely to prevent the cheese from scorching at the bottom. The use of a high-quality rubber spatula is recommended for the stirring process, as it allows for scraping the sides of the ceramic insert cleanly.
- Parmigiano-Reggiano: High-quality aged Parmesan cheese
- Garlic Parmesan wing sauce: A mixture of garlic butter and buffalo wing sauce
Equipment
- Slow cooker
- Rubber spatula
- Measuring cups
- Baking sheet for baguettes
Up next · Part 2 of 3
3 steps · 2 h of cooking · what to look for at each stage
Step-by-step instructions (Part 2)