Appetizers · Part 2 of 3: Instructions
Creamy Slow Cooker Chicken Cheesesteak Dip Step-by-step instructions
- Prep
- Cook
- Total
- Serves
- 8
Before you start
Before beginning, ensure all ingredients are properly measured and prepared. The chicken should be fully shredded into bite-sized pieces, and the peppers and onions should be sliced into thin, uniform strips to ensure they cook at the same rate as the cheese.
Clear enough counter space for the slow cooker and have a sturdy spoon ready for the final mixing stage.
Ingredients at a glance (5)
- 2 cups cooked shredded chicken
- 1 cup green bell pepper strips
- 1/2 cup onion strips
- 1 cup shredded provolone cheese
- 8 oz cream cheese, cut into cubes
Instructions
Layering the ingredients
- Assemble the basePlace the shredded cooked chicken into the base of the slow cooker. Scatter the green bell pepper strips and onion strips evenly over the chicken. Sprinkle the shredded provolone cheese over the vegetables, ensuring even coverage across the surface.Look for Ingredients are layered evenly in the slow cooker insert.Tip Ensure the chicken is fully cooked through before starting the recipe.
At the end of this phase, the slow cooker is filled with distinct layers of chicken, vegetables, and cheese. The ingredients should be arranged neatly, creating a stable base for the slow cooking process. Ensure the cream cheese block is placed centrally to facilitate even melting as the heat begins to distribute through the appliance.
Slow cooking the dip
- Add cream cheese and slow cookPlace the block of cream cheese directly into the center of the slow cooker on top of the other ingredients. Cover the slow cooker with the lid and cook on low for 2 hours until the cheese is melted and the peppers are tender, ensuring the chicken reaches an internal temperature of 165°F (74°C).Look for The cream cheese has softened and begun to incorporate with the other ingredients.Safe temperature 165°F (74°C) internal temperature (poultry)Tip Do not stir the mixture until it has finished cooking to ensure even heat distribution.
During this phase, the slow cooker works to soften the vegetables and melt the cheeses. By the end, the cream cheese should have lost its rigid shape and begun to flow around the other components. The mixture will look slightly uneven, but this is expected before the final mixing step brings everything together into a cohesive dip.
Final mixing and serving
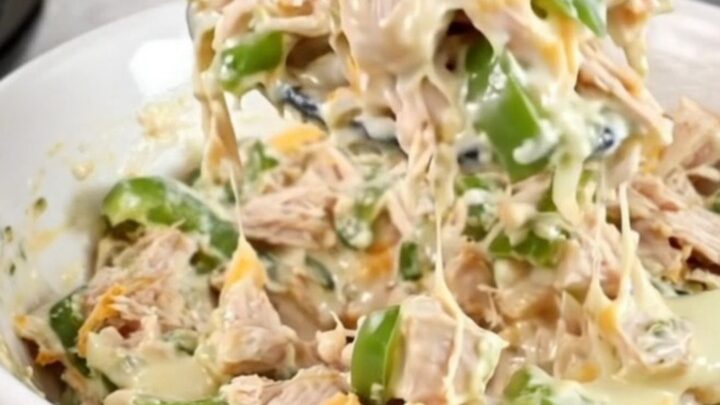
- Final stir and serveOnce the cooking cycle is complete, remove the lid and stir the dip vigorously until the cream cheese, melted provolone, chicken, and vegetables are fully combined into a smooth, thick consistency. Serve immediately while hot in a shallow bowl.Look for The dip is smooth, creamy, and uniform in color.Tip If the dip seems too thick, a tablespoon of warm water or milk can be stirred in to reach the desired consistency.
The final phase involves combining all the melted components into a uniform, creamy dip. The mixture should look velvety, with the chicken and vegetables evenly distributed throughout the melted cheese.
Once the dip reaches a consistent texture and is heated throughout, it is ready to be transferred to a serving bowl and enjoyed immediately.
Common mistakes
Avoid using high heat settings for an extended period, as this can cause the cheese to separate or scorch at the edges of the slow cooker insert.
Do not stir the ingredients before the cooking process is complete, as this interrupts the heat layering. Additionally, ensure the chicken is not overly dry before starting, as the dip will not be able to rehydrate it adequately.
How to tell it’s done
The dip is finished when the cream cheese is completely melted and incorporated into the provolone, creating a smooth and creamy texture.
The peppers and onions should be soft and tender, and the chicken must be heated through to an internal temperature of 165°F (74°C). The mixture should be thick enough to hold its shape on a cracker or piece of bread.
- Poultry: 165°F (74°C) in the thickest part
Up next · Part 3 of 3
2 variations · storage & make-ahead · 3 answers · printable card
Tips, FAQ & printable recipe (Part 3)← Back to the ingredients (Part 1)